ClamXav can be downloaded directly or through the Mac App Store. The Mac App Store version does not contain the Sentry tool that allows constant scanning for changes by folder, so this tutorial is for the download version which you can get at http://www.clamxav.com/.
Note: ClamXav used to be free but as of June 2015 is a commercial product. I think it’s well worth the $30 and by paying for it I’m helping to ensure the development of the product continues.
After installation, log out of your Mac and back in.
Starting
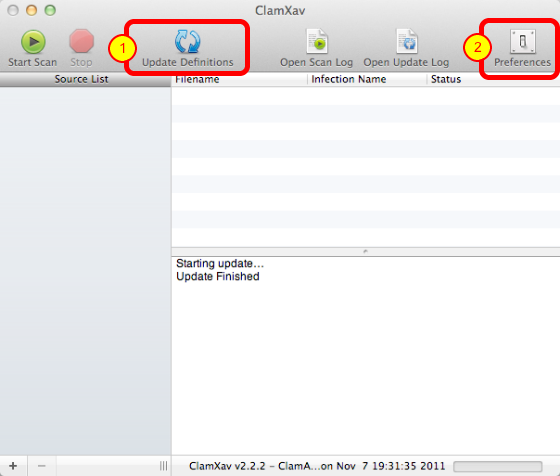
When you first launch ClamXav it’s a good idea to update the Virus Definitions. Next let’s set some preferences.
General Preferences
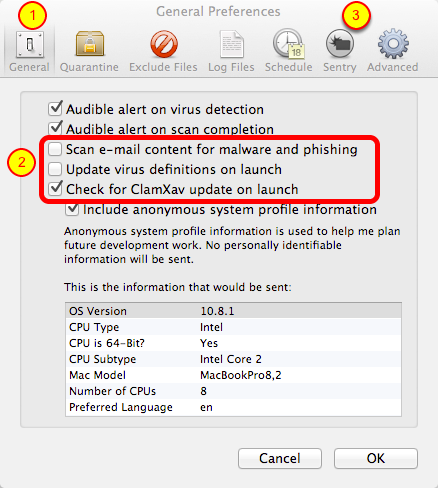
- You can set these as you desire, especially the audible alerts
- Believe it or not, UNcheck scanning your email for malware. Your spam filter will catch most of this and put it in a spam bucket but ClamXav will stil find it and give you CONSTANT popups about it. I also don’t update virus definitions on launch because we’ll put it on a schedule in a later step. I DO however allow the application to check for updates on launch like any other program. It might seem odd also to UNcheck update virus definitions on launch, but we’re going to do that on a schedule instead in a later step.
- Click on the Sentry tab next.
Sentry
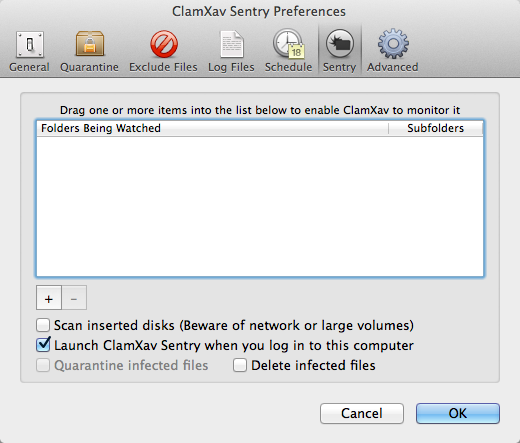
Sentry keeps an eye on any folder you choose. We’re going to set it to watch your Downloads folder, because that’s where new stuff shows up that we want scanned. This is the feature you only get if you buy directly from ClamXav.com and is not available in the Mac App Store version.
Drag Home Folder Into the Window
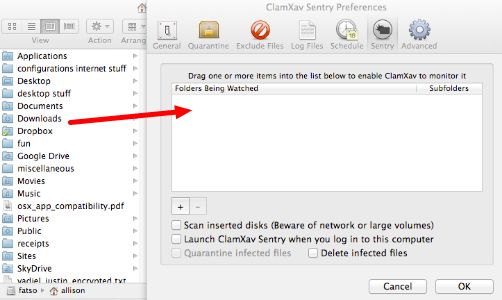
Drag your Downloads folder into the window. Alternatively you can push the plus button and navigate to your Downloads folder.
Your Downloads Folder Will Now be Monitored
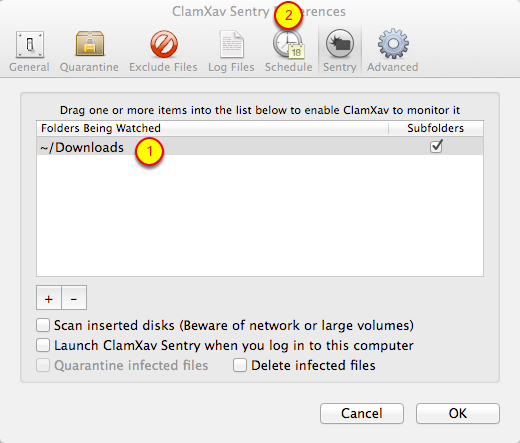
- Verify – you should see simply ~/Downloads in the folders being watched.
- Click on the Schedule tab next.
Schedule
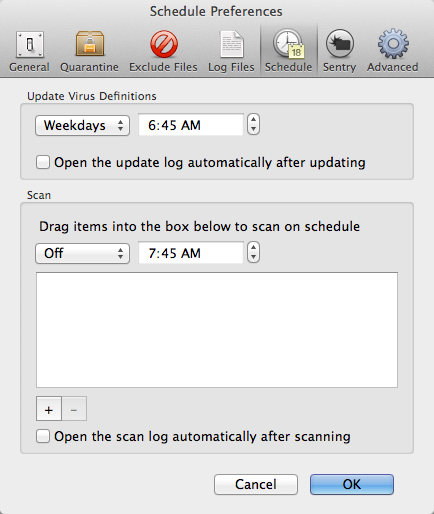
It’s a good idea to allow virus definitions to be updated daily so set the pulldown to a time you’re sure your machine will be on. Now simply let ClamXav run and hope you never hear back from it!
Run a Full Scan
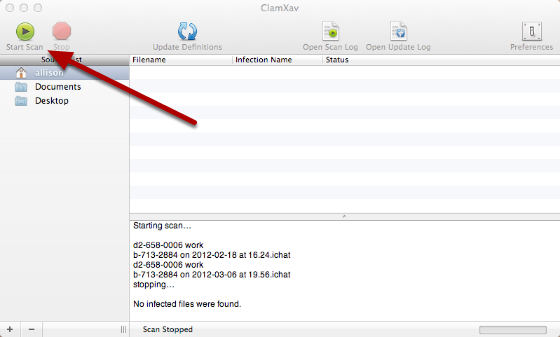
Run a full scan of your home folder. This took about 3 hours for my very large home folder. It found 450 .emix files, where are all Mail files that are probably in my spam and junk mail folders. Once the scan is done, you can right click on the files and show where they are in the finder, or you can simply choose delete from that menu, or select them all and hit command-delete.
Now that your machine is clean, you can rely on Sentry to watch for changes and to scan only those changes.
Scan On Demand
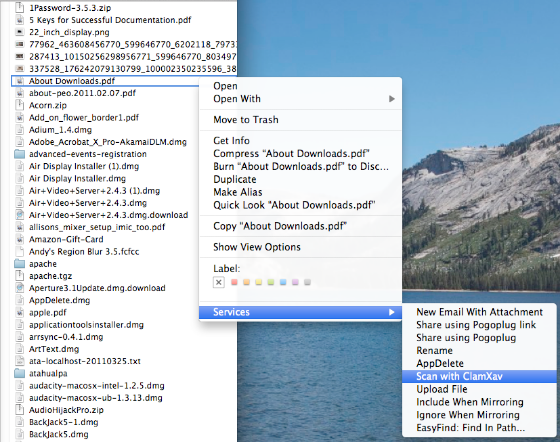
ClamXav also installs a Service that lets you scan a file or folder at any time. Simply right click on the file or folder you want to scan, pull down to Services, and choose Scan with ClamXav. The application will run and show you the results of the scan.
Log out and back into your account for the contextual menus to be available under Services.