1. Introduction – Problem to be Solved
In this short tutorial we’ll work through how to use your Contacts application in OSX to print cute address labels for your holiday cards. Every time I go through this I make a lot of mistakes, so I’m actually going to show you how to do it wrong so you’ll remember how to do it right…because I assume you’re smarter than me!
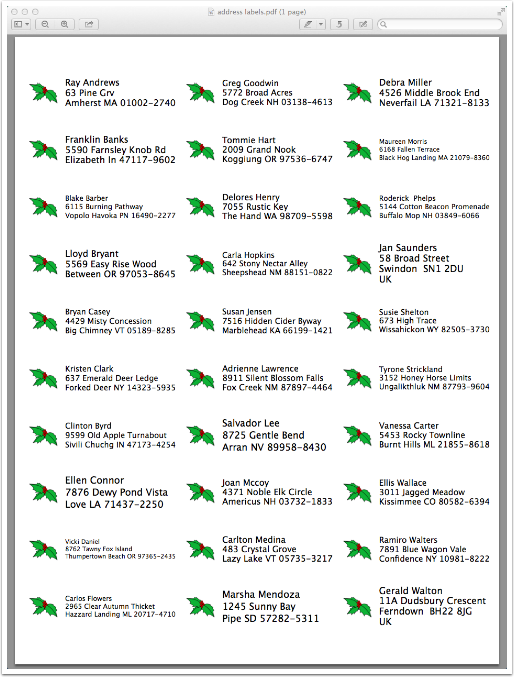
Here’s an example of how your labels will look when we’re done

2. Create a Group
2.1 Contacts (Formerly Known as Address Book)
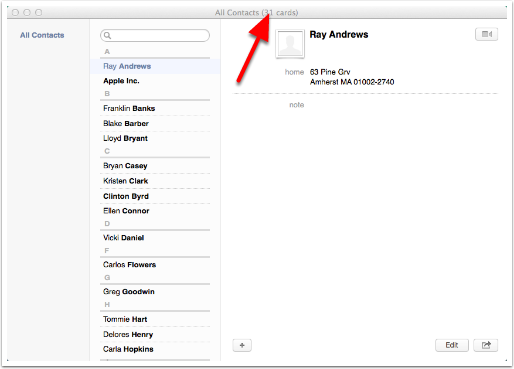
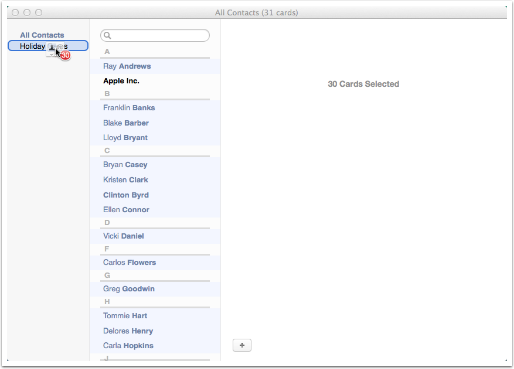
In our example I have 31 contacts, 30 fake friends and Apple. I want to print 30 labels on one page using Avery Labels 5160.
2.2 Create a New Group
In the bottom of the single card pane, there is a + button where you can add a new group.

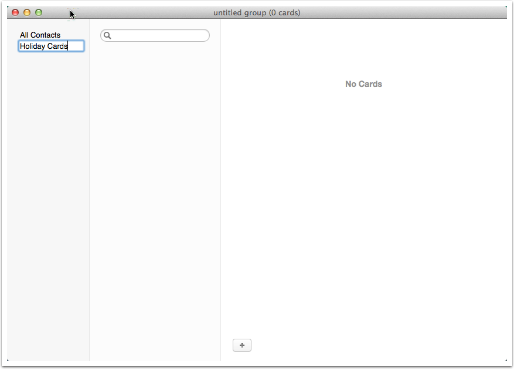
2.3 Name Your Group
I’ll call mine Holiday Cards.
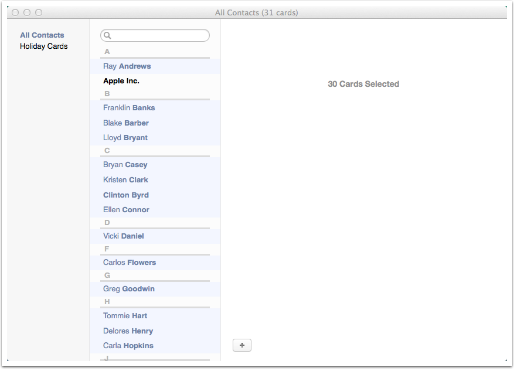
2.4 Select All of the Cards You Want
You may do this one by one, or in this example I selected all, and deselected Apple.
2.5 Drag the Cards to Your New Group
You can see by the red number that I’m dragging 30 cards, and it also shows on the right pane that I have 30 selected.
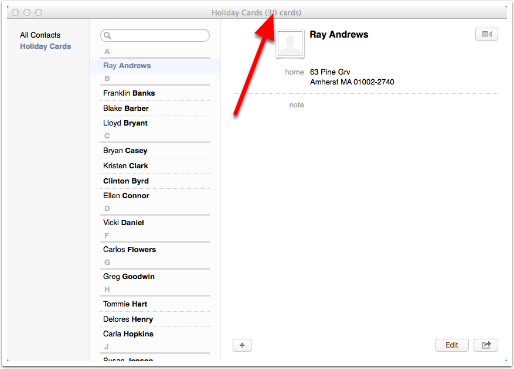
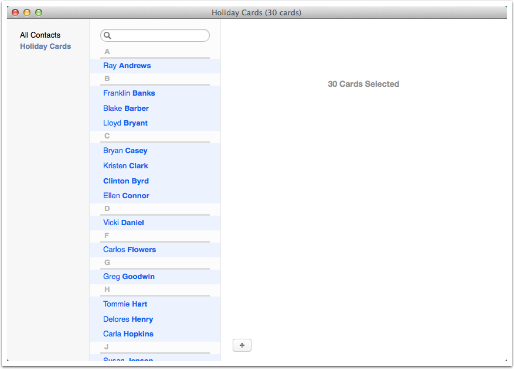
2.6 Holiday Cards Group Showing 30 Cards
3. Setting Up Printing
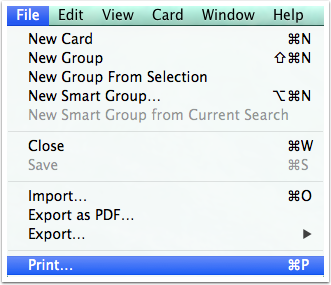
3.1 File – Print to get to the Label Making
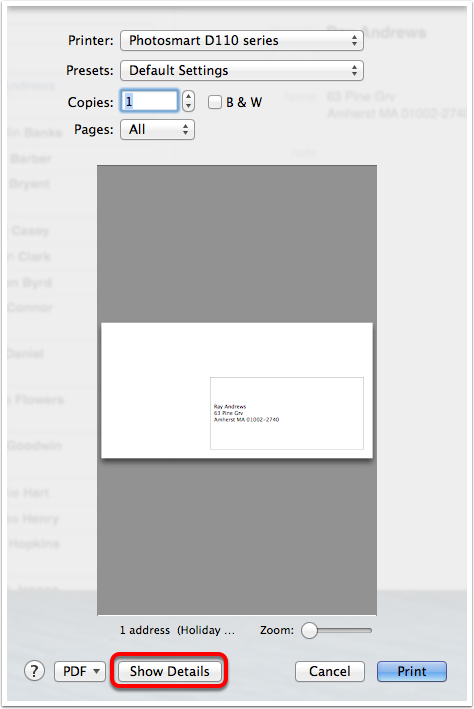
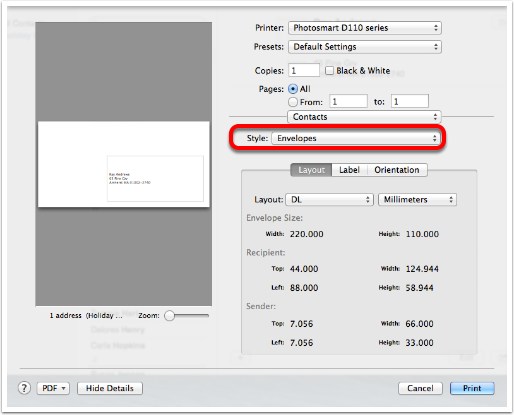
3.2 First View is of an Envelope
Click on Show Details to reveal a lot more options.
3.3 Now We Have More Control
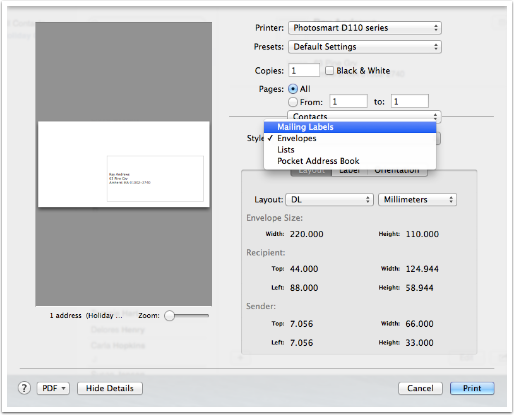
Click on Style to Change from Envelopes…
3.4 Change Style to Mailing Labels
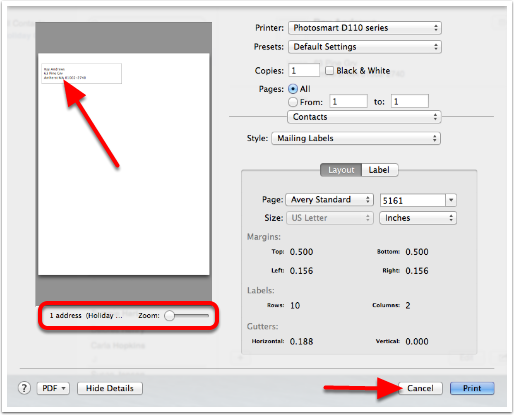
3.5 We Only Have One Address Label
That’s because we forgot to select all of the cards before printing. Cancel.
3.6 Select All of the Cards This Time
And again Print.
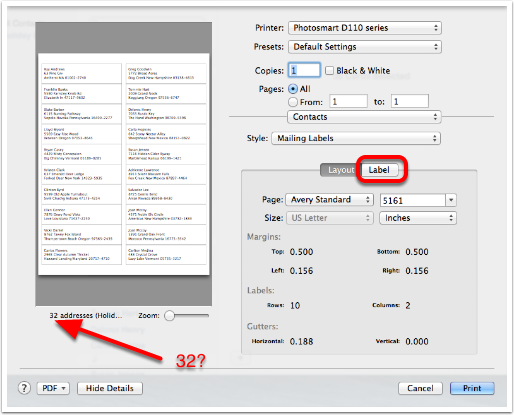
3.7 Now We Have 32 Cards Instead of 30
This will happen if you forget to restrict the labels only to one address per person. In our example we only want home addresses. Click on Label.
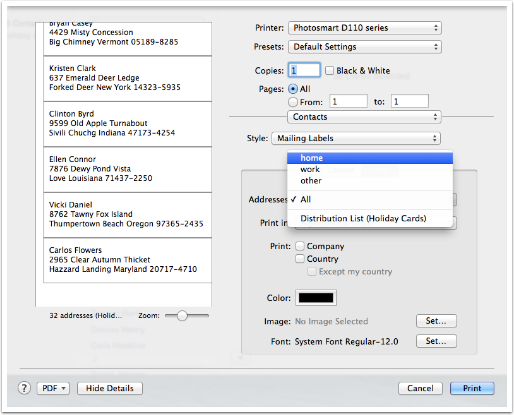
3.8 Restrict labels to Home
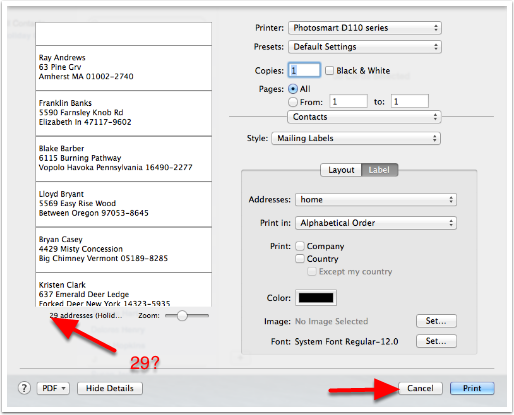
3.9 Now We Only Have 29?
Every year I have to do a LOT of cleanup of my address book, and one of the problems is someone’s Home address being set to Work. Cancel again.
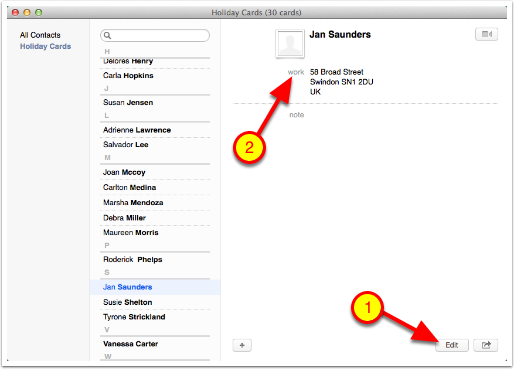
3.10 Flip Through Your Cards
Until you find the card(s) set to work instead of home, click on Edit and and set them to home.
3.11 Finally 30 Address Labels
Use the pulldown to choose the Avery label number to the labels you purchased already. I like 5160 because it prints 30 labels on a single page.
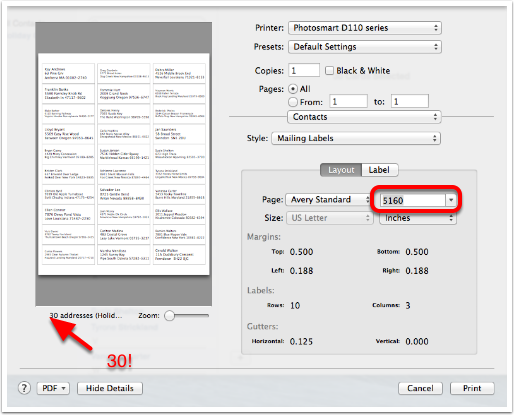
3.12 Make Sure to Check Country
If some of your address labels will require the country printed on the label, be sure to click the check next to Country. You can use the Zoom slider to check your address labels to see if there’s something you missed.
At this point you could just print, but I promised your labels will be cute. In the bottom right you can change the font, and also add a graphic to your label. One caution on this part – do it last because if you cancel out or even switch back to Layout, you’ll lose what you’ve done. Let’s click on Set… next to Image.

4. Adding Cute Artwork
4.1 Open Cute Clip Art You Found Earlier and Downloaded
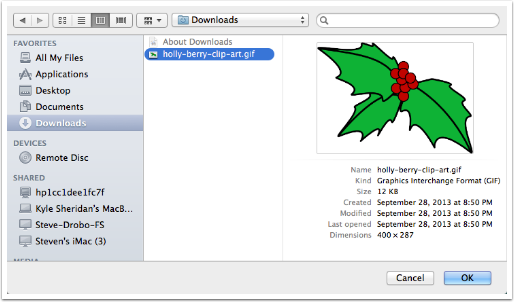
4.2 Awe Look How Cute

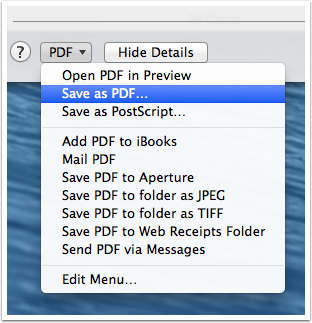
5. Save to PDF to Check
I make about a half dozen test prints before I find every error in the labels. Check names, make sure you grabbed the right address, check for names falling off the label area, and have someone ELSE check it for you too. You’ll spend a fortune in ink labels if you skip this step.
6. Adding Word Wrap in Long Names (New!)
After you do the PDF to check, you’re going to find that some people have very long names. This is particularly problematic with couples that dont’ share a last name. One of two things will happen as a result:
- Apple will make the font really really teeny to fit both names on one line
- Even with the small font, sometimes it still falls off the line
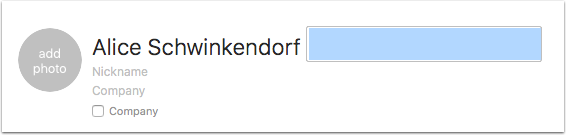
7. Example of a Long Name Contact
As you can see in the example below, Apple did its best to shrink the font but Alex’s last name still falls off the label

8. How to Word Wrap a Name in Contacts
It took a bit of experimenting to find this one. Open the contact card, and click on Edit. Place your cursor to the left of the & symbol, and hit control-shift-enter and it will add a hard line feed. You may not see a change while in the edit mode but when you select Done, your card should look like the one below. Look how nicely it prints now! You can even get tricky and add a space or two before the & to give a nice indent.

9. Two Warnings
- Editing: When you go back into the Edit mode, nothing will show where you put your line feed. If you click you’ll get the blue highlight as shown below. If you need to edit that second name, click again in the blue to deselect, and hit function-delete to get rid of the line feed so you can see what you’re doing.
- Using contact for emailing: If you do this to a contact card, it REALLY confuses Apple Mail, and will not send to that contact. I suggest that if you have combined names into one card, use that card for sending physical mail and create separate cards with the individuals’ phone and email addresses. You’ve probably already done this so that you can send and receive mail and phone calls anyway but thought I should mention it here.
10. Adorable Address Labels!
I recommend making a black and white test print and holding it up to your labels before printing right on the labels themselves just to be triple sure that everything is just right.
See? Cute address labels at home!