These quick steps will walk you through how to export your LastPass vault to a Comma Separated Value (CSV) file which can then be imported into other tools such as 1Password (or even Excel). The script and instructions that come with it are for both Windows and Mac, but I will only be showing you how to do this on a Mac.
The steps will be:
- Create a secure disk image where we can safely download your passwords
- Export your passwords from LastPass to the secure disk image as a text file
- Run a script to convert your data into a form 1Password can read (Mac or Windows). The script assumes you’re running 1Password Version 4.
- Import your newly formatted password file into 1Password
1. Create a Secure Disk Image
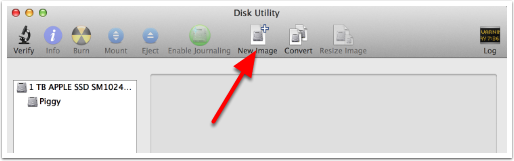
Launch Disk Utility (in Applications/Utilities)
Click on New Image
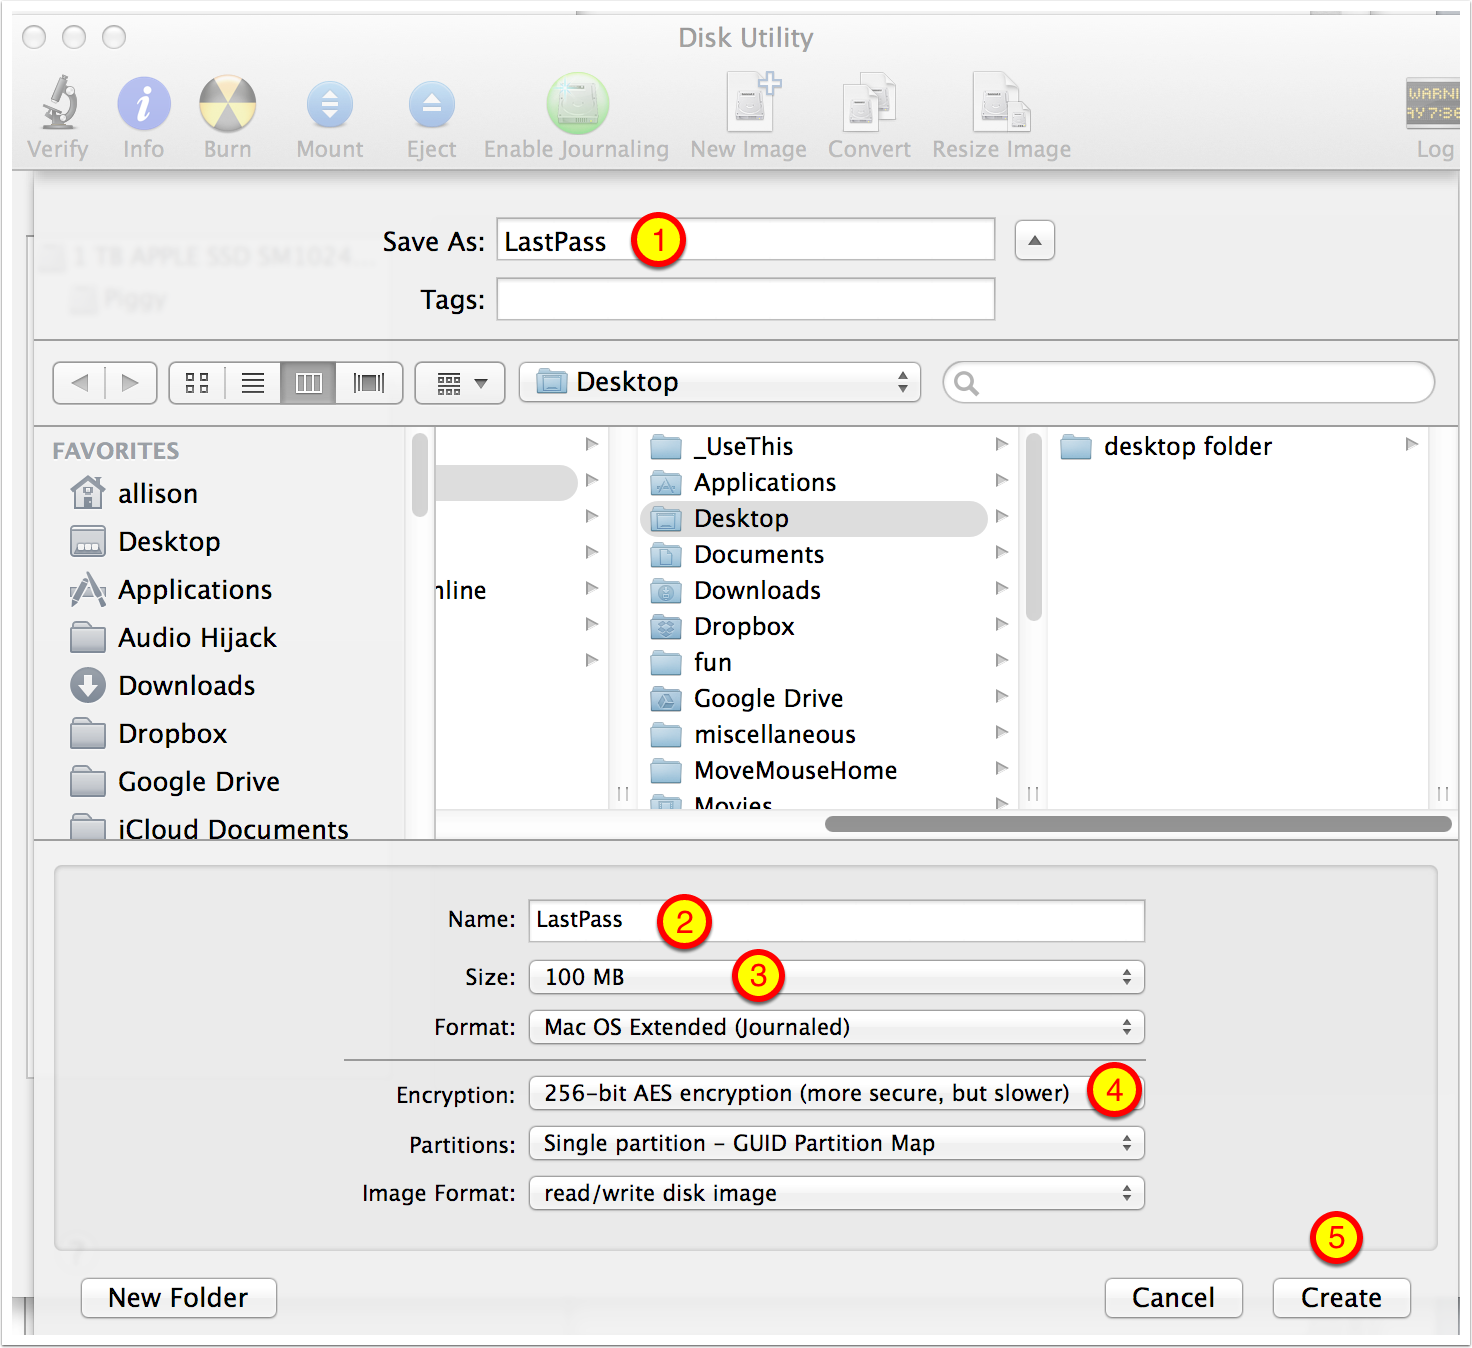
1.1 Give your Disk Image a Title
- Save As is asking for the name of the Disk Image. I’m calling it LastPass and saving to my Desktop
- When the disk mounts the virtual disk needs a name, I’m calling it LastPass again
- Size is probably ok at 100MB (probably could go down to 40MB if you’re low on space as this is just a text file
- Set Encryption to 256-bit AES. Don’t forget this part or you’ve defeated the purpose of creating the secure disk image!
- Hit Create
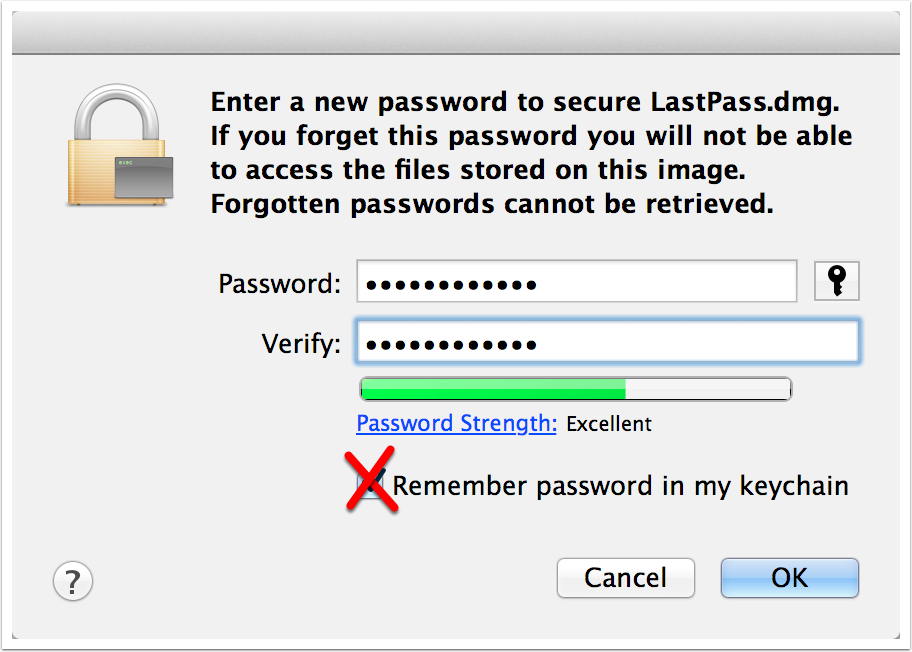
1.2 Create a Password for the Encrypted Disk Image
The default is to remember the password in keychain. I choose not to do that because it means my Mac has stored in it a password to get to my most private information! Defeats the purpose of the password managers we’re using. I UNcheck that option.
You can quite Disk Utility now, we won’t be using it any more.
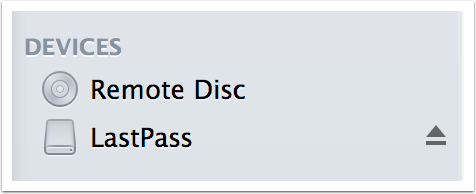
1.3 You Can See Your New Disk Image in the Finder
By default your disk image has already mounted.
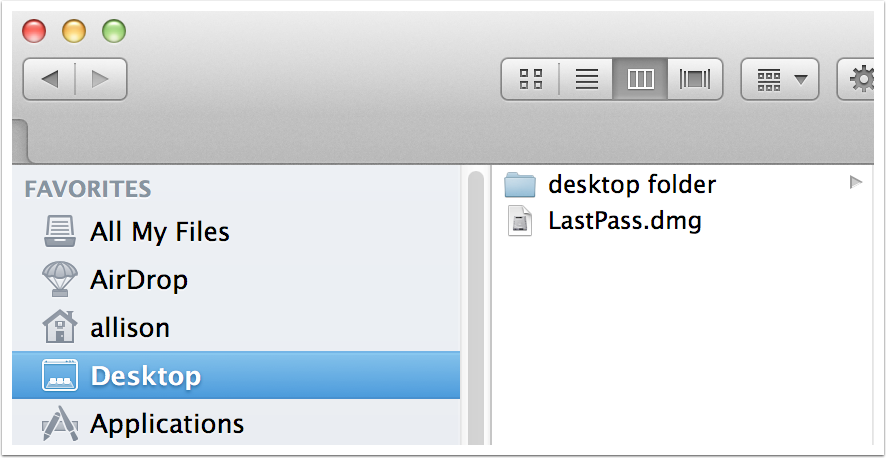
1.4 LastPass Disk Image Mounted
Remember to Eject this when you’re done!
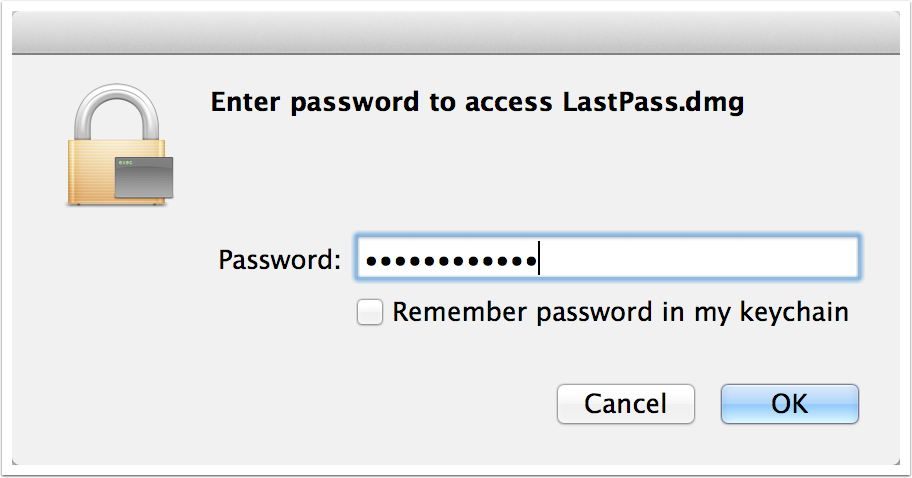
1.5 To Remount the Disk
If you eject the disk before doing the export from LastPass you’ll need to remount it. Simply double click on the .dmg file and you’ll be prompted for the password we created earlier.
2. Export Passwords from LastPass
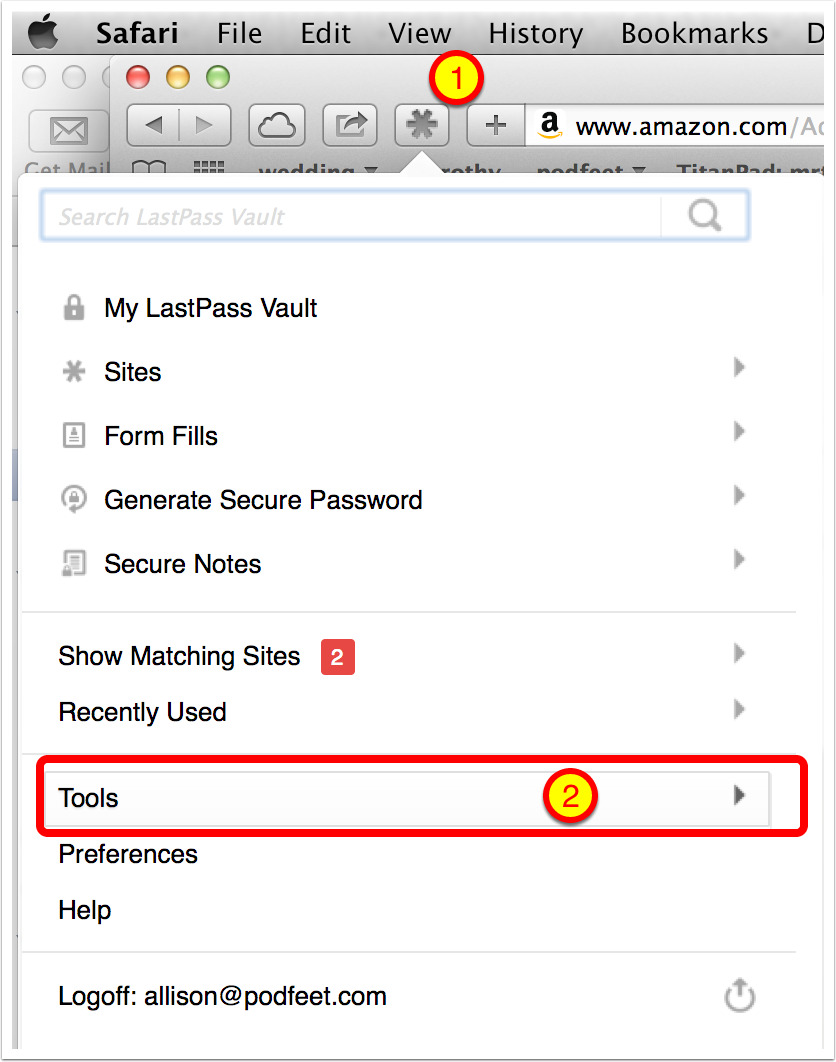
2.1 Open a Browser with the LastPass Extension
Tap on the LastPass icon and select Tools
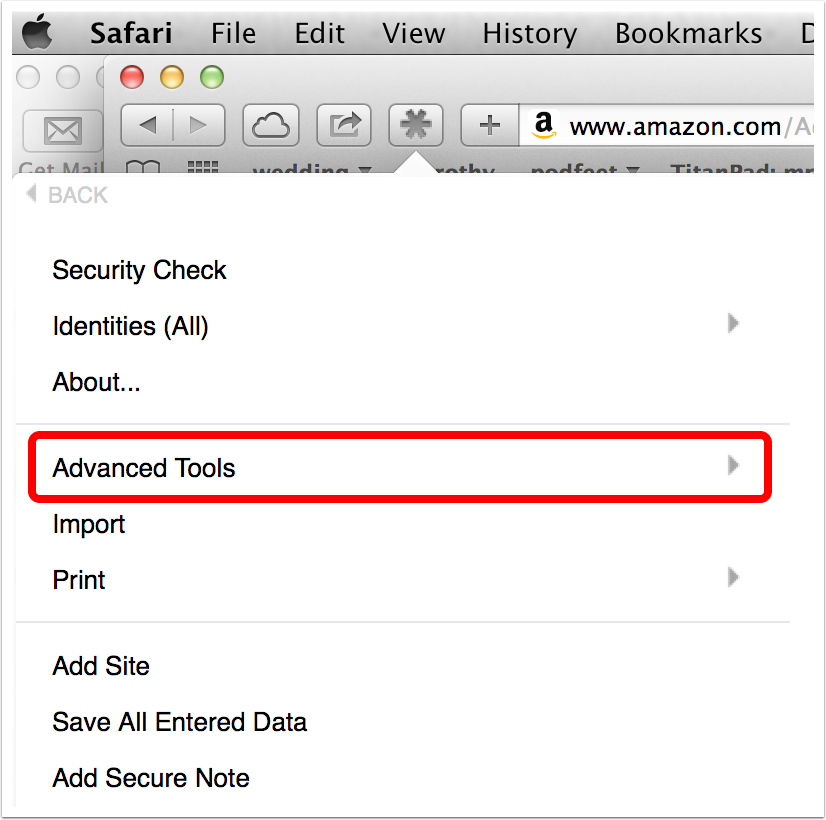
2.2 Under Tools Select Advanced Tools
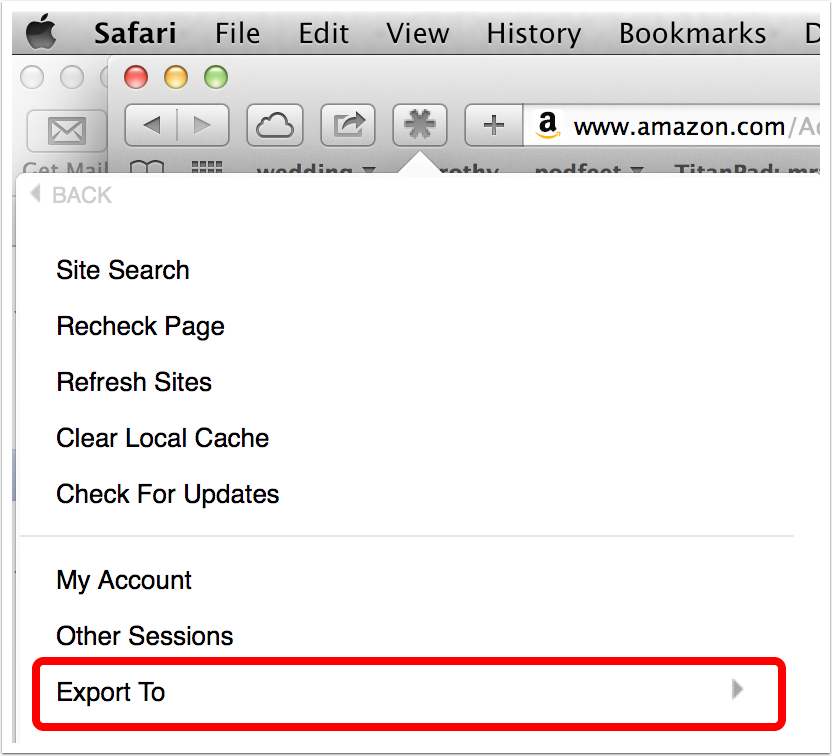
2.3 Select Export To
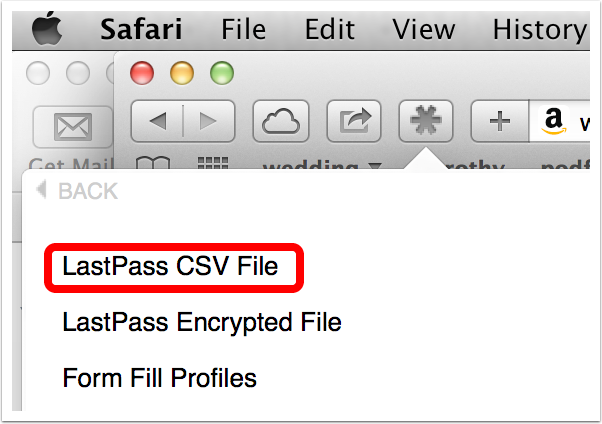
2.4 Select LastPass CSV File
Important Note: You may not get this option, it may just splat your passwords all over the browser window. I have done extensive research to try and figure out why this happens to some people on some browsers but I have not been able to find a pattern. Your data is still secure, so that’s not a concern. You need to copy and paste the text into a text file, but you may still run into problems if it’s not encoded as UTF-8, and no, I don’t know what that even means. If anyone finds the pattern to why this happens PLEASE let me know!
If you do see the screen below, then proceed with joy.
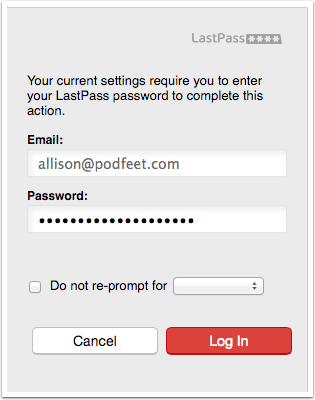
2.5 Enter Your LastPass Credentials Again
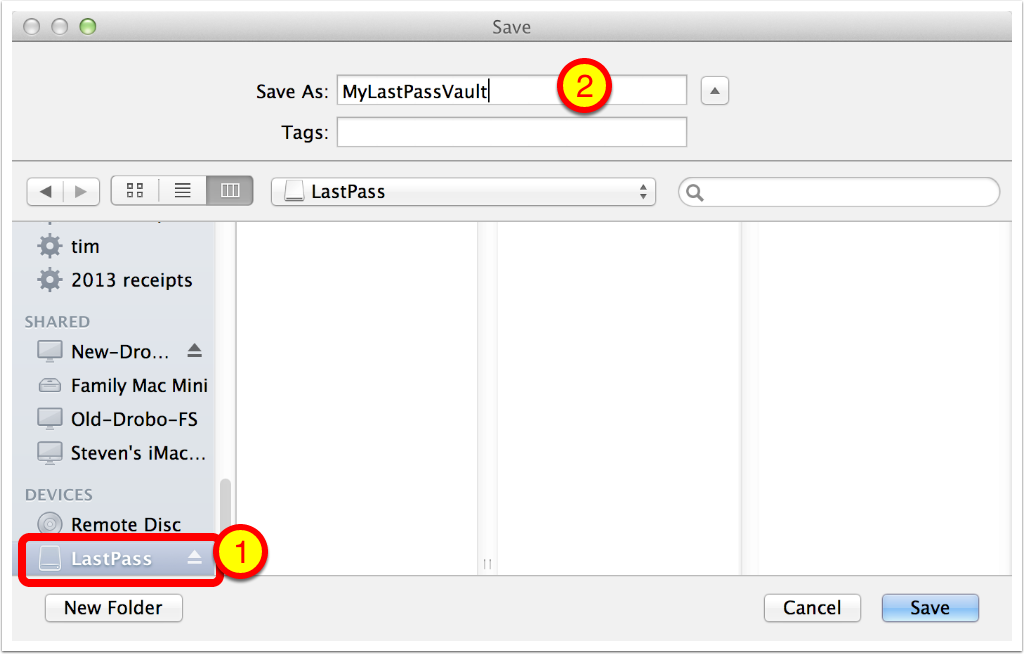
2.6 Save to Your Encrypted Disk
Make SURE you save your vault out to your encrypted disk, not onto your desktop. The data file is unencrypted so even if you delete it later, it coudl still be recovered from your disk.
3. Run the Script to Rearrange Your Password File for Import into 1Password
MrC, one of the moderators of the Agile Bits forums (not an Agile Bits employee), has written a script to rearranged things in your CSV file to make it import correctly into 1Password. This discussion board post gives the link to download the script and within the download are instructions for running the script. Note that the script is written for both Mac and Windows.
https://discussions.agilebits.com/discussion/26346/lastpass-converter-for-1password-4/p1
Please do your own due diligence on vetting this script before using. I had someone vett it for me, but this is literally "a script some guy put on the Internet".
If you choose to skip the script you will have a lot of manual cleanup to do and you will likely lose data in the transfer. For example, a straight import of the LastPass-created export file did not transfer ANY of the 123 software license keys I have in LastPass.
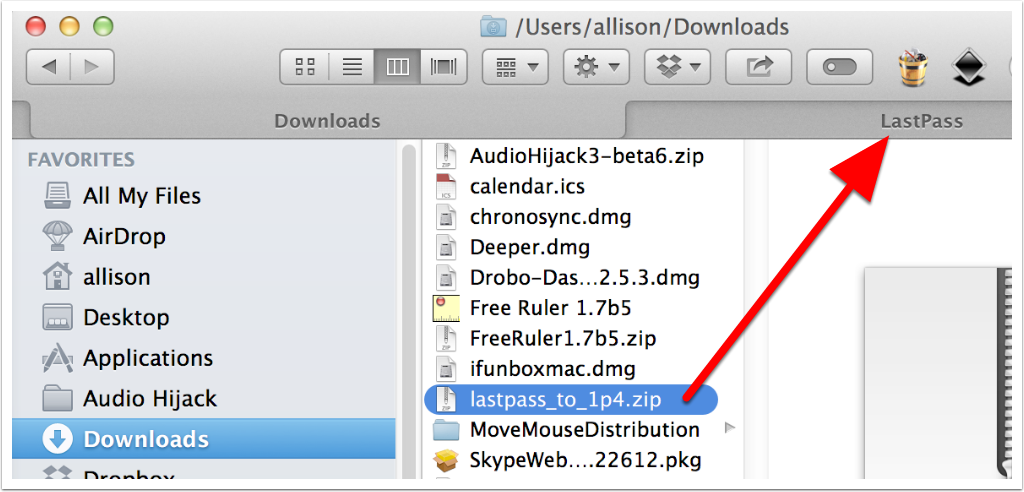
3.1 Move the Zip File of the Script to Your Encrypted Disk
This isn’t mandatory but makes the next part easier.
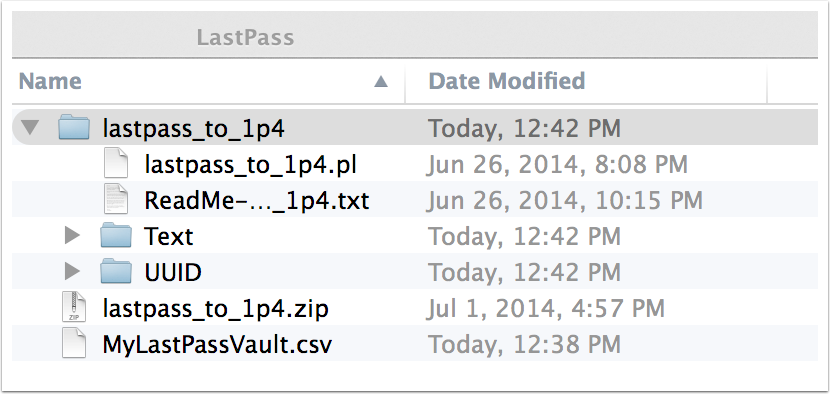
3.2 Double Click the Zip file to Uncompress the Script Folder
You should see four things in this folder now:
- The script itself, lastpass_to_1p4.pl
- The ReadMe – with all of the instructions. We are not going to follow his instructions exactly. Probably a good idea to read, but don’t follow the steps to actually execute the script because we’re going to modify it just a smidge, but a very important smidge.
- A Text folder
- A UUID folder
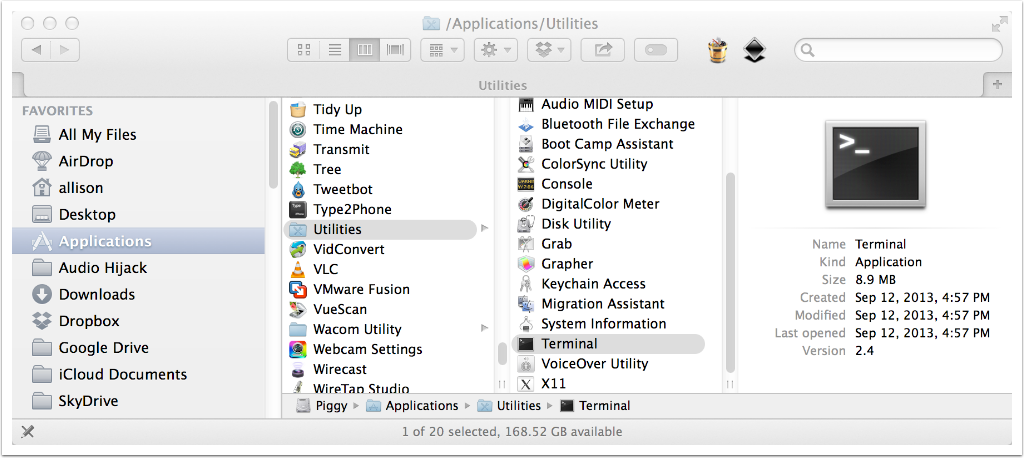
3.3 Launch the Terminal
Terminal is in /Applications/Utilities
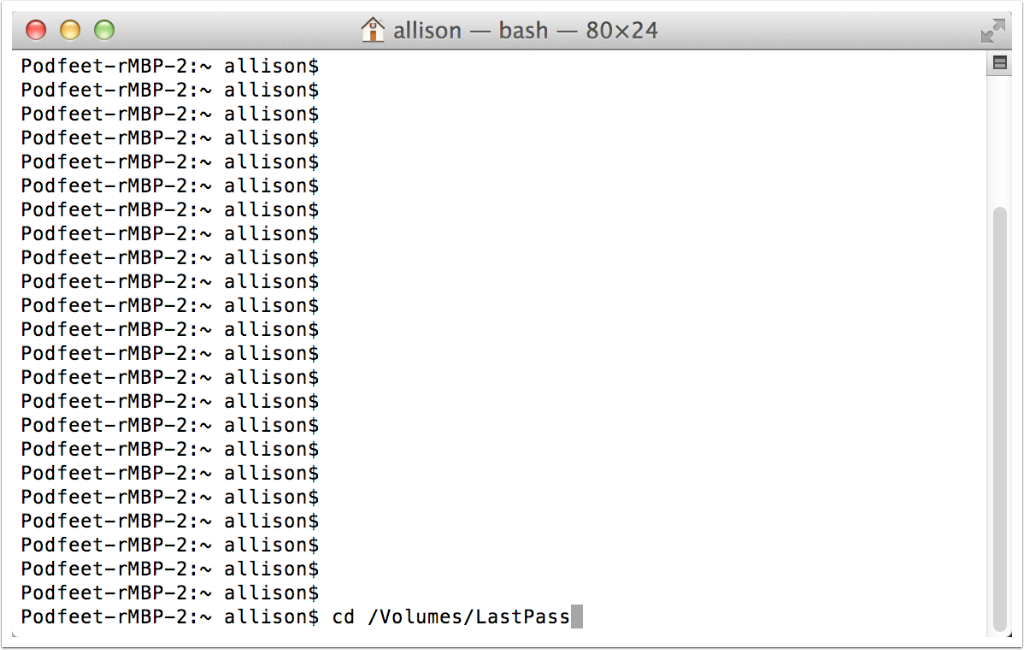
3.4 Change Directory to your Encrypted Disk
The change directory command is cd, followed by the name of the directory. In my case I named my disk LastPass, if you named your disk something else, then add that after /Volumes.
cd /Volumes/LastPass
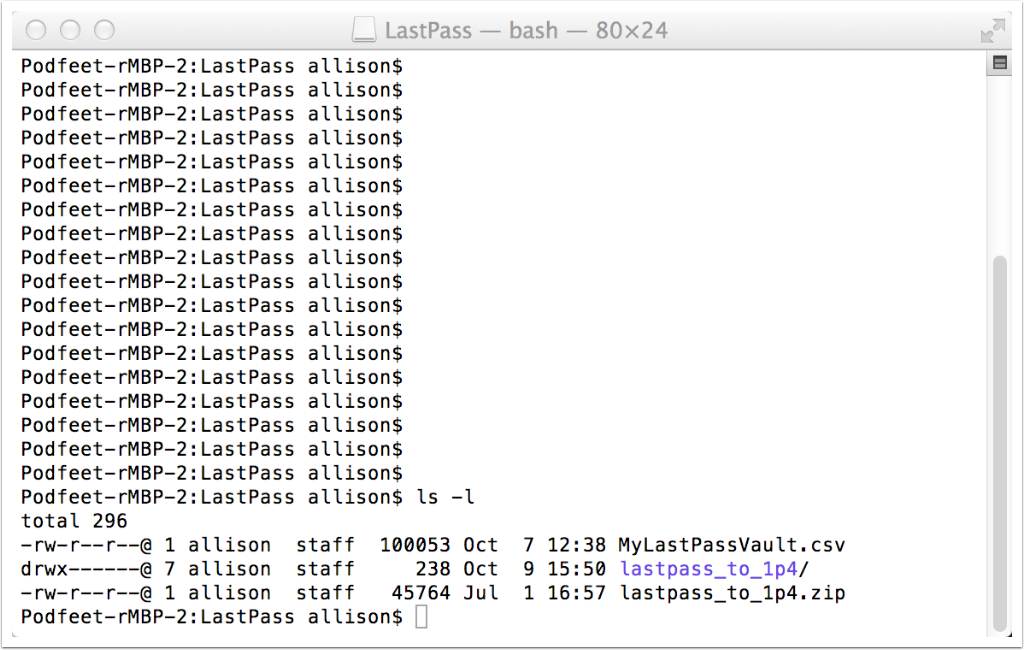
3.5 Verify you are in the right directory
Type
ls -lYou should see your exported file (in my case it’s called MyLastPassVault.csv) and you hsould see the directory for the script, as shown in purple below as lastpass_to_lp4, along with the original zip file.
3.6 Run the Script
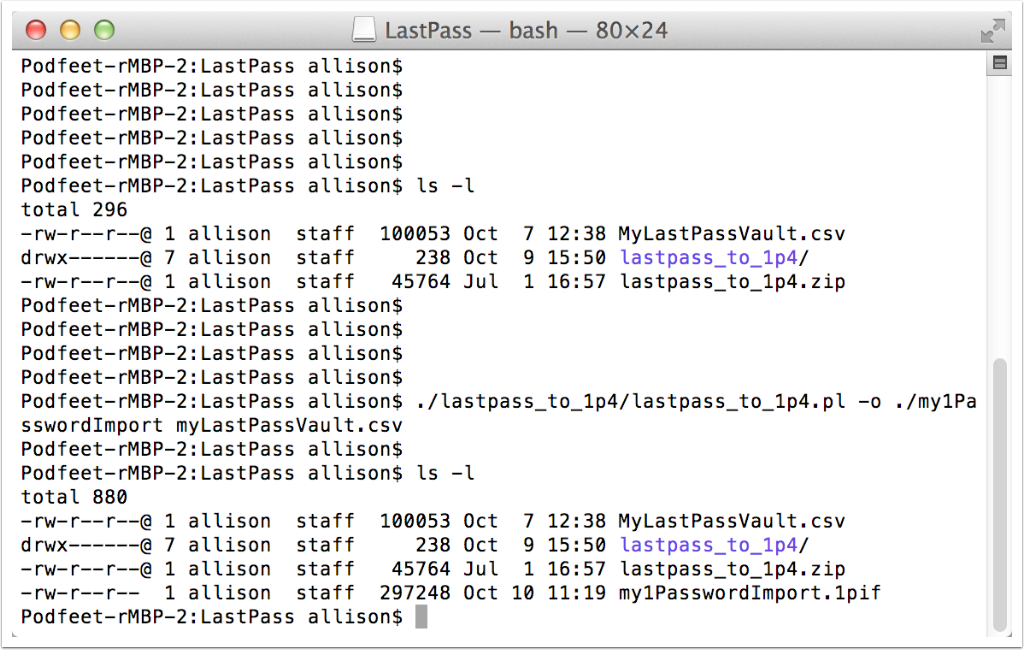
We’re gong to deviate from the author’s instructions here. The author wrote the script so that the output file plops right on your desktop, unencrypted, defeating the purpose of our encrypted disk image! We’re going to tell the script (via -o) that we want the output to be right where we are already.
My exported file from LastPass is called myLastPassVault.csv, and my file created by the script suitable for importing into 1Password will be called my1PasswordImport. If you’re using different names, change them before executing the command.
./lastpass_to_1p4/lastpass_to_1p4.pl -o ./my1PasswordImport myLastPassVault.csvAfter execution, again type
ls -land you should now see your new file (in my case called my1PasswordImport.1pif).
4. Import file into 1Password
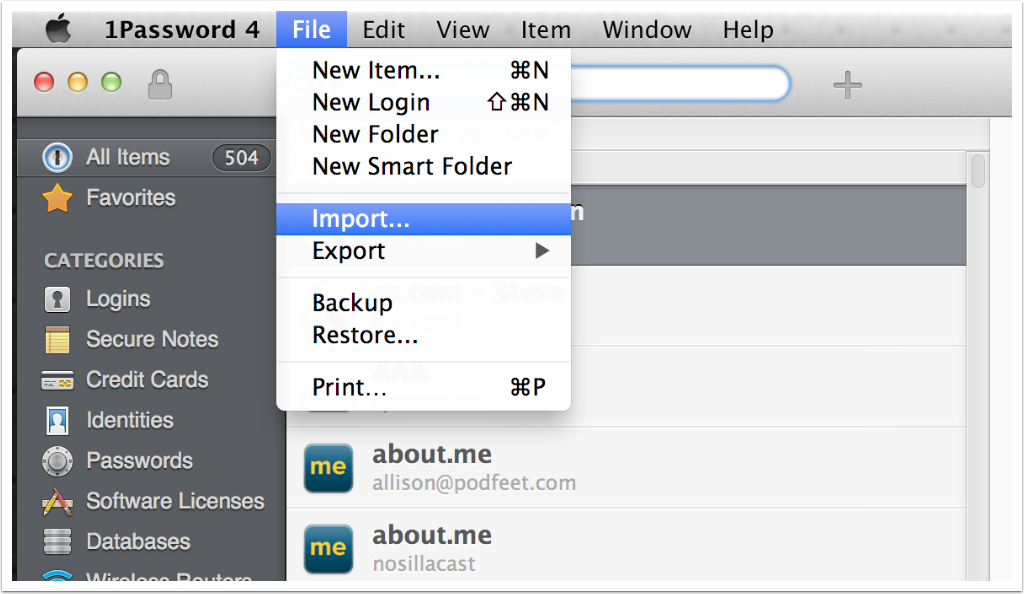
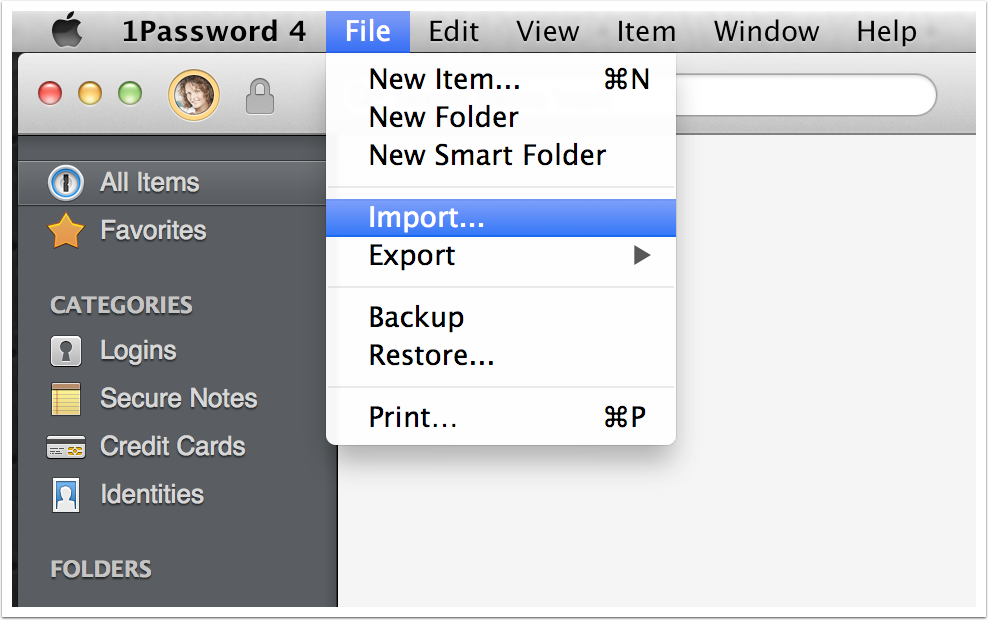
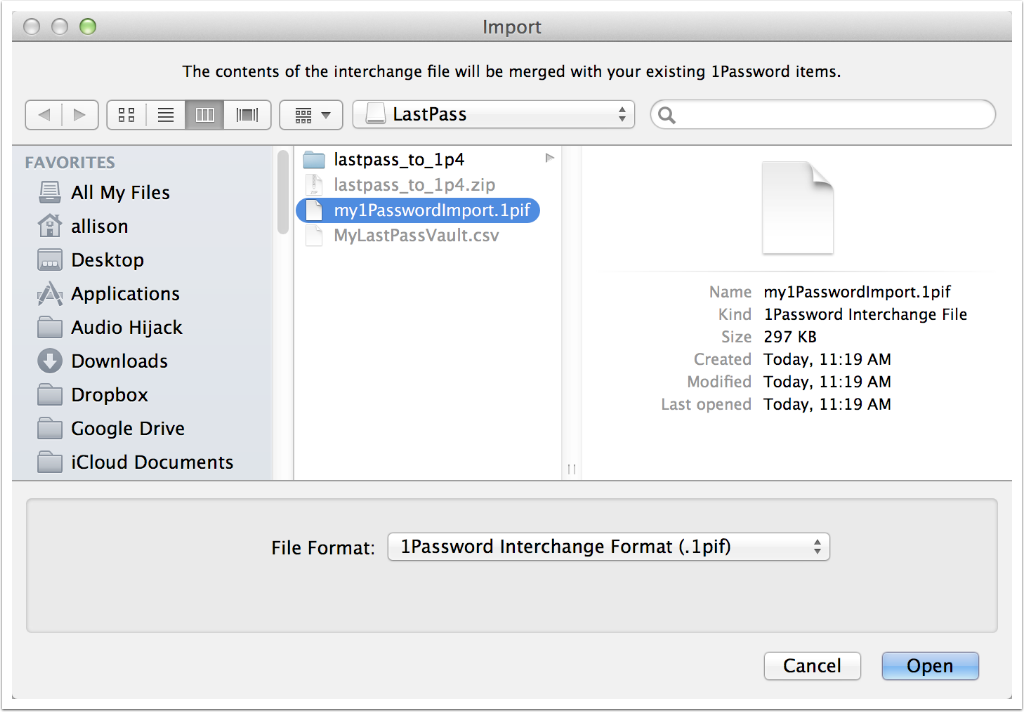
4.1 Import Passwords to 1Password
4.2 Navigate to Your Import File
It should be the only file that’s importable once you navigate to your secure disk, and should have the extension .1pif.
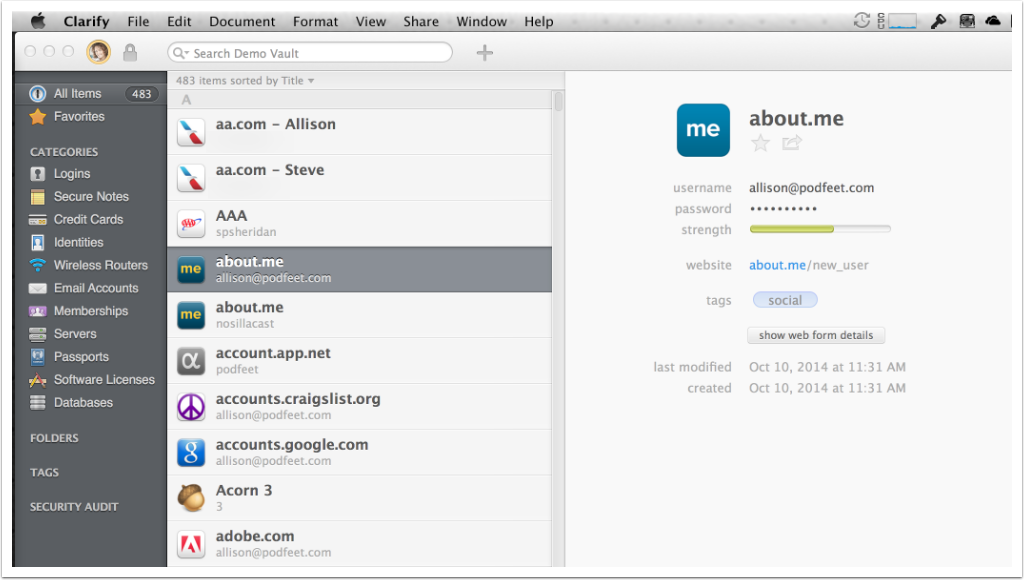
4.3 Success
You should now see your passwords and other items in 1Password.
I highly recommend you look at the number of items in 1Password and compare it to what you have in LastPass. I found that many things still didn’t quite go in the right place or didn’t move over at all. For example, Identities in LastPass isn’t quite the same in 1Password so my credit cards in Identities never showed up in 1Password, nor did my identities show up in 1Password. Not hard to recreate, but just important to realize they’re not there.
The file we exported is only a text file of the data that is inside LastPass, so any attachments do not come across. I had scanned in copies of my passports as attachments, and while the passport numbers were ported over, the attachments of course are not there so I had to hand attach them.
[…] How to Export LastPass Vault and Import to 1Password […]