After the move to an iPhone 6/6+ many people lost their voicemails. If you have a backup made from your previous phone, this quick technique will bring them back. Mike Reyes figured this out and wrote short Terminal only instructions, so for people a little less comfortable in the Terminal, here’s a visual guide. Mike’s original explanation is here: http://mikereys.wordpress.com/2011/10/18/iphone-backup-restoring-visual-voice-mail/ if you’d like the short and concise version!
1. Create a Folder Called voicemails on Your Desktop
Be sure to make it all lower case: voicemails
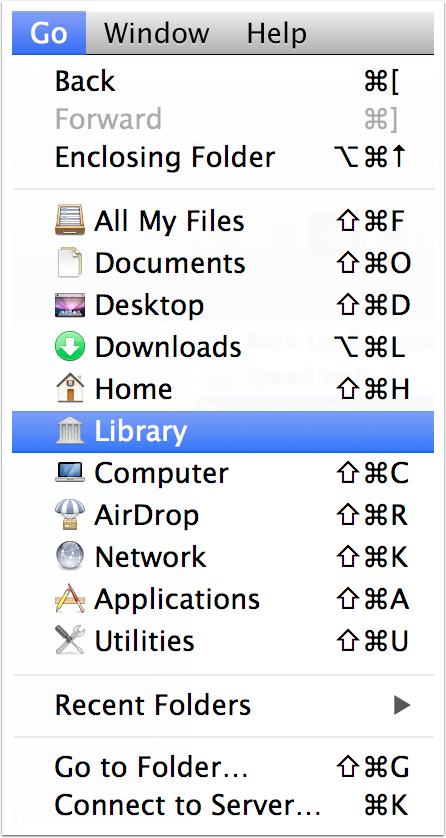
2. Open Your User Library Folder
This folder is hidden by default, if you can’t see it, go to the Finder, hold down the Option key, tap on the Go menu in the menubar and select Library
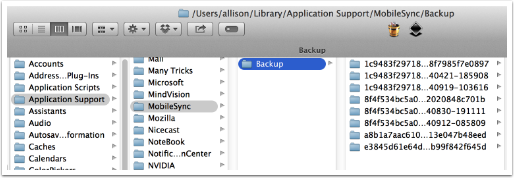
3. Navigate to Application Support, Mobile Sync, Backup
You should see some folders representing the backups you have made. You may have backups from multiple devices if you have an iPad and an iPhone or iPod Touch. If you do, you may need to try this on more than one folder.
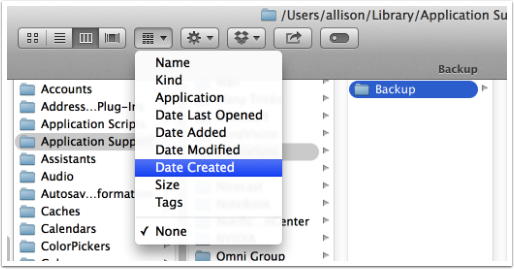
4. Sort by Date Created
If you’re in the column view, you can sort by Date Created as shown, which will help us identify the recent backup before your new phone.
5. Well That Made Things Clear!
Try to figure out which one of these backups is the right one, judging by the date you did the last backup of your old phone.
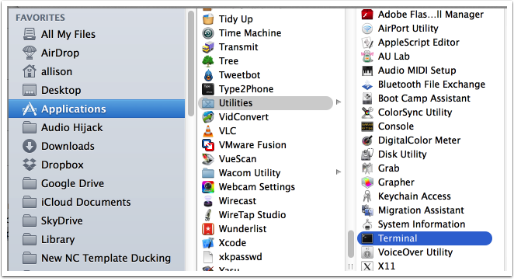
6. Open the Terminal Application
It’s in the Utilities folder, inside the Applications folder.
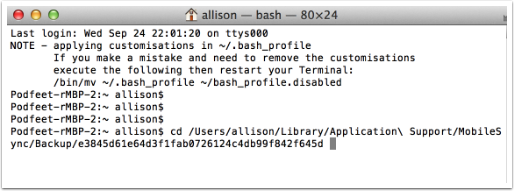
7. Terminal
You’ll see a different name for your computer (mine is Podfeet-rMBP) and your own user name instead of allison.
We’re going to change directories to that Backup folder you just found in the Finder. It’s easy but it’s going to use something called the Proxy Icon that you’ve probably never heard of before.
Type simply:
cdAnd then follow the next step.

8. Drag the Proxy Icon Into the Terminal and Let Go
The Proxy Icon is the little folder symbol in the top of every window. In this case, it contains the file path to our backup and dragging it saves a LOT of typing.
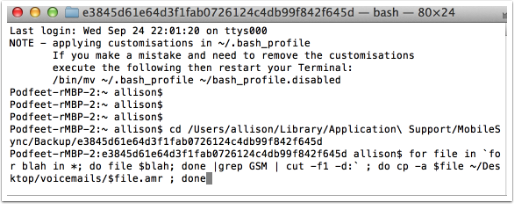
9. Terminal After Dragging
See all the stuff it typed in for us?
Hit enter and the Terminal will change directories (cd) to that backup folder.
10. Copy and Paste This Command Into Terminal
We’re going to paste in the command below which will go investigate every file in the backup, test to see if it’s a an Adaptive Multi-Rate Audio file (format for voicemails) and for every one it finds, it’s going to copy it to the folder you created called voicemails on your desktop
for file in `for blah in *; do file $blah; done |grep GSM | cut -f1 -d:` ; do cp -a $file ~/Desktop/voicemails/$file.amr ; done
Hit Enter. This could take a while, several minutes, so go have a nice cup of tea and come back.
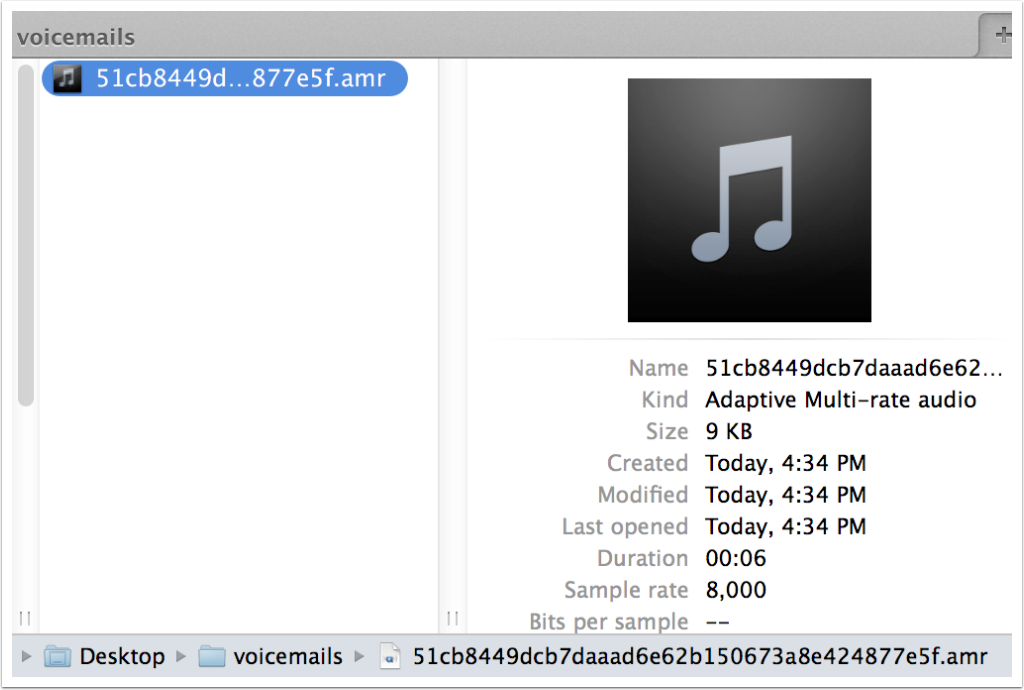
11. Success
In your voicemails folder on your desktop you should now see files like what I show below ending in .amr (Adaptive Multi-Rate Audio) which are you voicemails. You can simply double click them and you’ll be able to open them in QuickTime. You might just want to rename them too!
[…] How to Recover Your Voicemails from an iOS Backup on a Mac (for free) […]