This tutorial will show you how to have all photos in their original size you take on your iOS devices to be uploaded to the iCloud and downloaded to your Mac. It will also enable all photos in an optimized size to be moved onto your iOS devices. With this scheme you won’t run out of space on your iOS devices ever again, hopefully. I’ve tested this with a 300GB+ photo library!
First check the size of your Photos Library, (Get Info on Photos Library in your Pictures folder). You will need ot know this to figure out how much storage you will need in the cloud.
This process will use a lot of data, so it is suggested you perform these steps while on an Internet connection that doesn’t cost you a lot for data transfer.
1. Mac
We’ll start by setting up iCloud Photo Library on your Mac where we’ll store all of the original full-sized Images
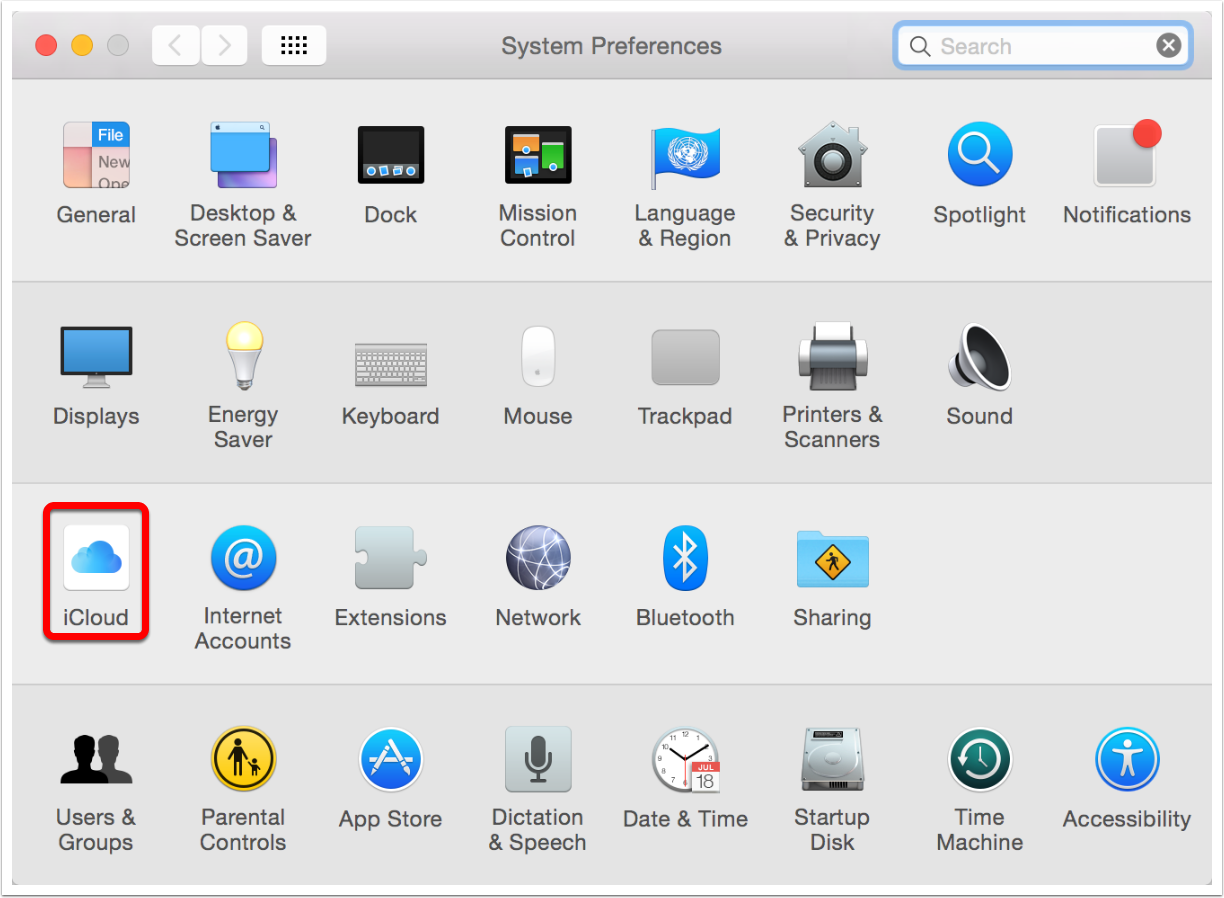
1.1 Open System Preferences and click on iCloud
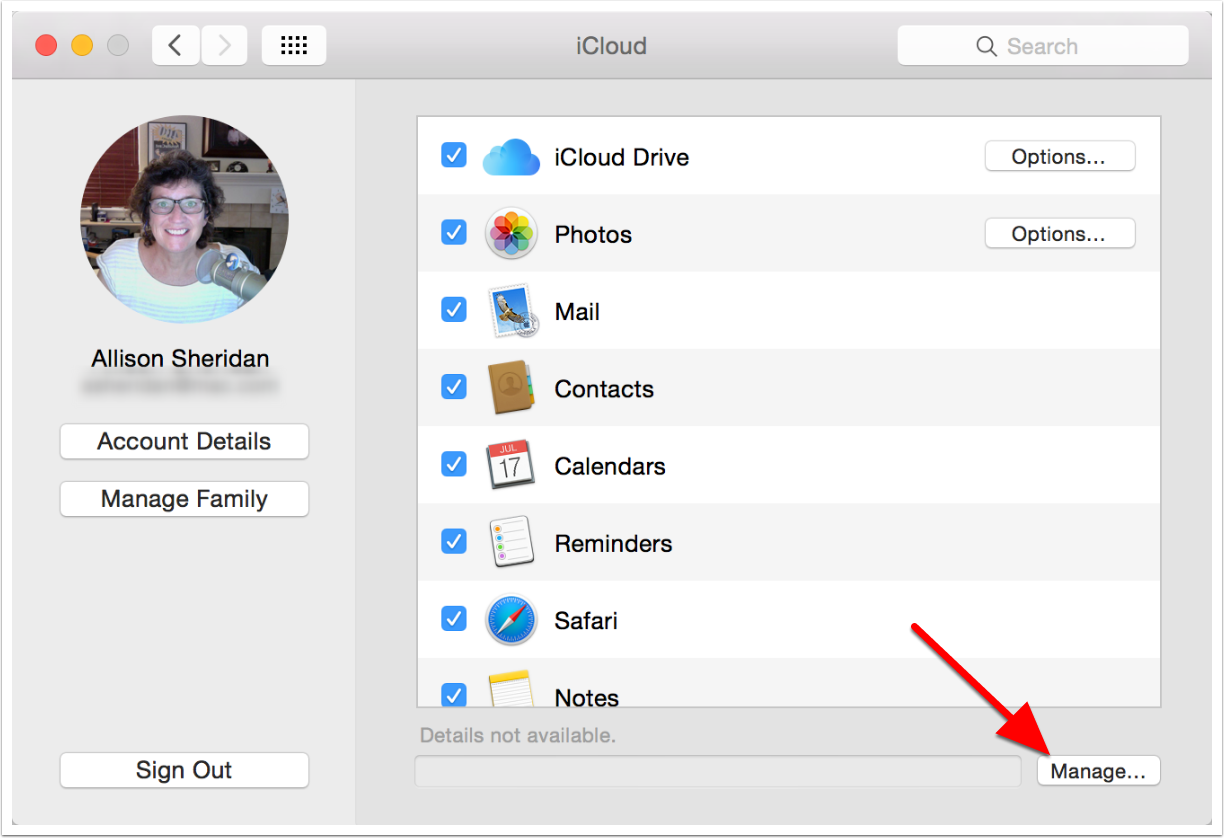
1.2 Select Manage
In this step you’ll authorize charges for storage space on iCloud.
1.3 Change Storage Plan…
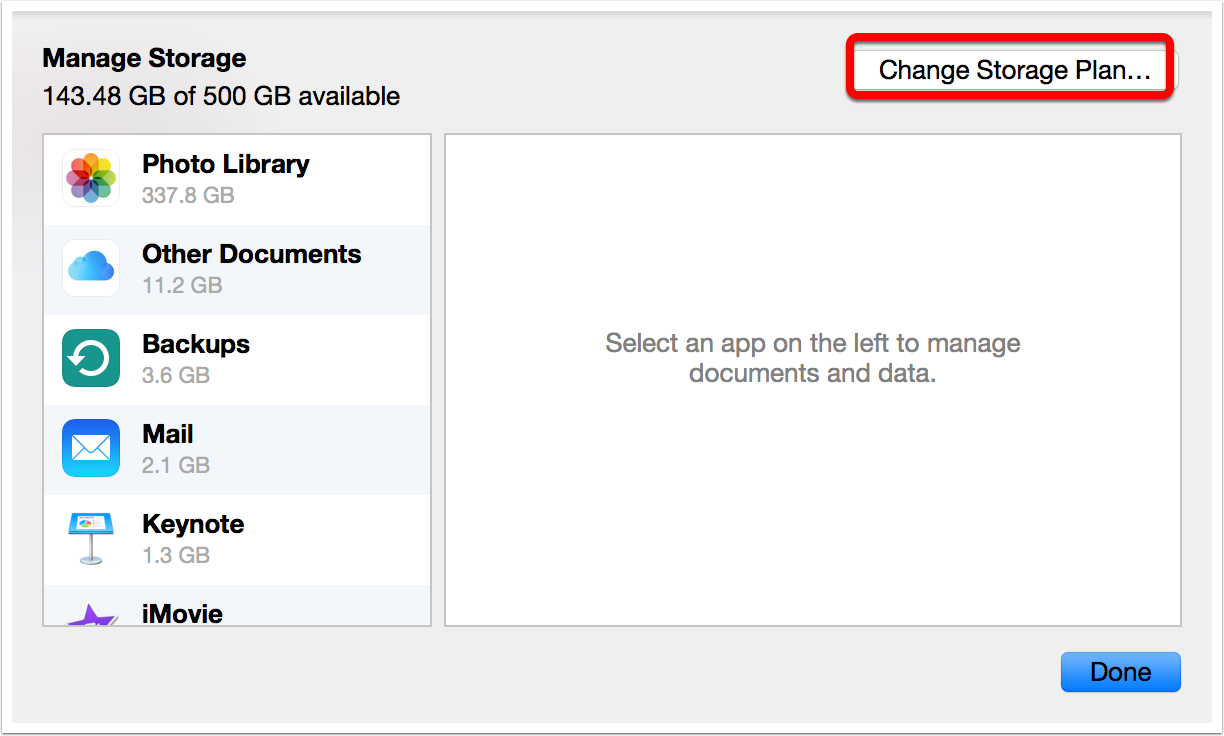
1.4 Choose a Storage Plan that Will Accommodate Your Entire Library
Like I said I have a HUGE photo library, but you will be able to see much lower options like 200GB for only $2.99/month or even 50GB for $0.99/month. Even if you do have a giant photo library like I do, you’ll see a better option than what I can show you as of the time of this writing; the 500GB plan has been removed and you will be able to get 1TB for $9.99/month.

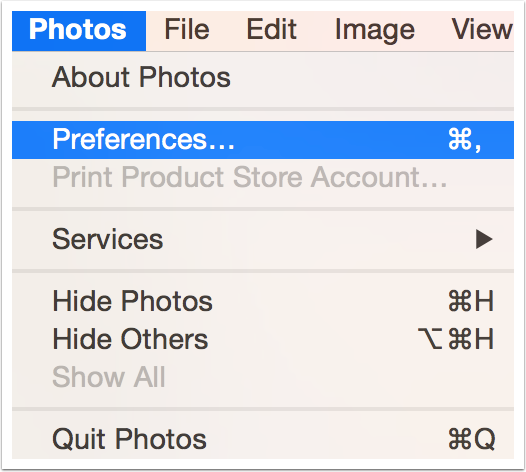
1.5 Photos Preferences
Launch Photos and select Preferences… from the Photos menu
1.6 Set Up Preferences for iCloud Photo Library
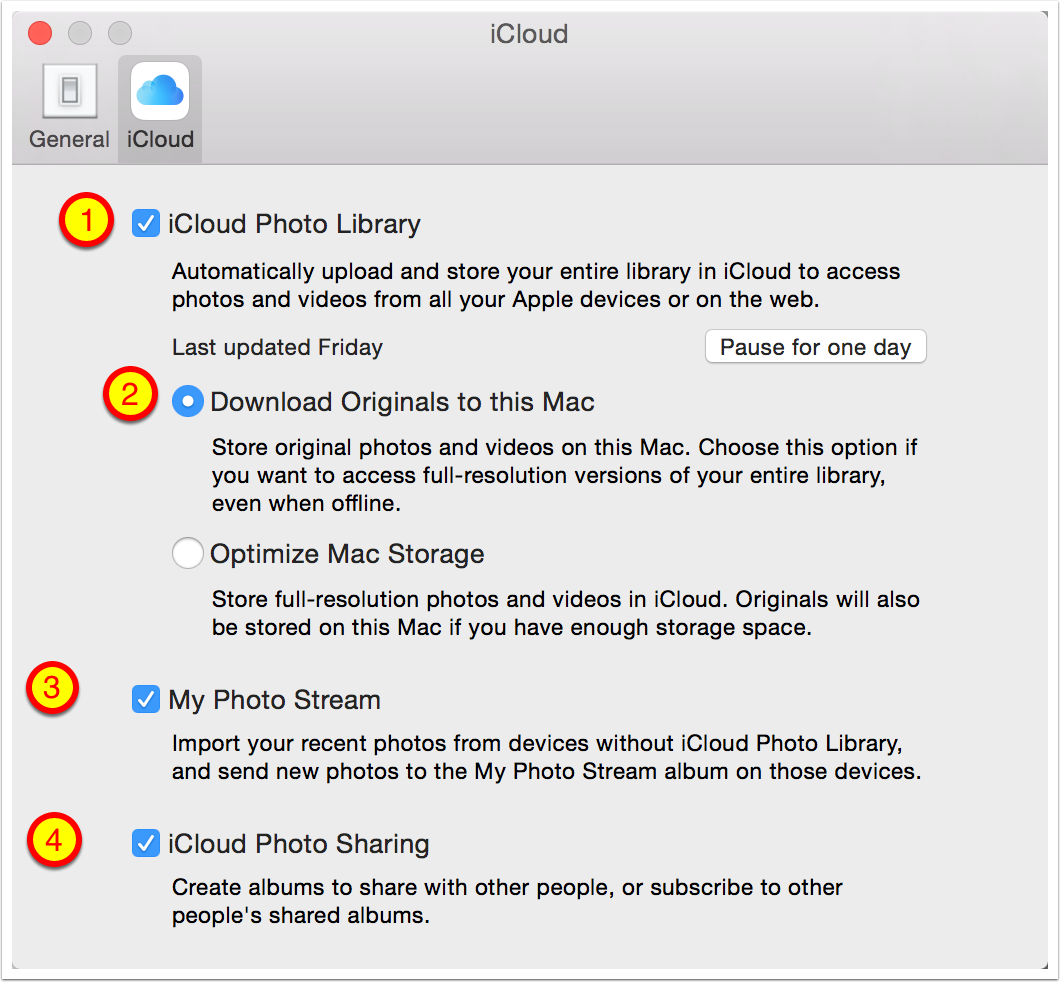
- Check to enable iCloud Photo Library
- Check the radio box that says Download Originals ot this Mac. This will move the originals from your other devices (iPhone, iPad, other Macs) to your Mac so you have them all locally somewhere. On the iOS devices we will not be enabling originals, but rather optimized images to save space
- My Photo Stream is only necessary if you have some devices for which you’re not enabling iCloud Photo Library
- iCloud Photo Library is still useful to share photos with others so enable it
You can close the Preferences window. If you want you can open it back up at any time to watch the progress of moving your photos from your other devices to this Mac. It can take a long time to execute this, and depends on the size of your library (the originals are also uploaded to the cloud), and the speed of your Internet connection. If you find your network slowing down for other activities, you can Pause this action. It says Pause for one day but in reality it pauses until you push it again to restart it.
2. iOS – iPhone/iPod Touch/iPad
Now we’ll set up your iOS devices to have only the optimized images
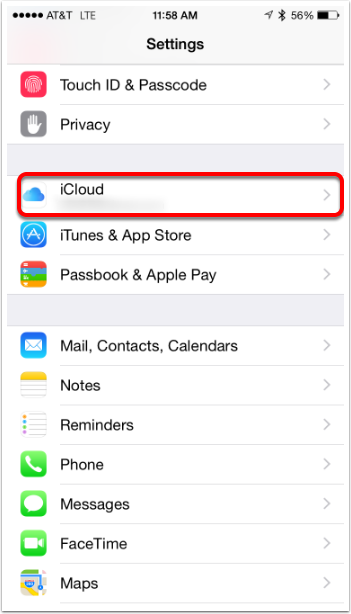
2.1 Open Settings
Tap on iCloud
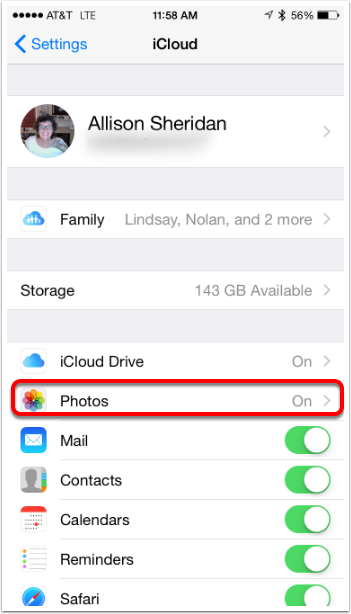
2.2 Select Photos
2.3 Turn on iCloud Photo Library
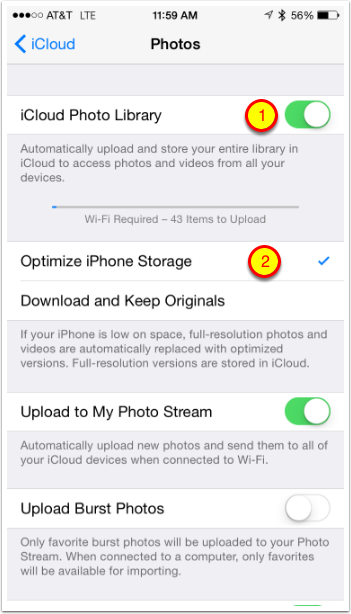
- Turn on iCloud Photo Library and you’ll start to see your photos begin to upload to the cloud (and in the background download to your Mac). Note the message that says Wi-Fi required that ensures you don’t get charged a fortune for the data transfer.
- Tap on Optimize iPhone Storage. Photos will automagically figure out how many images and the sizes of those images you can see based on how much free space you have. You’ll always have thumbnails of all of your images, and if you tap on an image it will come in blurry at first and then you’ll see a download indicator that shows the optimized image coming down from the cloud.
My 300GB+ photo library only takes up about 15GB on my iOS devices!
3. Enjoy Having All of Your Photos On All of Your Devices
Happy Happy Joy Joy!