Hello, this is Jill from the North Woods. When I got started in podcasting, Allison was so great and helped me in so many ways and gave me advice on things I knew nothing about, including microphones.
The first microphone I owned came as a recommendation. It was the ATR-2100. This microphone, as she told me, built the podcasting world. It was the one that many people started with, and it was something that was widely available, low-cost and sounded great. I jumped all over that. That was exactly what I was looking for.
Am I going to like podcasting? Am I going to keep up with it? Or am I just going to quit as soon as the pandemic is over? So, getting a low-cost microphone that is reliable, durable, and has been proven to be great for podcasters was right up my alley. And so that’s what we’re going to talk about today, my tale of three microphones that I own, and maybe it will help you pick the right microphone for what you’re looking to do.
ATR-2100
So here I am on my ATR2100 microphone, my first microphone. Don’t you always remember your very first microphone? I know I will.
This is made by Audio-Technica and currently costs around $50. It has both USB and XLR. That’s why I liked it so much too. Allison said I could use it everywhere. I could plug it directly into my Mac, and then when I become a sophisticated XLR user, I’ll be able to plug it into an audio interface.
So, it has everything. This is a dynamic microphone, and honestly, it worked great regardless of where I plugged it in. Back at the beginning of my podcast, when I plugged it directly into my Mac, now that I have a Scarlett audio interface, it also works great. ATR2100

It has a microphone jack right on the microphone so that you can plug your headphones in and monitor, which is important so that you can hear what noises are coming in and how you sound, and it helps to get rid of all the extra noise that’s not directly near the microphone.
So you can hear things that are coming in close to the microphone, but it drastically falls off when I back away, or I go side to side. It helps make sure that your podcast sound is very quiet. Has a nice on-and-off switch, which is great in case you want to make sure you turn it off. And again, it’s very durable. You know that this thing is just going to outlast everybody. I felt in the end that it made my voice a little bit pitchy. Maybe we’ll hear it on this podcast. Maybe it was just my imagination.
Shure SM58
So I ended up deciding to move to my next microphone, but I also got it based on Allison’s suggestion. It was the Shure SM58 and the reason I got this microphone is it came with the Shure MVI digital audio interface. This was going to be my next step.
It gave me the ability to plug in an XLR cable. It also had a mute switch, which I really wanted to have. Allison talked about the power of having her mute button. It also has volume, compression, gain control which is how which you’re going to boost the sound. It also has what is called phantom power, which helps, again, power the mic, which makes sure that your sound is loud enough without boosting the gain too much. I’m not going to get too nerdy in all of this.
But I wanted the interface, and so this mic came with it. And I did end up, in the end, liking the sound of my voice with this microphone a little bit more than I did with the ATR. With the ATR, I thought it was a little bit pitchy, but this one seemed to have nicer tones. I liked the darker tones of my voice too, and I thought it enhanced those tones better. Shure SM58 and MVI Bundle
Shure MV7
Then that led me to buy the Shure MV7 podcast microphone. The reason I got this one is, first of all, it was a lot cheaper than the very high-end version, the SM7B, which is probably the most expensive of the Shure microphones used for at least podcast recording. But this has a pop filter built into the microphone, and it allowed me to get away from all the contraptions. Felt like I kept whacking into things and making a mess and getting whacked in the face with the pop filters. This doesn’t need it.

This allowed me now to have more control over my voice. It sounded great. I thought that this had such a good tone to it. Like the SM58 and the ATR2100, my other microphones, this is a dynamic microphones. They say it’s broadcast quality. I think the other ones were good broadcast quality too.
However, I did like my voice the best on this one. Again, I’m probably going to listen back to all these recordings on these different microphones and find out there wasn’t any difference between any of them.
This also has the XLR or USB interface on the backend. So, I can plug it in directly to my Mac, or I can plug it into an audio interface like the MVI or the Scarlett interface. And that way, it will be able to get that better sound, which some people say you have when you’re using the XLR cable versus the USB cable.
But after doing some research for this particular podcast, I heard a lot of people say they heard no difference between the two. Now, again, I’m not an audiophile. I’m not a sound engineer, just a normal nerd trying to put out a podcast.
The microphone itself has some level controls on it, some volume. I can see whether I’m peaking directly on the microphone, although it’s kind of weird because if I’m looking at the microphone, then my face isn’t in the right position to actually talk. So I haven’t found that to be too useful.
And it also can plug, again, monitoring headphones into the bottom of the mic. The mic also has a mic mute, but it’s easier for me to control the mute through software than it is through actual buttons on the microphone, primarily because, again, you’re looking at the material that you’re talking about on your podcast instead of looking at the microphone itself.
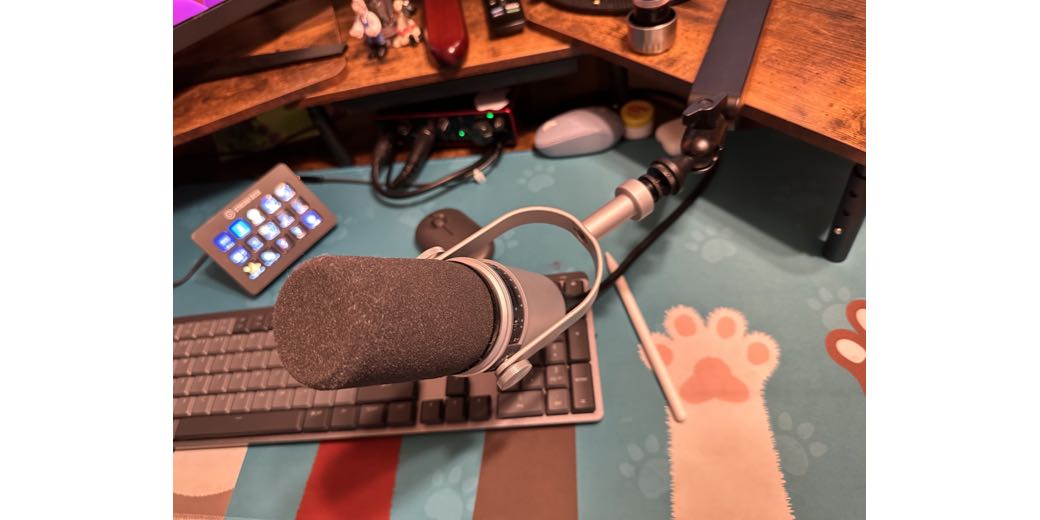
It has an interesting sort of swivel mount to it. The other microphones were just kind of your standard stick microphones that go into a bracket. This one has a little bit of a curve to it. There’ll be pictures in the show notes. And so it allows a little bit more, what they say, versatility because you can kind of tilt it and angle it. I found getting those other two microphones to be in the right position sometimes a little tricky. But with the way that this mount works, I can easily tilt it and angle it exactly how I want to angle it. People say that it has good tones. I thought so, too. Shure MV7
Motive App Controls

Again, I thought my voice sounded better in it. When it comes to all the Shure microphones, this Shure MV7, you can use the Motive app, which comes on Mac and on iOS. Plug the microphones directly into those devices using USB, and you have some onboard controls. You’ll be able to change how much gain is coming into the mic, and it even has some EQ settings. And doing some other types of voice warming, other kinds of settings that you have only when you’re using these mics on a USB situation, like plugging directly into your Mac. Motiv for Mac [Motiv for IOS] (https://www.shure.com/en-US/products/software/shure_plus_motiv) Motiv for IOS Video and Audio
I thought that it was neat how you had all these settings, but as I was doing more reading about it, people were saying specifically not to use those settings, primarily because whenever you change a setting on the recording side of things, it’s what they call destructive, which means you can’t get it back. So if I were to limit my tones and change my tones on the mic itself using the software, I could never get back exactly what it did.
If I change those tones in the editing process using something like the filters that come on Hindenburg, some filters that exist through Apple, and something like iZotope, which allows you to edit your audio, get rid of breathing and other types of problems, those types of edits are not destructive, which means if I went too far, I noticed on some of my podcasts the last syllable of my words were getting clipped, I could go back and fix that and try to make it better without actually destroying the recording at all. So you have a lot of editing power.
The only time they say that you should use these various sure settings is if you’re recording something and you’re not going to have time to do any editing. They’re pretty darn good. So if I’m going to do an ad hoc podcast on the road and I’m immediately going to post it and send it out, those settings on the microphone are to be great for giving me a better sound without doing any editing. So, this is my favorite mic. I really enjoy this mic, and I have no urge to buy another mic, thank goodness, than the one I have.
So, there you have it, my tale of three microphones. Hopefully, it gives you a good idea of maybe what kind of microphones you want. Even if you’re interested in other brands, you can see side-by-side what different levels of microphones sound like. What kinds of things a more expensive microphone will give you? And whether or not it’s worth taking that leap going from USB to XLR, those are those big thick cables, and whether it’s worth your time.
I hope this review helped you in deciding what kind of microphones maybe you want to get. Do you want to spend money, or do you want to stick with the microphone you have? It’s a complicated and trying dilemma when you’re trying to have a podcast and have it sound really good. And if you have any questions, you can always look at the blog articles on Allison’s website or email me at [email protected]. Thank you very much for listening and let me know what you think.
I know by now that Jill is from the North Woods. But exactly WHERE are the North Woods?