
Hello NosillaCastaways, it’s Allister Jenks here from New Zealand once again.
I recently mentioned in the NosillaCast Slack that I use TextExpander to expand DMC embroidery cotton numbers to the official colour names. Allison asked why I did this and when I explained, she put me on the hook for this contribution.
 In a nutshell, my wife Elli designs her own cross stitch patterns and then sells them. What follows is a description of how I use Serif’s Affinity suite of products to go from the raw materials to the product we deliver.
Elli uses a Windows application called EasyCross (now discontinued), which runs in a VirtualBox VM. Before any keen cross stitchers write in and tell me about Mac-native software, she’s tried it all, and none of it measures up for her. As much as I’d prefer she have native software, I do agree with her assessment. Once she has created and stitched a design, usually over a period of many weeks, I will see a clear sleeve of papers, including the pattern, left out somewhere I will see it, which tells me it’s time to do what I do.
I start with the outputs from EasyCross and the finished product itself. EasyCross prints the pattern with a key, but the key is rudimentary to say the least, so we only use the pattern in the final product. To get this into PDF format for easy printing, we use a freeware product called CutePDF which acts as a Windows printer driver but creates a PDF. Did I mention I’d prefer a Mac-native tool?
What I then create consists of:
- A new key, with additional stitching information
- A front cover for the packaging
- A back cover for the packaging
- A colour photo in multiple different forms for different uses
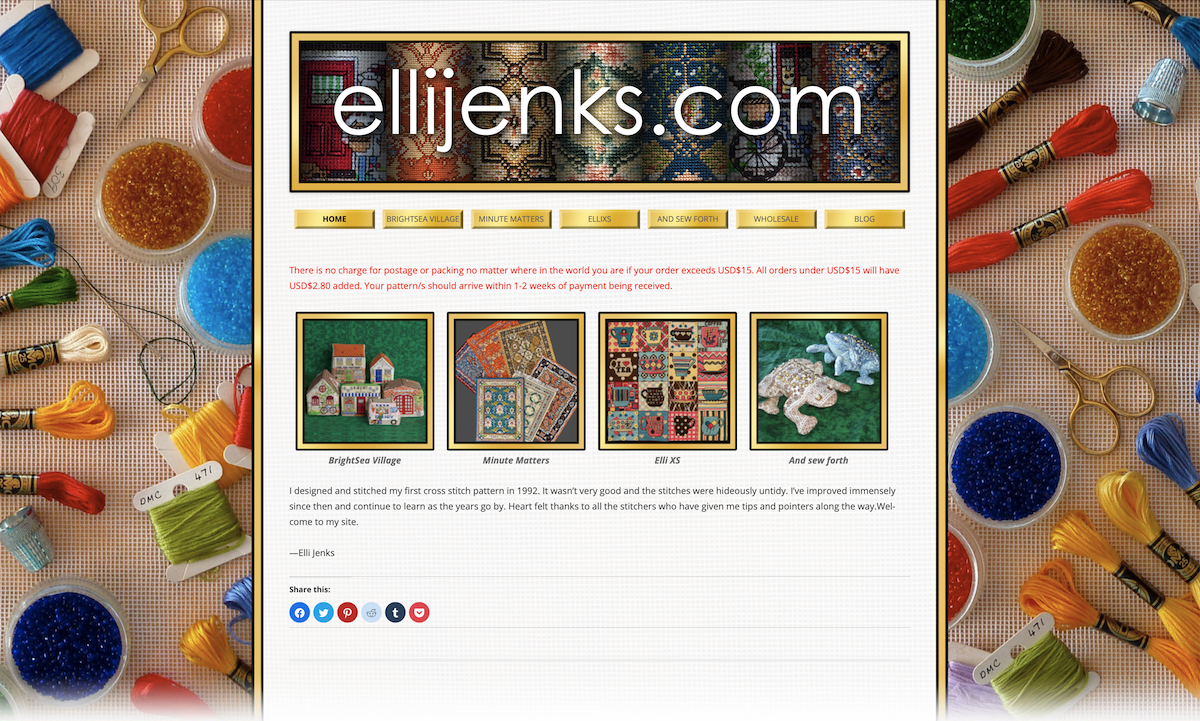
- A product page on Elli’s web site
Before I continue, I need to differentiate our product lines. “Minute Matters” was the original line which comprises mostly miniature carpets intended for use in twelfth scale doll houses. “BrightSea Village” is a series of 3D designs which comprise the many buildings, and a few vehicles, of a fictional seaside village. Finally there are a few other designs, some flat some 3D, that fall outside these main product lines, including a keepsake pyramid and a floppy frog.

Affinity Photo long ago replaced Photoshop for all the work on photos. For 2D designs, the needs are fairly simple, usually starting with a scan of the finished item. This is “cleaned up” (cross stitch projects are notoriously never “square” when completed) and output in various sizes for the different uses. I also combine these later with a scan of the completed front cover (which itself contains one of the photos) to use as the main “product shot” on the web site and internet auction sites.
For the BrightSea Village designs we take two photos showing all sides and one square on the front which is used on the web site catalogue page. I put all of these into a single document that I have evolved to produce most of the required variations of output by means of turning layers on and off. I still need to produce some “two up” variations separately but these are simple combinations of output from the main file.
Next comes the fun part, though it wasn’t always fun. In the very early days I used Adobe InDesign which I had access to via my employer. When I lost that access I had to resort to … Apple’s Pages. It ceased to be any kind of fun, but rather a battle every time I wanted to do anything different. The fun finally returned, in good measure, when Serif released Affinity Publisher.
In Publisher I create the suite of “documents” which all end up as PDFs for ease of printing. These are placed in a shared folder from where Elli prints them out on a laser printer (excepting photos which are printed on a colour inkjet) and assembles the packages.
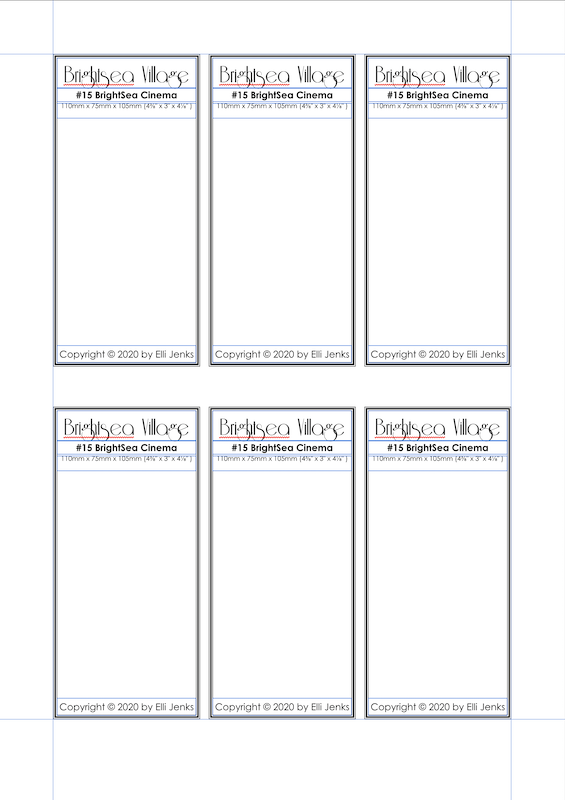
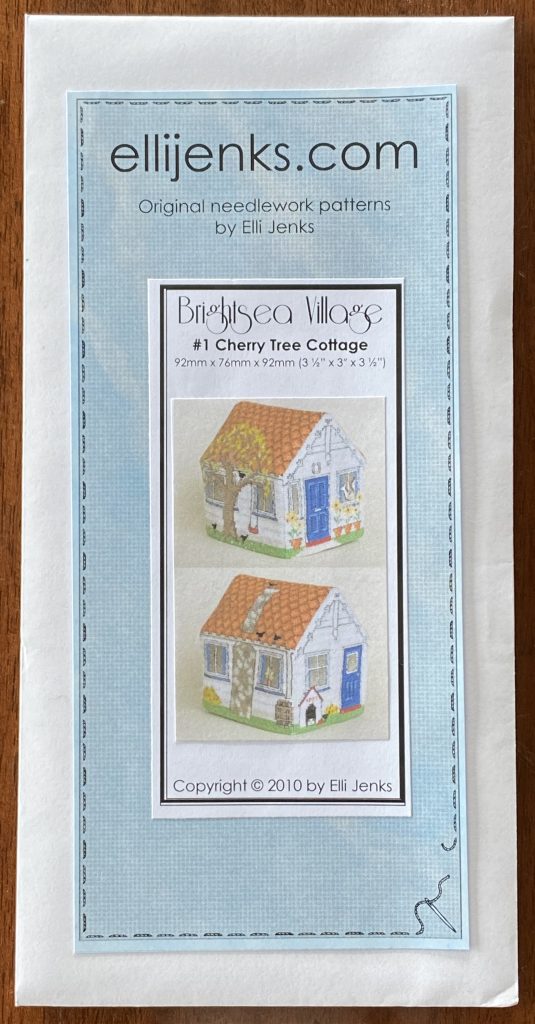
A “package” is based on a DLE-sized envelope. On the front is stuck the front cover which comprises a standard branding sheet printed on coloured paper, underlying the product name-plate with some basic design info, underlying the product photo. On the back is the back cover which has information on the materials needed to complete the design. Inside are the pattern, key, and in the case of BrightSea Village products, a large colour photo insert.
Each of the PDF documents I create is “multi-up” in that I include multiple copies of each element on a single A4 sheet for printing. Six front covers, or six back covers, or typically a dozen or more photos in a single sheet. In Pages this meant creating one of the six, getting it checked, and then copying and pasting five more. Affinity Publisher theoretically needs the same approach. Affinity Designer has a feature called Symbols, which allow you to take any object or group of objects to use as the basis of a Symbol. You can then create copies of that Symbol elsewhere in your document and editing of any copy reflects changes in all of the others. With Affinity’s Studio Link feature, I can quickly switch Publisher into Designer mode, select my text frame group, create a Symbol from it, then make 5 copies of that Symbol. Switching back to Publisher mode I can edit any one of the six frames and all of them update in real time! In practice, I always create new documents from the previous design, so I don’t even need to switch to Designer mode, just edit what’s on the page and they all stay in sync.
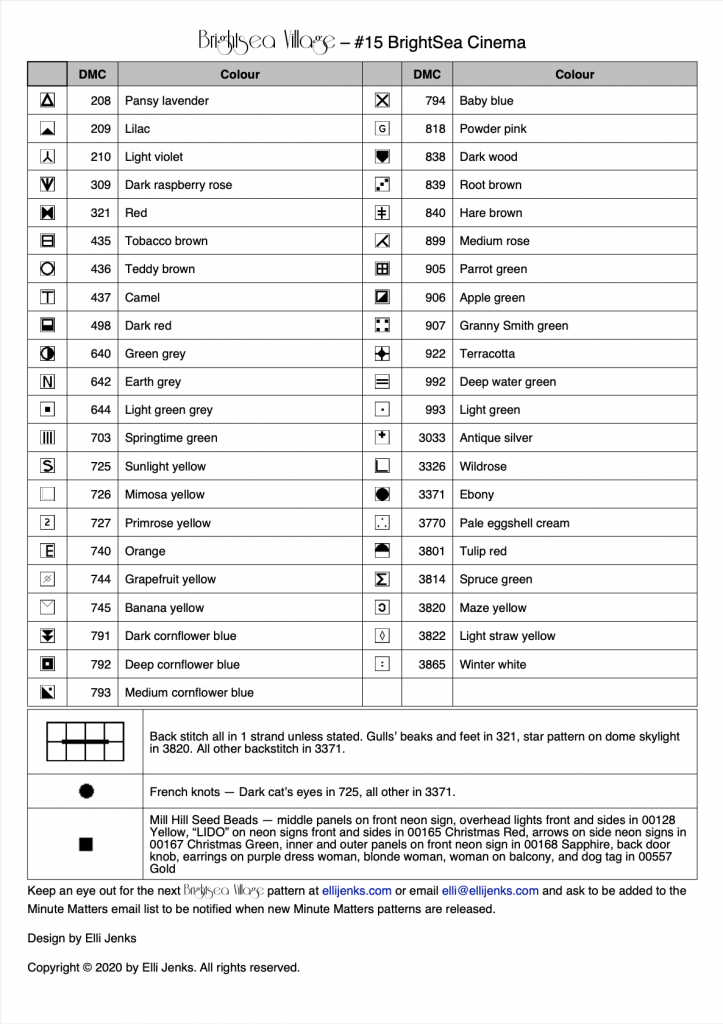
The most work goes into the key, and Affinity Publisher has paid dividends here, too, as anything I can imagine to put on the page is possible. The key can contain, in some BrightSea Village designs, up to 40 different colours. These are arranged into a two column table which lists the pattern symbol, colour number, and colour name. This is where the TextExpander snippets come into play. Using the original EasyCross key as a guide, I populate my table first with the colour numbers, triple checking them before I move on to the names. The names are easy, because where I see “334” in the number column, I simply type “dmc334” in the name column and “Pale indigo blue” appears as if by magic. The symbols come last. These are each a small GIF that I cut from the EasyCross symbol picker and have named based on a grid system. As I base all new documents on previous designs, as much as possible I try to re-use the symbols already in the document. Next I go through and insert the missing ones, but these appear at their default size of 2.2mm square, and I need them to be 4.2mm square. A very useful feature of Affinity Publisher is I can select all the images that need resizing, select “resize individually” in the toolbar, than resize them all in one go!
There are a couple of other text frames with additional design information, some boilerplate text, a copyright statement, and a web site address. I sometimes have to shuffle these around to fit everything on the page, including having to squeeze up the main table if there are 40 colours! I’ve never yet had to go past the single page. Which is useful, not only to save on printing costs, but also because there is a second page to all keys.
This second page contains a series of “stitching methods”, each with a diagram. I used to have a PDF of this page and after producing a new key PDF I would drop in the second page by means of Preview or PDFPen Pro. Of course I would always forget this step. Elli used to think I was testing her proofreading skills, but sometimes she’d find a small error months later and I would correct the error and then forget to add back the second page!
Affinity Publisher has another great feature for this. You can ”place” all sorts of things in Affinity documents, including images as for the stitch symbols, and other Affinity documents. I have a separate Publisher document containing the stitching methods and for each key I “place” this on a blank second page, completely covering it. This is a linked asset, so every time I export a PDF of a key document, Publisher automatically includes the content of the stitching methods document.
Once all this is created and checked, production begins with the assembly of many packages simply by printing out the PDFs in quantity and gluing covers and inserting patterns and keys and photo inserts where required. All future production of the design is solely reliant on the PDFs, too. Meanwhile the Affinity documents live in a carefully crafted set of directories on my Mac and when the next pattern is ready, I start by copying a complete set and then go about editing them to reflect the new design.
I’ve left out any detail on how I get them on the web site because it is quite complex and some of it was created so long ago I’m not sure I know how it actually works any more. We use WordPress with some 3rd party plugins and a few of my own customisations including using PayPal merchant services to act as a shopping cart and payment processor.
Now that I have honed my processes with the Affinity suite of products, I no longer dread the process as much, though meticulous checking is never fun and it seems never 100% successful.