
I’m a big fan of portable USB-C displays. My current love is the $500 ViewSonic VX1655-4K OLED portable display. It’s a 15” display that’s super thin and light, and it’s an essential tool when I record the podcast during the live show when I’m on the road. A 4K display gives me the screen real estate I need for all of the tools I need to run.
But maybe you have different problems to be solved. In small workplace brainstorming meetings, it’s not uncommon to want to be able to show people what’s on your screen. Maybe you conduct demonstrations to potential customers. If you’re on a video call, it’s simple to share your screen, but what if you’re together in real life? Dragging out a projector can be a hassle, and constantly rotating your laptop screen around is clumsy. If you turn your laptop so they can see, then you can’t see.
A normal portable display is easier to move around than the laptop, but what if you could have an external USB-C display that was double-sided? People on both sides of the table (including you) could see the demonstration all at the same time, and you’d still have your internal display available for your notes.
Or, what if you need a lot of screen real estate, or you like a vertical display for reading long documents?
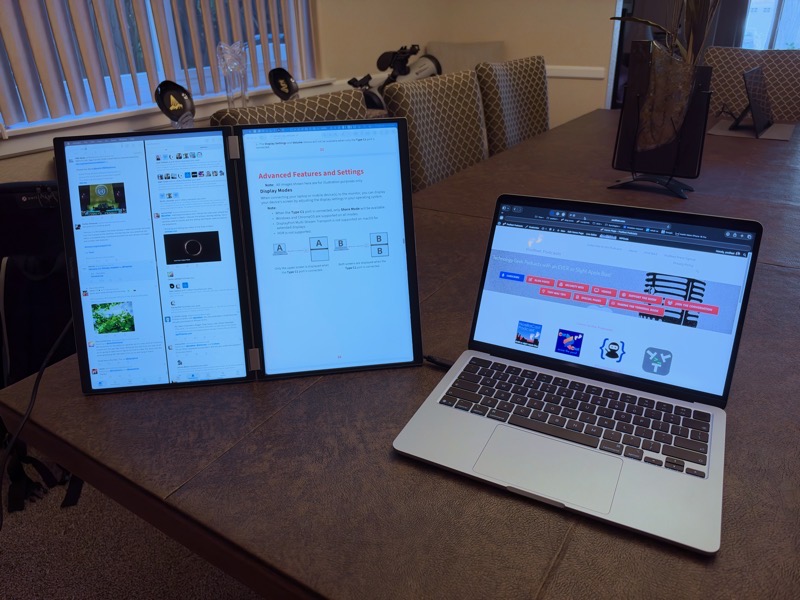
When ViewSonic offered to loan me their new ViewSonic VG1457 14″ Foldable IPS WUXGA Dual-Screen Portable Monitor, I thought this might solve a lot of those problems. This is the most flexible and interesting display I’ve ever tested. It works with macOS, Windows, iOS, iPadOS, and Android.
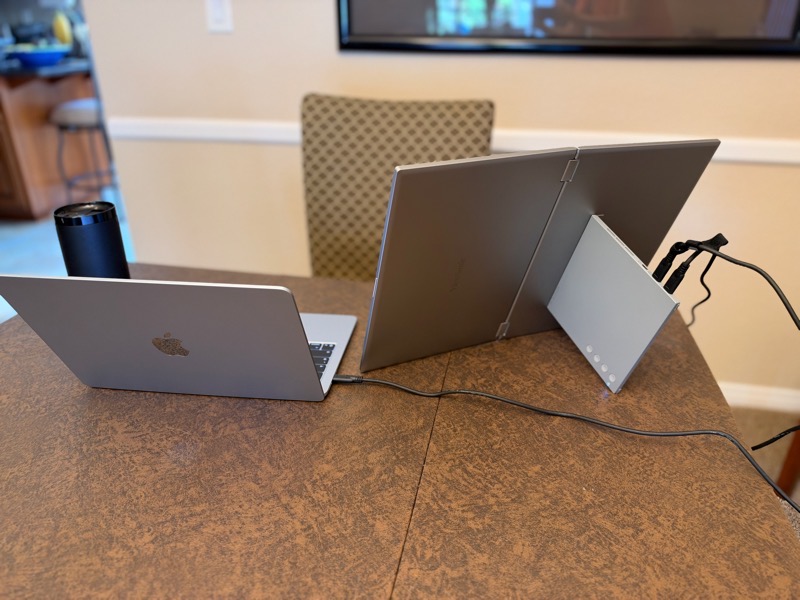
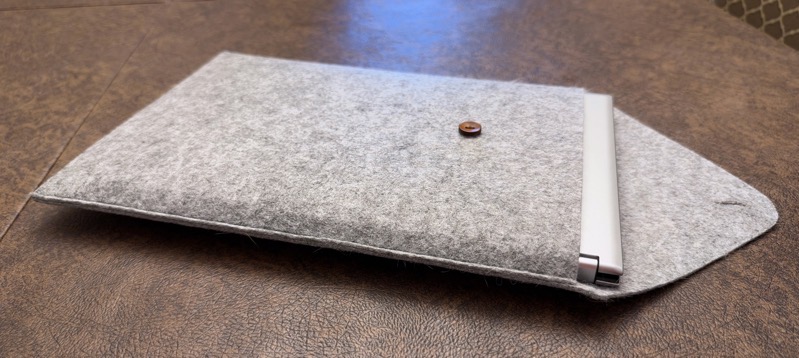
The VG1457 is made up of two hinged 14” displays, each with a 16×10 aspect ratio. When folded closed, it’s around .6” thick, which is surprising for two displays combined, and only weighs 2.6lbs. That’s about the same weight as a 13” MacBook Air. The VG1457 feels quite thin as you slip it into the included felt envelope.
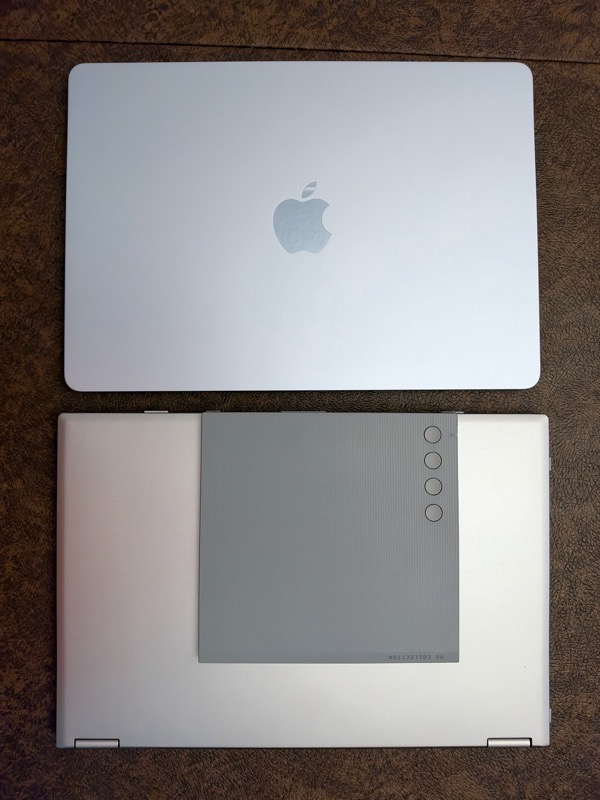
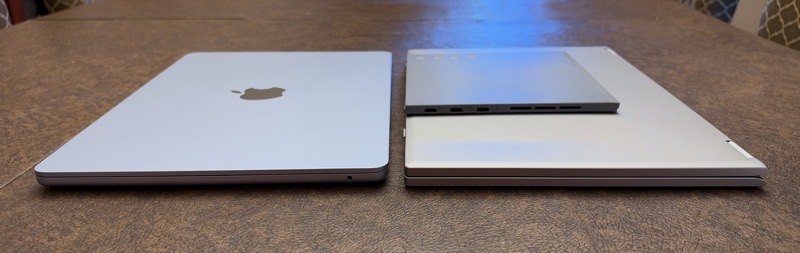
One of the reasons I love ViewSonic portable displays so much is that they have a very sturdy kickstand in the back, and the USB-C cables plug into it flat against the back of the display. This makes cable management much easier than the other displays I’ve tested, and it’s not floopy like the ones that use their origami cases to stand up. The kickstand on the VG1457 can rotate continuously out to 90°, and it’s got a rubbery surface on the bottom so it’s very secure.
When you open the dual-display VG1457, you have several configuration options available:
- Tent mode where one display faces you and the other away from you
- Two landscape displays, one above the other
- Two portrait displays side by side
In all of these configurations, even the tallest, the displays feel very stable on the kickstand.
In order to use the dual displays the way you want, you have to learn two things: how to plug them in, and how to use the physical controller. I guess it’s three things; you also need to modify display settings on your Mac and PC.
3 USB-C Ports
On the side of the display’s kickstand, you’ll find three well-labeled USB-C ports. The bottom one is for power. The VG1457 can be powered by your laptop, but brightness will be limited to only 70%. If you find on your current displays that you keep brightness at 100%, you may find the VG1457 a smidge dim at only 250 nits, but for most people that might be fine. If you plug in the included 65W power supply, you get 100% of those 250 nits.
The spec sheet says the VG1457 supports Power Delivery, which means you should be able to charge your laptop with pass-through while getting full brightness. In my testing, though, with the included power supply plugged into the charging port, I did not get power pass-through to my MacBook Air.
I explained the situation to Claude, and asked whether it was possible I was doing something wrong. I’m not sure why this isn’t documented, but it explained that to get Power Delivery from the VG1457, you need to plug the USB-C power cable into whichever of the display ports you’re not using. By that I mean if you’re running dual displays, plug power into the single display port, not the power port. I gave it a try, and it worked.
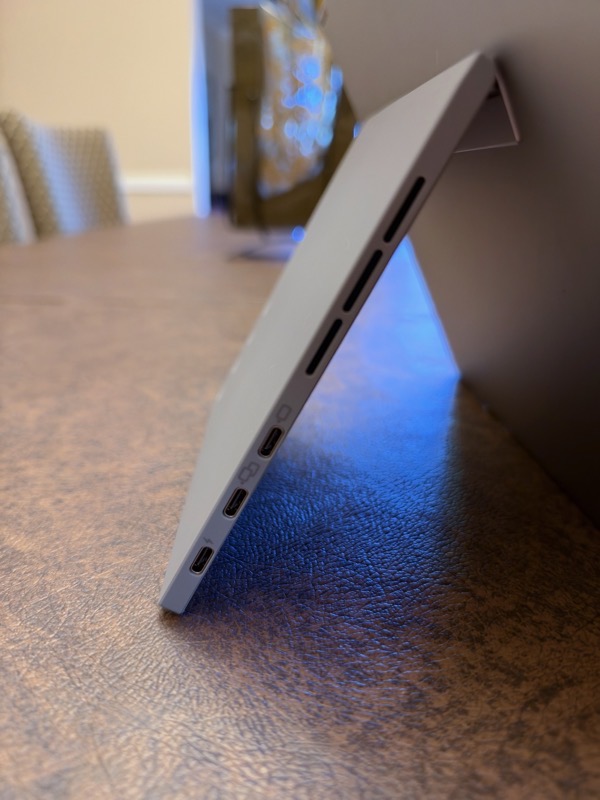
The middle USB-C port is labeled with two overlapping display symbols, while the top one shows only one rectangle. If you plug your USB-C cable from your laptop into the top port (which they call port 1), only the shared display (the upper one) will be active. If you guessed that means that the middle port 2 will drive both displays, you’d be right. I think you could turn the tented display around so the shared display faced you if you just wanted to use it for yourself, but the cable management might get tricky.
Control Panel Keys
The hardest thing for me to get the hang of on the VG1457 was the physical controller. On the back right of the kickstand, there are four indented buttons. In the user manual, these four buttons are labeled numerically from top down as 1, 2, 3, and Power. I think they use numbers because they do different functions depending on the current state of the display.
The top button, aka button 1, opens the screen brightness control. While the screen brightness control is visible, the top button makes the brightness go up, while button 2 makes the brightness go down. Button 3 is Enter, which accepts your changes and closes the control.
Button 2 brings up Volume controls, and the buttons in order from top to bottom are again up, down, and Enter.
Button 3 brings up Display Settings, and I’ll get into that in a bit. It’s very confusing, but I think I cracked the code!
Button 4 brings up an on-screen display menu that lets you navigate through brightness, volume, and display settings. I think that’s the hard way to get to brightness, volume, and display settings, and I’ll admit that until I read the manual, I thought it was the only way! You do get access to even more controls in the on-screen display menu, but I think the first three are the ones you’ll be going into the most often.
I find this physical control kind of janky and difficult to use, but once you get the hang of it, it’s ok.
Display Options
Now let’s get into the fun stuff: configuring the display settings when you use USB-C port 2 with the dual display symbol. I want to point out that the user manual refers to the ports as USB-C Type 1, Type 2, and Type 3, which is odd, since USB-C is officially called USB Type-C. I’ll just call them port 1, port 2, etc.
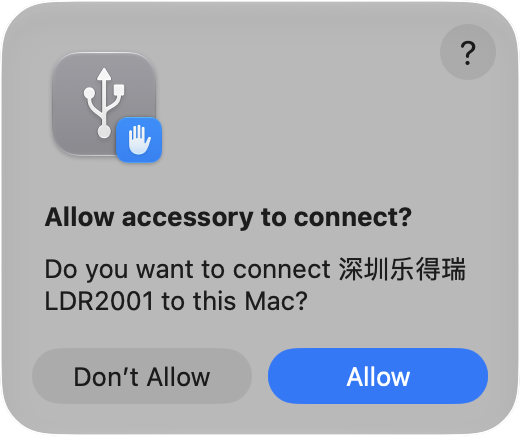
When I first plugged in the VG1457, it gave the expected macOS request for permission to connect. I was confused, though, because it asked for something in Chinese, followed by LDR2001. A quick trip to Siri AI to ask it what LDR2001 has to do with VG1457, and it explained that LDR2001 is the USB-C and DisplayPort controller chip.
The real fun begins when you’re plugged into port 2, which sends the signal to both displays. There are quite a few options for what you see on the displays, so let’s go through them. I’ll refer to the displays as top and bottom, but as you’ll learn in a bit, that will make less sense as I go along.
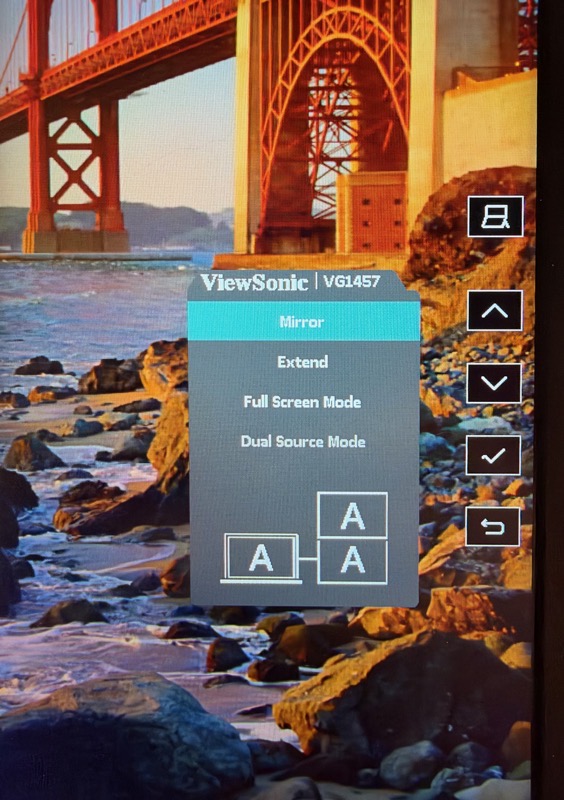
To get to the options I’m going to describe, you’ll need to use those four buttons on the back of the kickstand to open Display settings and walk yourself through the four modes:
- Mirror
- Extend
- Full Screen Mode
- Dual Source Mode
Mirror
To me, the most boring option is the one that lets you mirror your internal display to both of the external displays. I guess if you were trying to do a demo to two groups of people, you could have the tent pointed perpendicular to yourself so people to your left and right could all see what you were doing on your internal display. All three displays show the same thing when you’re in mirror mode.
Extend
Extend is where things get interesting. This is where your internal display, upper display, and lower display can be three independent screens. Unfortunately, this only works on Windows. iOS, Android, iPadOS, and macOS have operating system limitations that keep this from working. Only the lower display works in Extended mode for those operating systems.
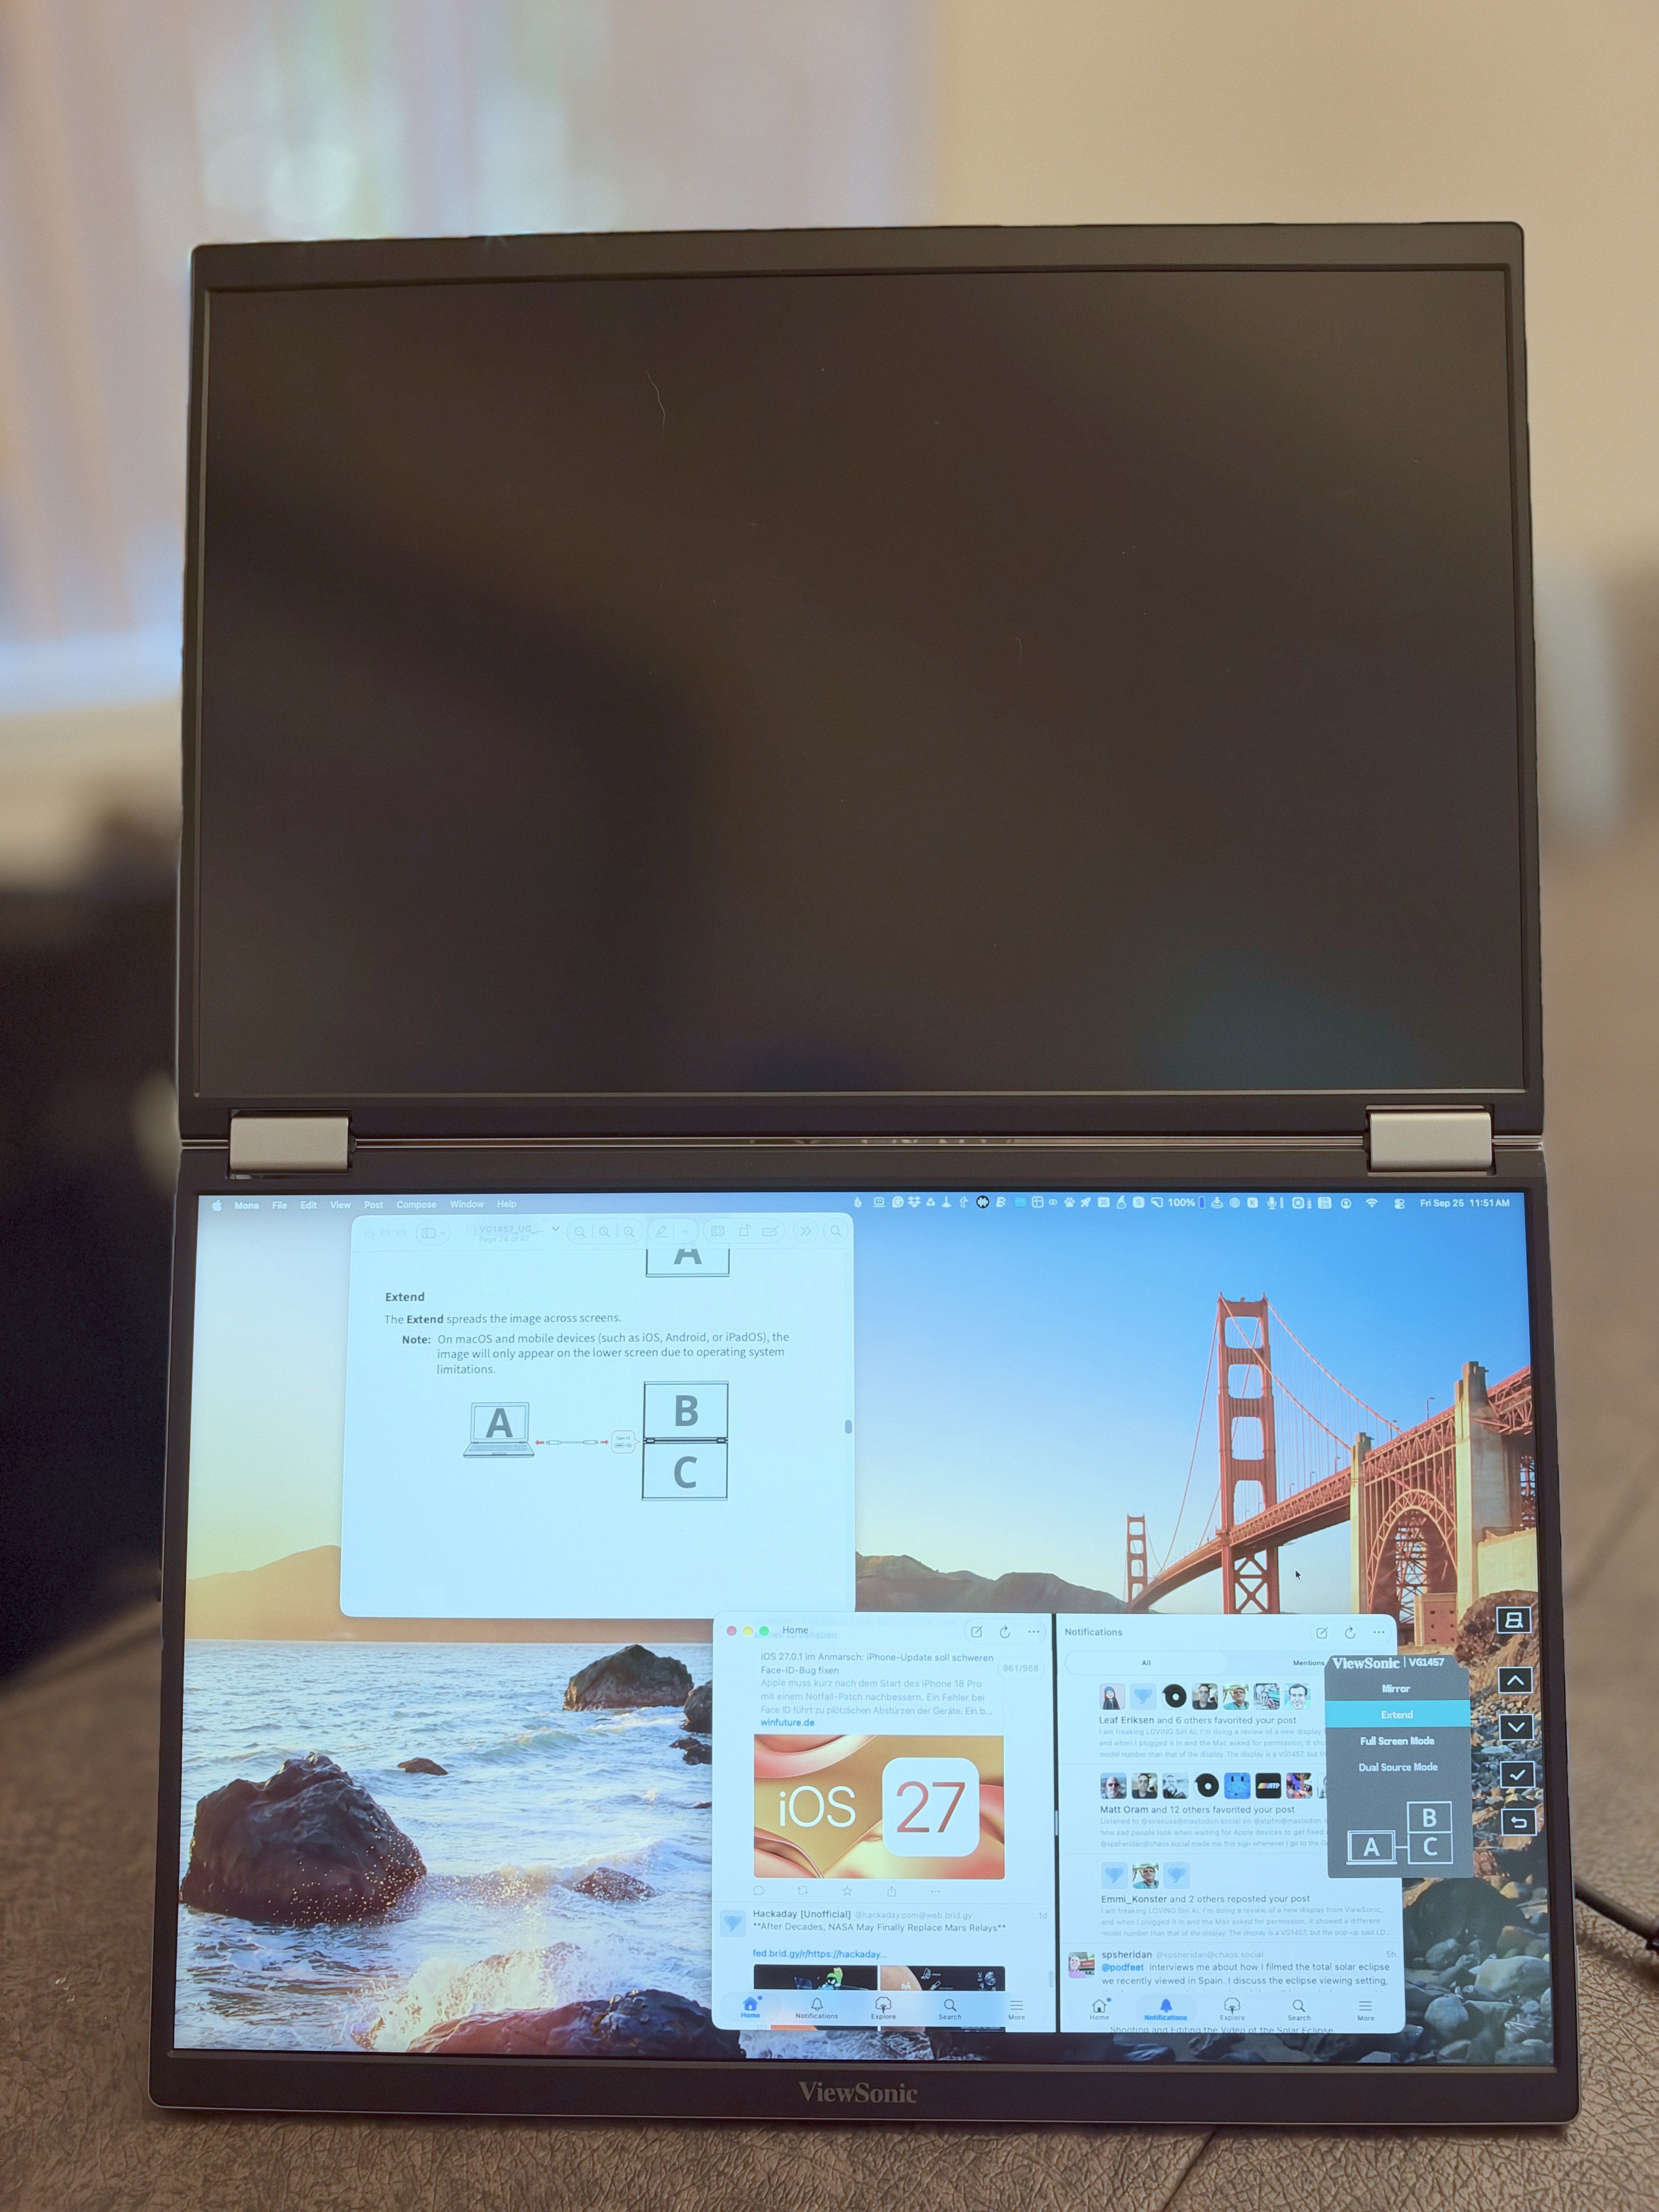
This isn’t without utility, though. Remember that with the single-mode USB-C port you only get the top display, and I said you’d have to flip it around to see it as a secondary display? With macOS and mobile operating systems, Extend mode gives you only the lower display as a second view, which would work a bit better if you only want one display.
I know, I’m looking at the bright side; it’s a sad limitation but not ViewSonic’s fault.
Full Screen Mode
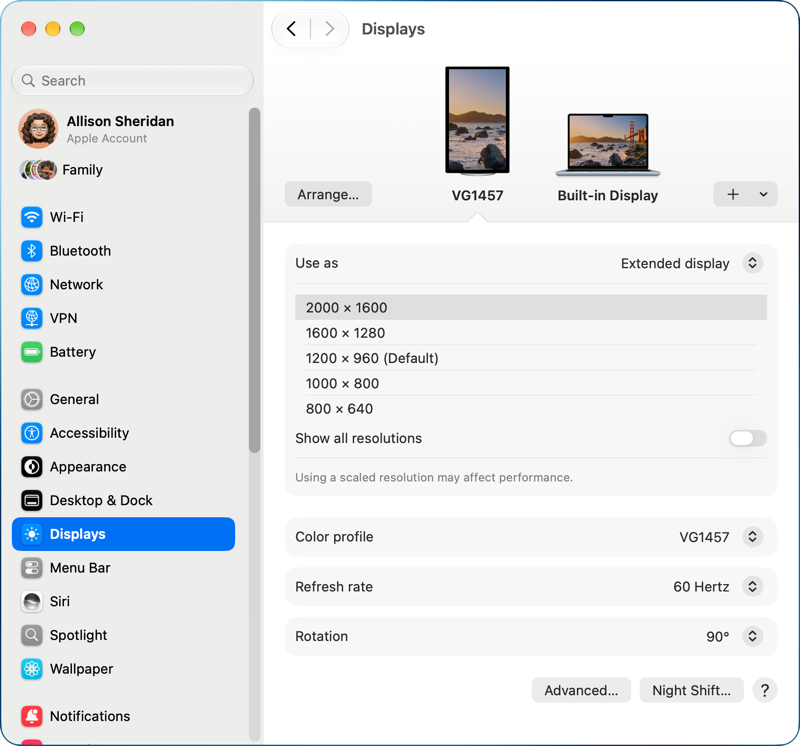
All is not lost, because Full Screen Mode is a very useful mode. With the displays opened with one above the other, you get one giant, tall display. The best resolution suggested for this massive display is 1600 pixels wide by 2000 pixels tall.
In full-screen mode, it has a ~1-inch gap in the middle because of the hinge and bezels, but with a bit of window positioning, you can have content filling two 14” external displays. You can use it as one tall display, but it would take some time to stop noticing that 1-inch gap.
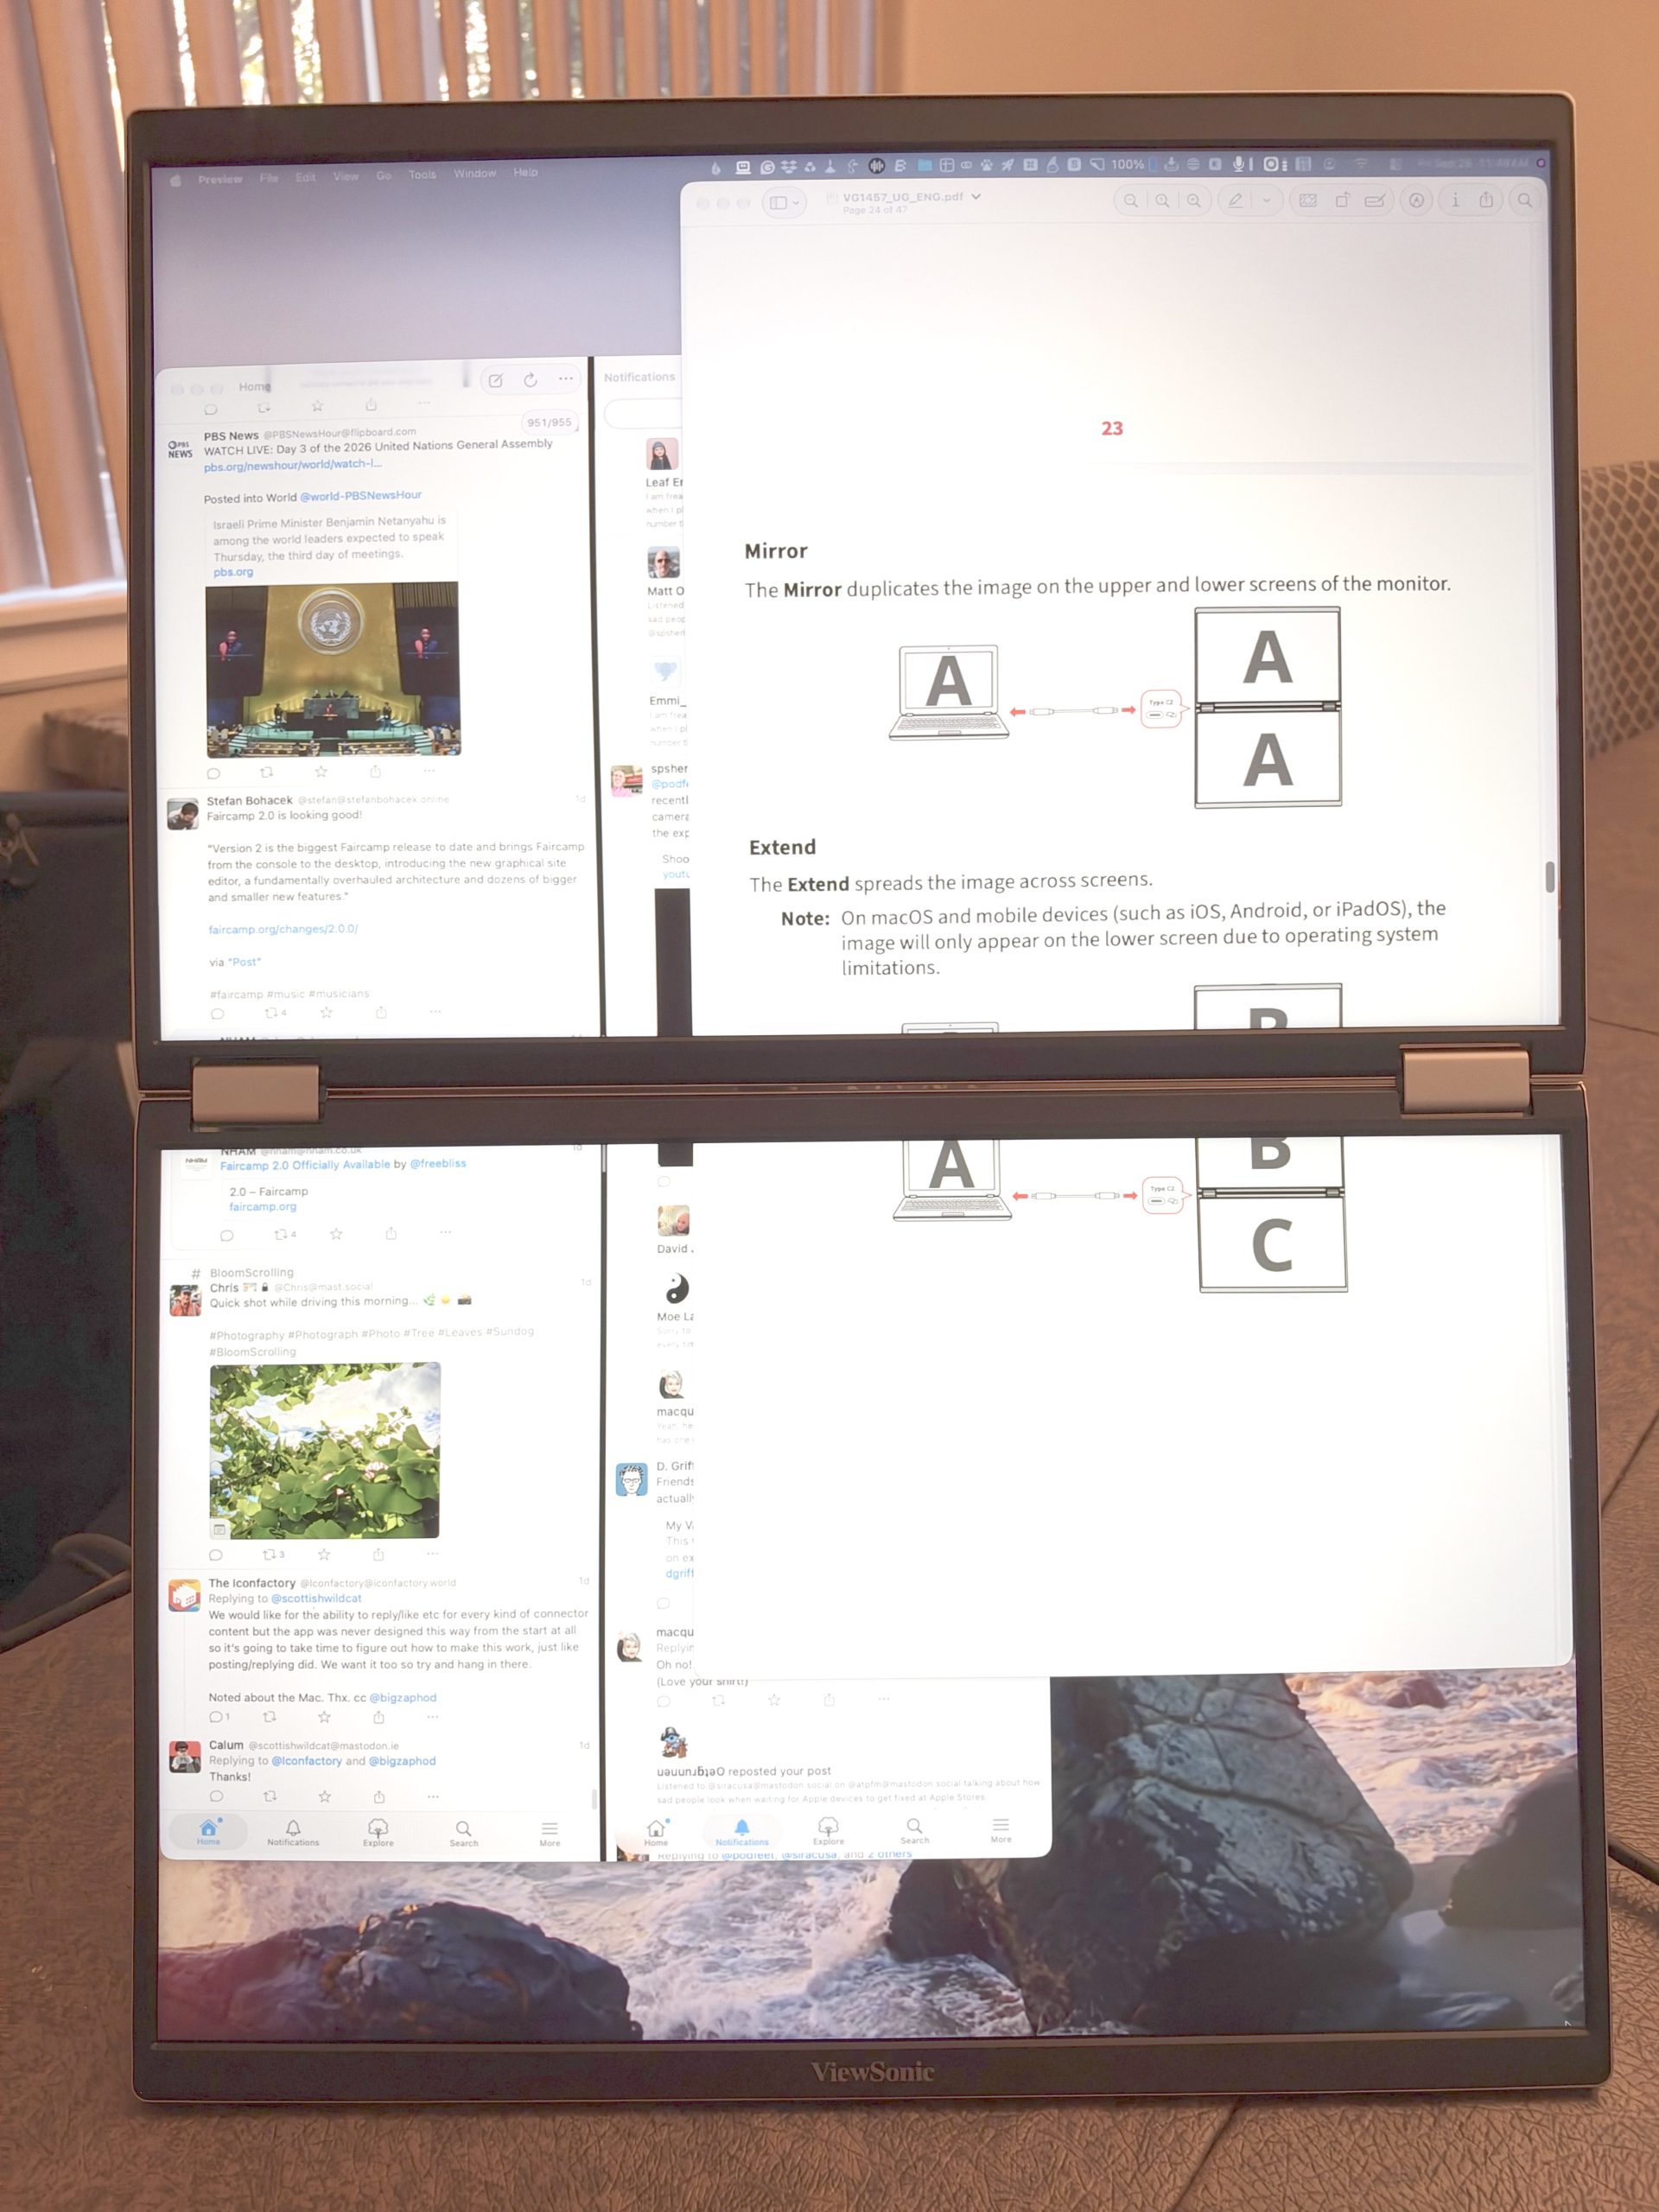
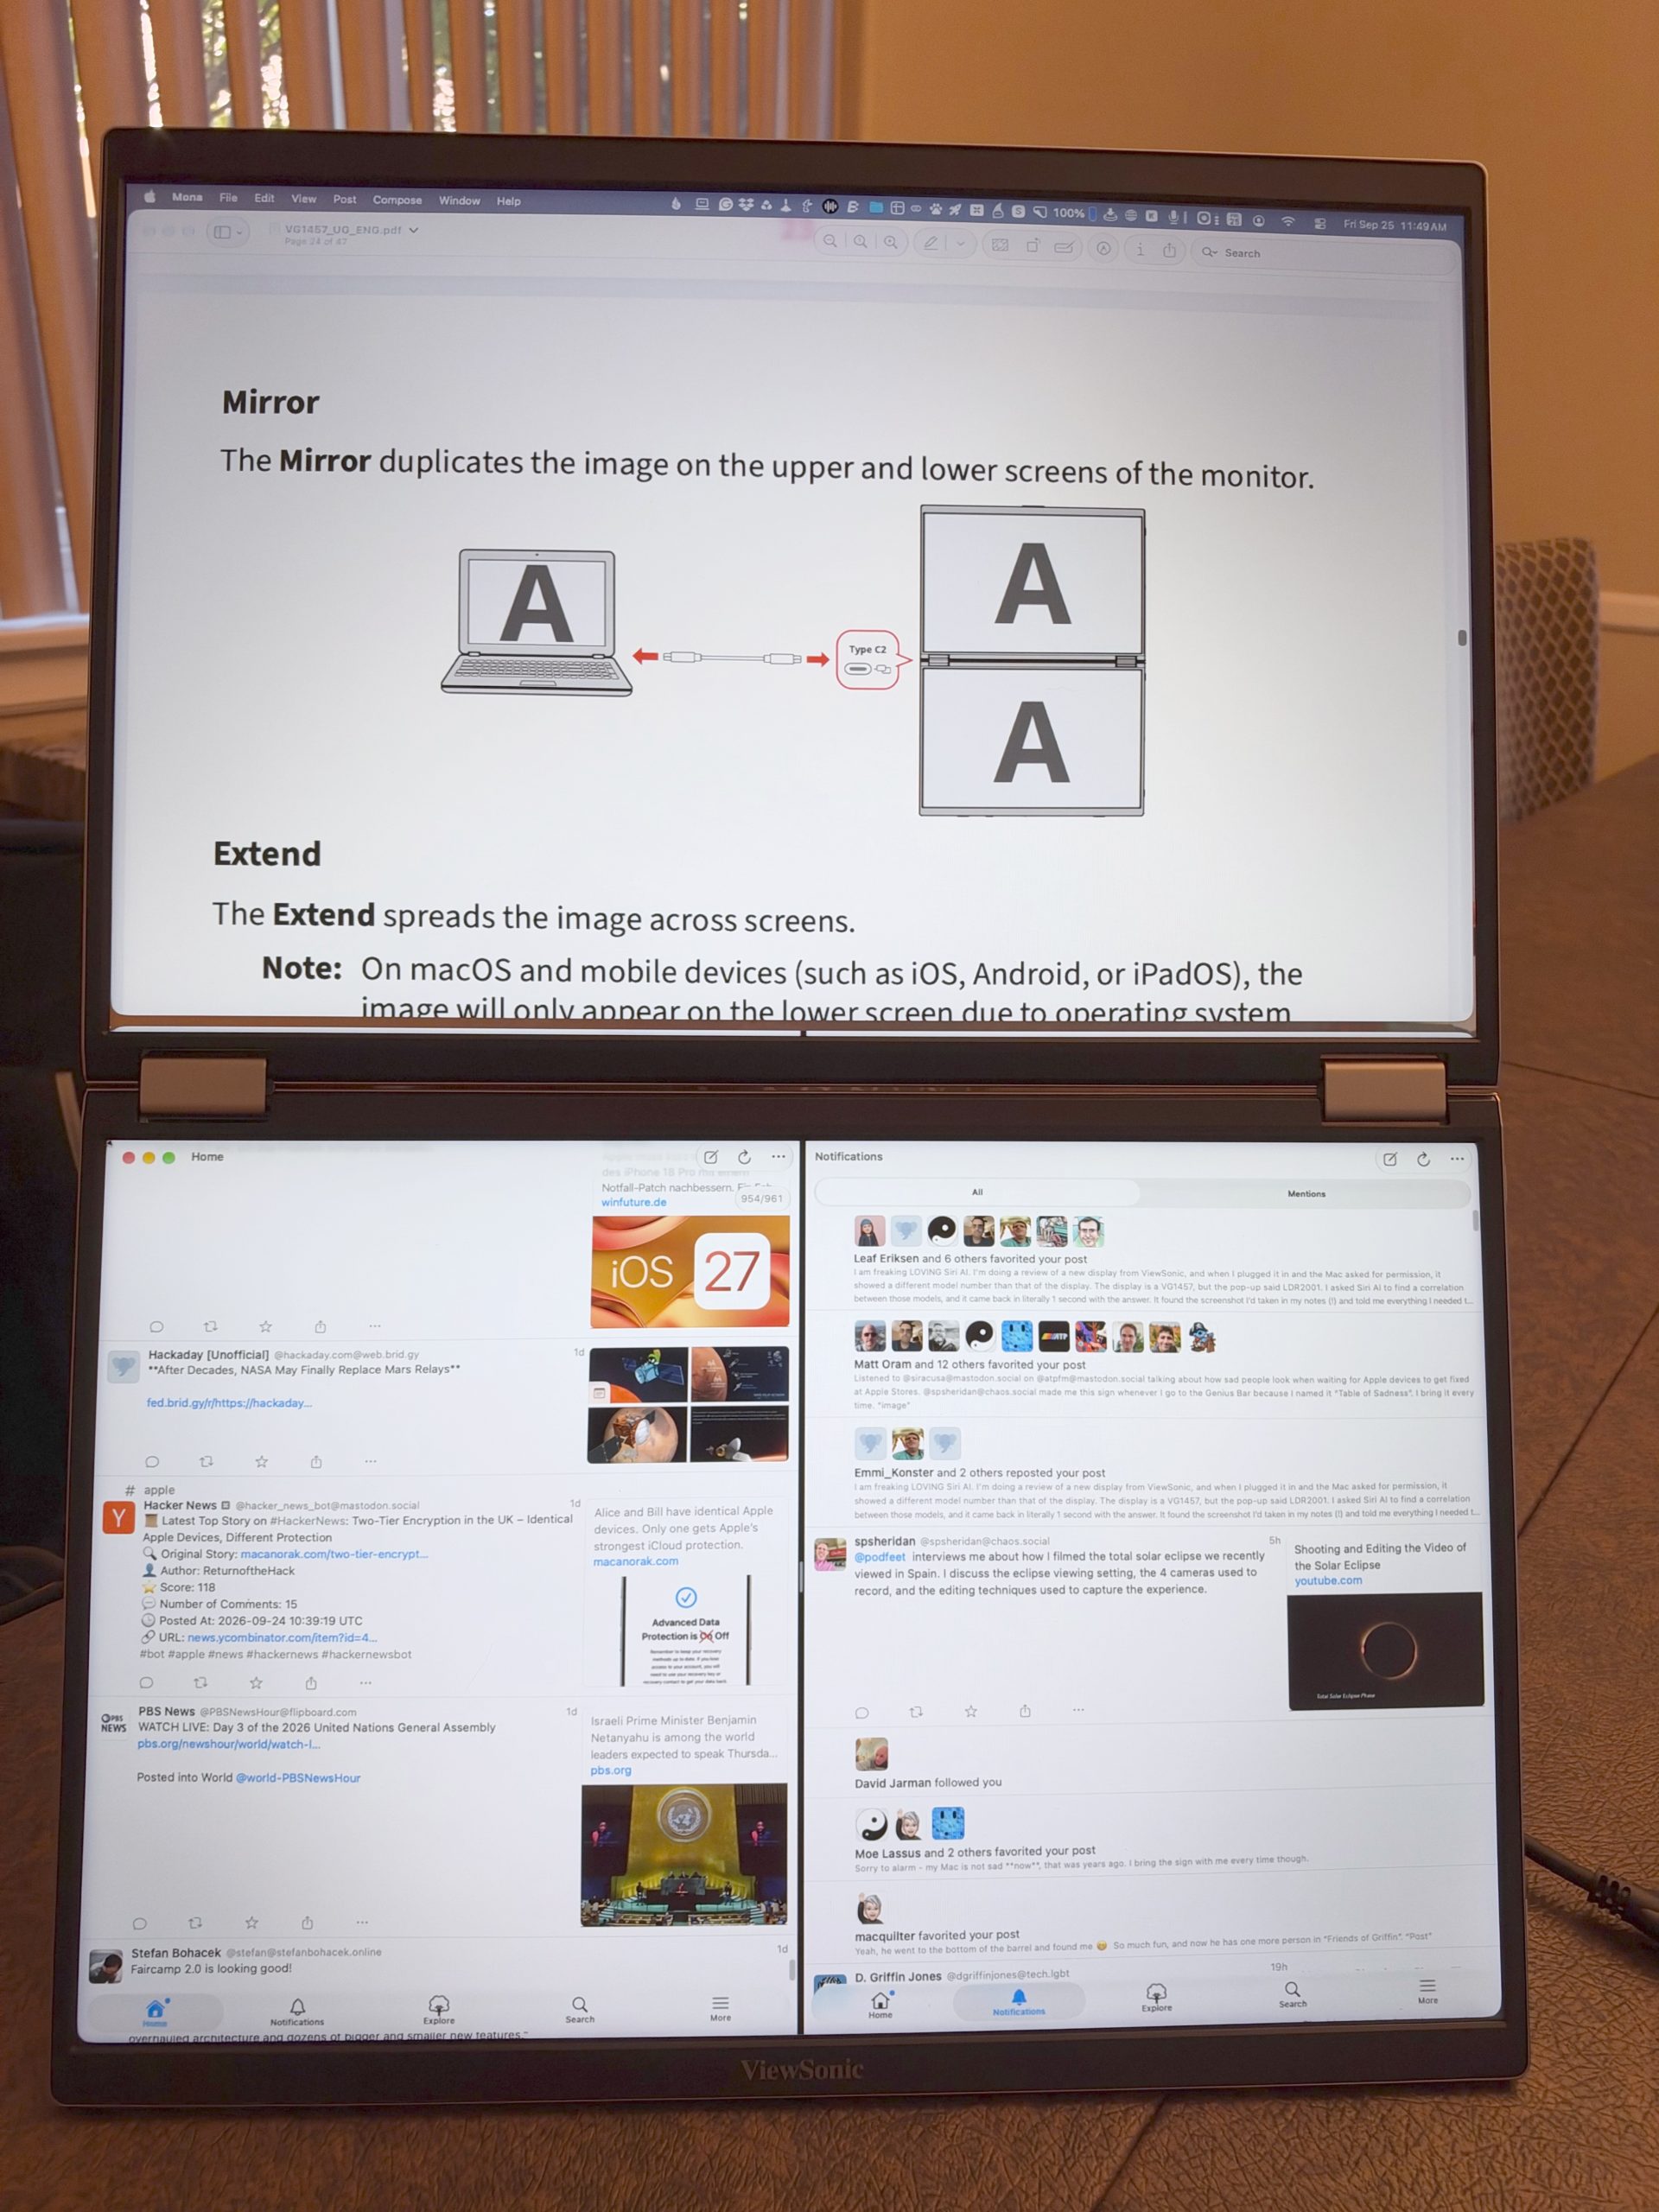
Now here’s where it gets crazy cool. If it hadn’t been for reading the manual, I never would have thought to stand the displays turned 90° so you have two portrait-mode displays. (I used System Settings > Displays to rotate the screens.) Two long documents or long web pages in addition to your laptop screen is pretty cool.
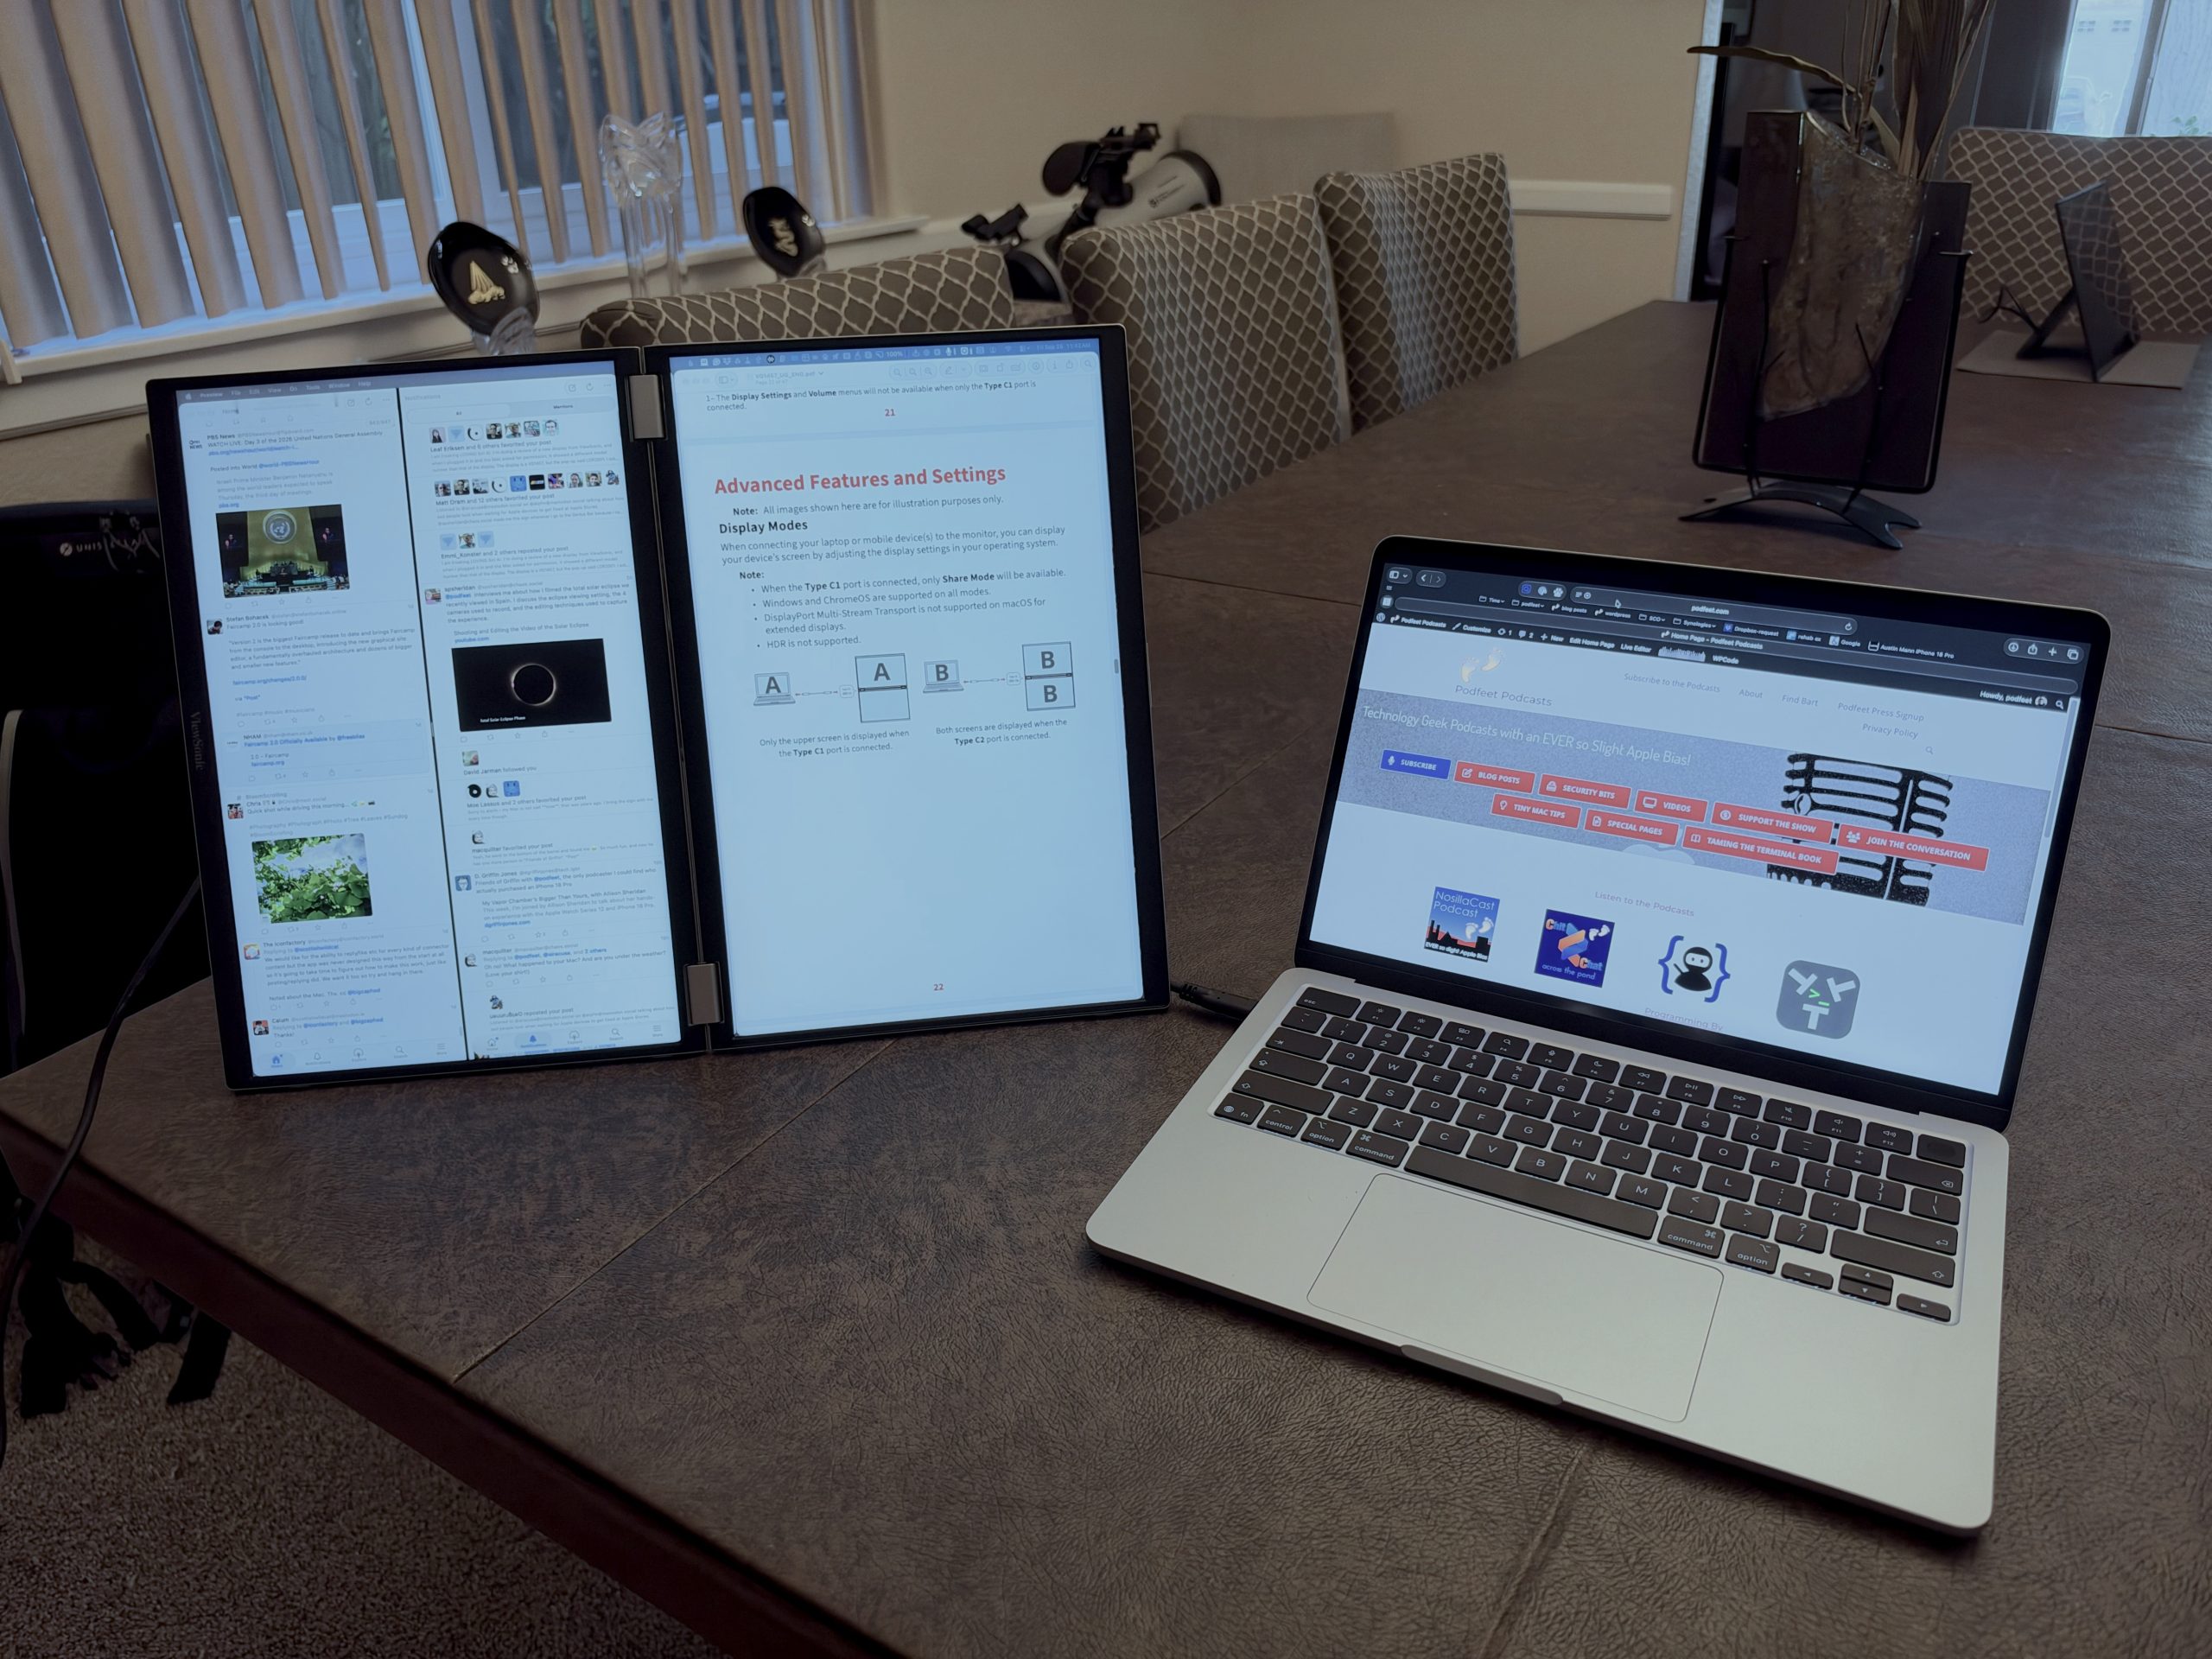
The vertical orientation looked crispest at the default resolution of 1200×960, but I noticed Preview wouldn’t shrink the width of the PDF manual to be narrow enough to fit on one screen at that resolution. I put it up to 1600×1280 and that was a good compromise.
One of the reasons you can safely put the VG1457 into all of these different positions is that they’ve put little rubber feet on the sides of the displays and on the sides of the kickstand. Even in that crazy 90° position with two vertical displays, I had no concern about stability, as long as I had the kickstand all the way out at 90°. I might not leave it unattended with my cats around, but for supervised work I had no concerns.
Mobile
I tested an iPhone connected to the VG1457, and it connected immediately. The iPhone screen will rotate on the display when you rotate the phone in your hand, and it mirrors nicely to both displays in tent mode. Holding the iPhone in portrait mode while the screens were in landscape wasn’t great; the iPhone screen gets mirrored across that hinge gap and doesn’t fill the screen. In landscape, though, it worked well.
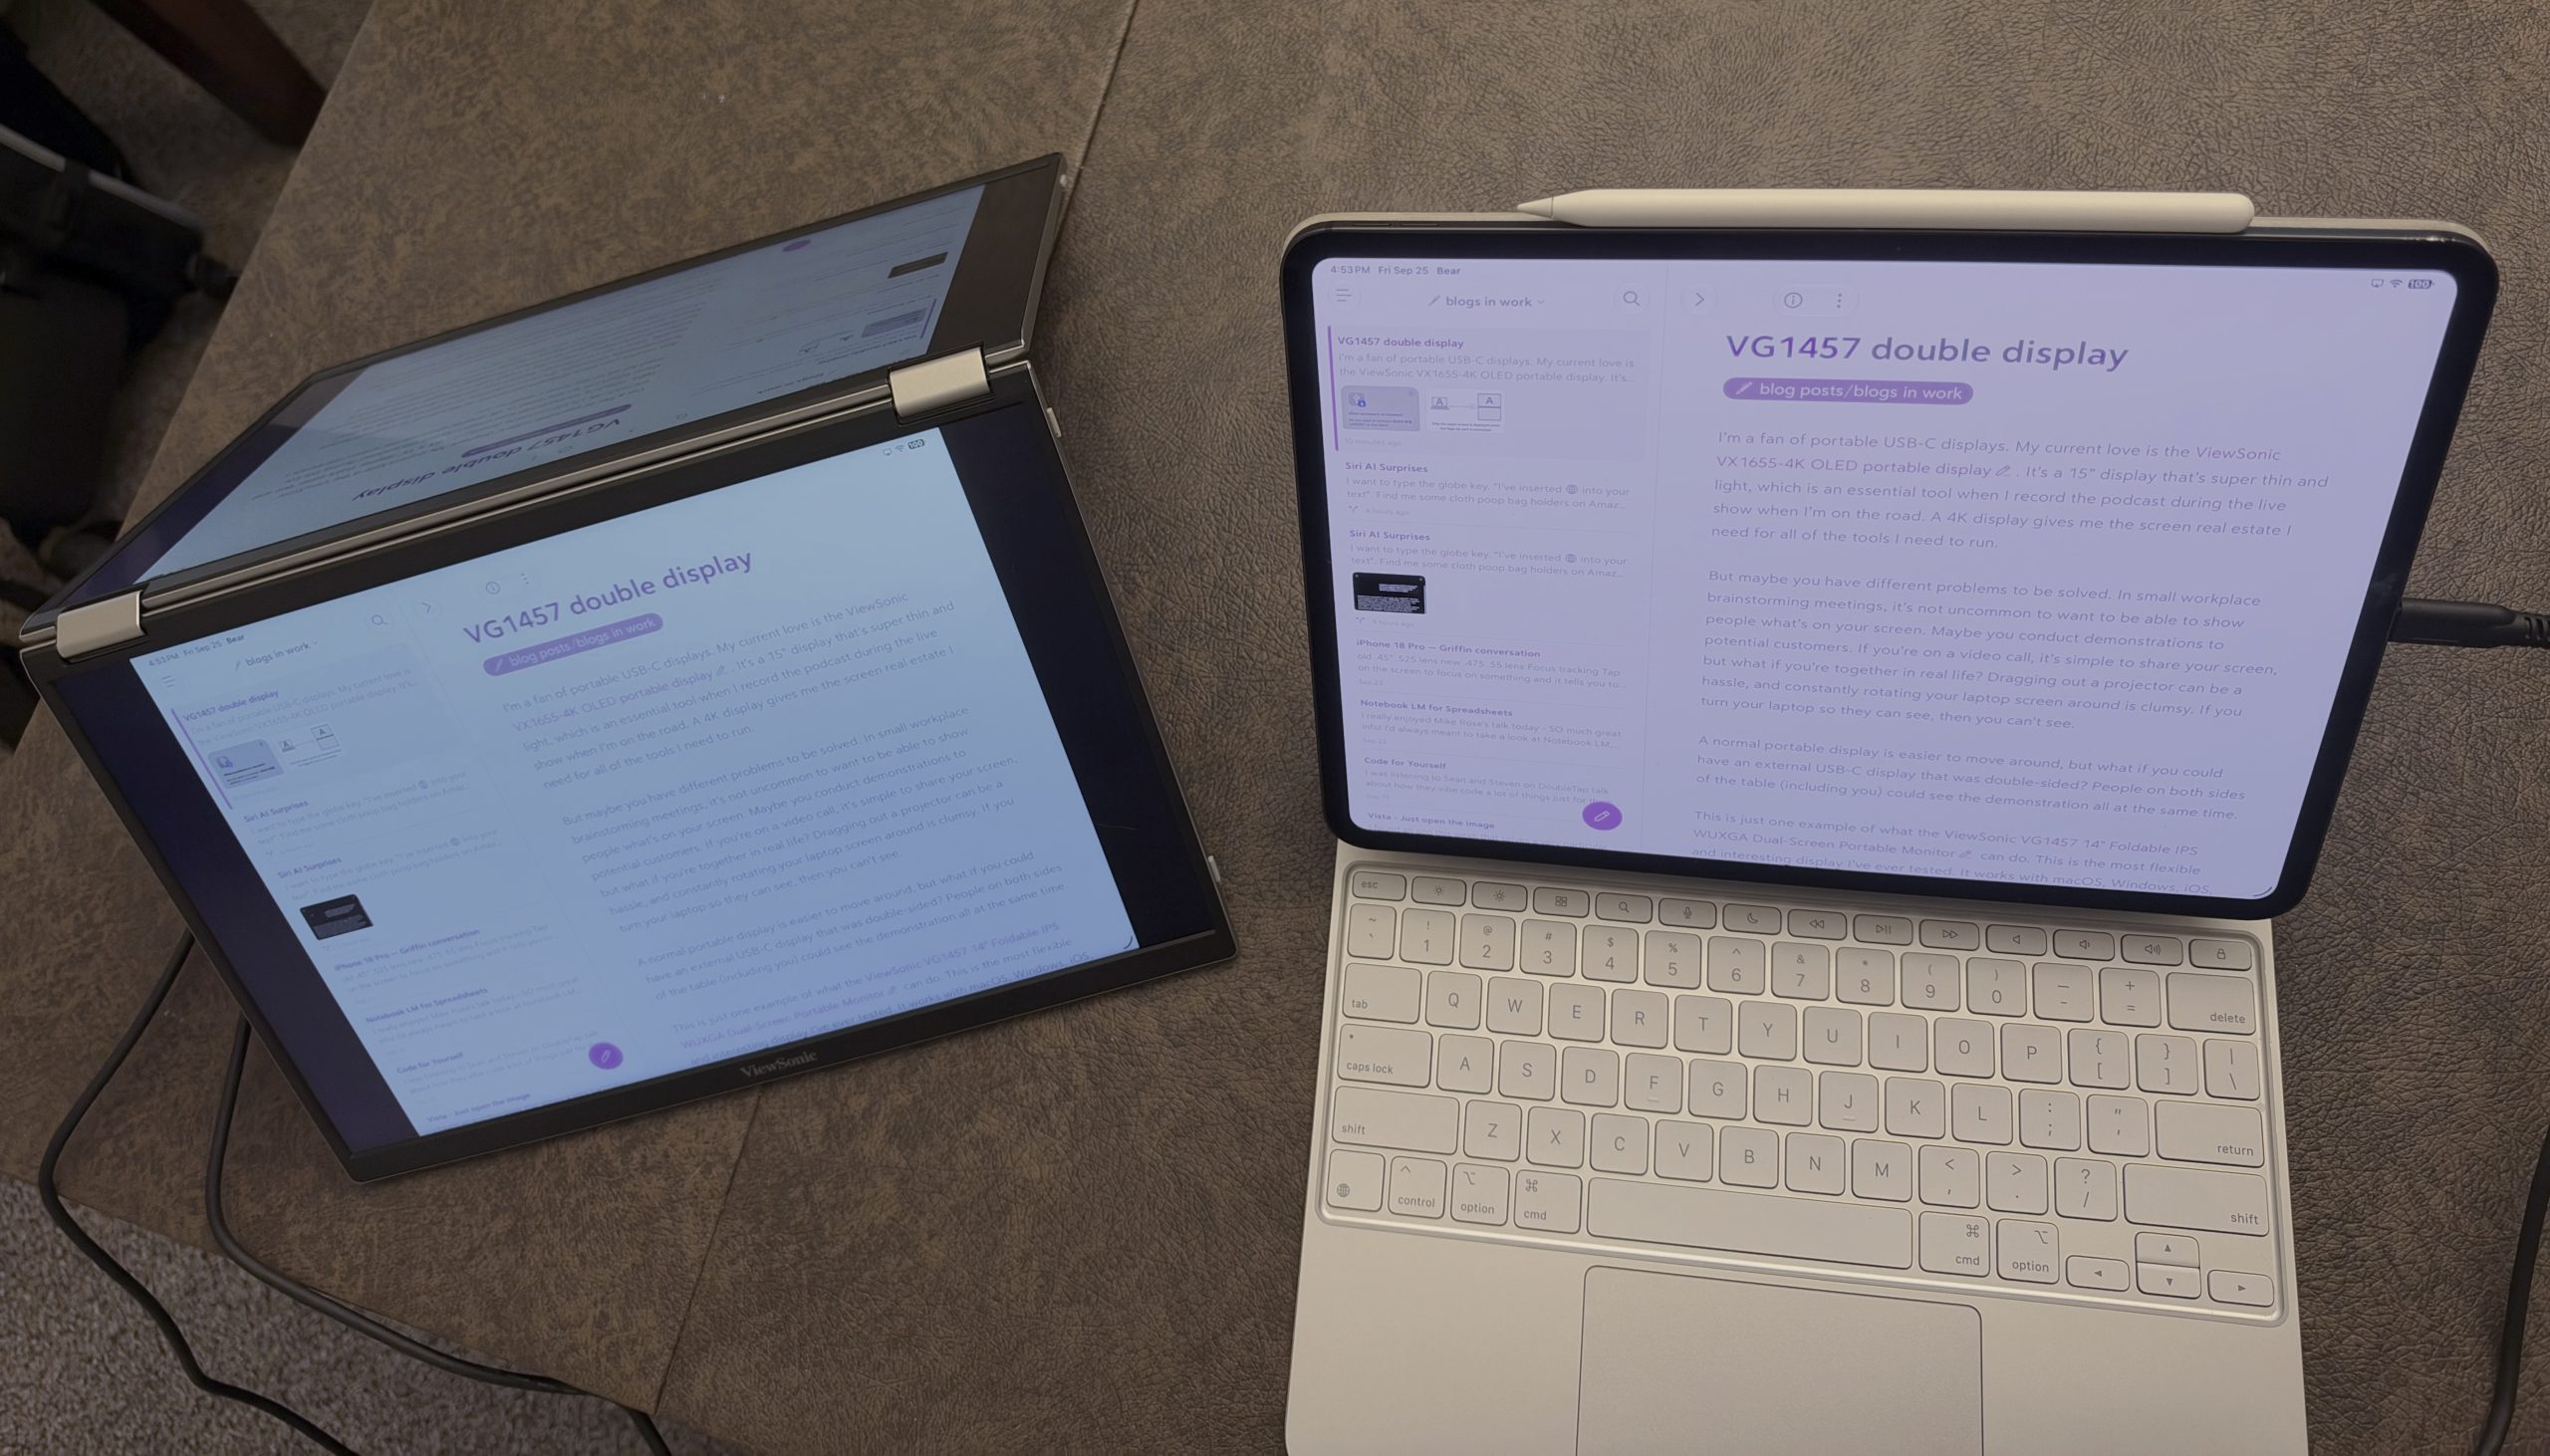
I had mixed results using a 13” iPad Pro with the VG1457. Firstly, Tent Mode worked beautifully.
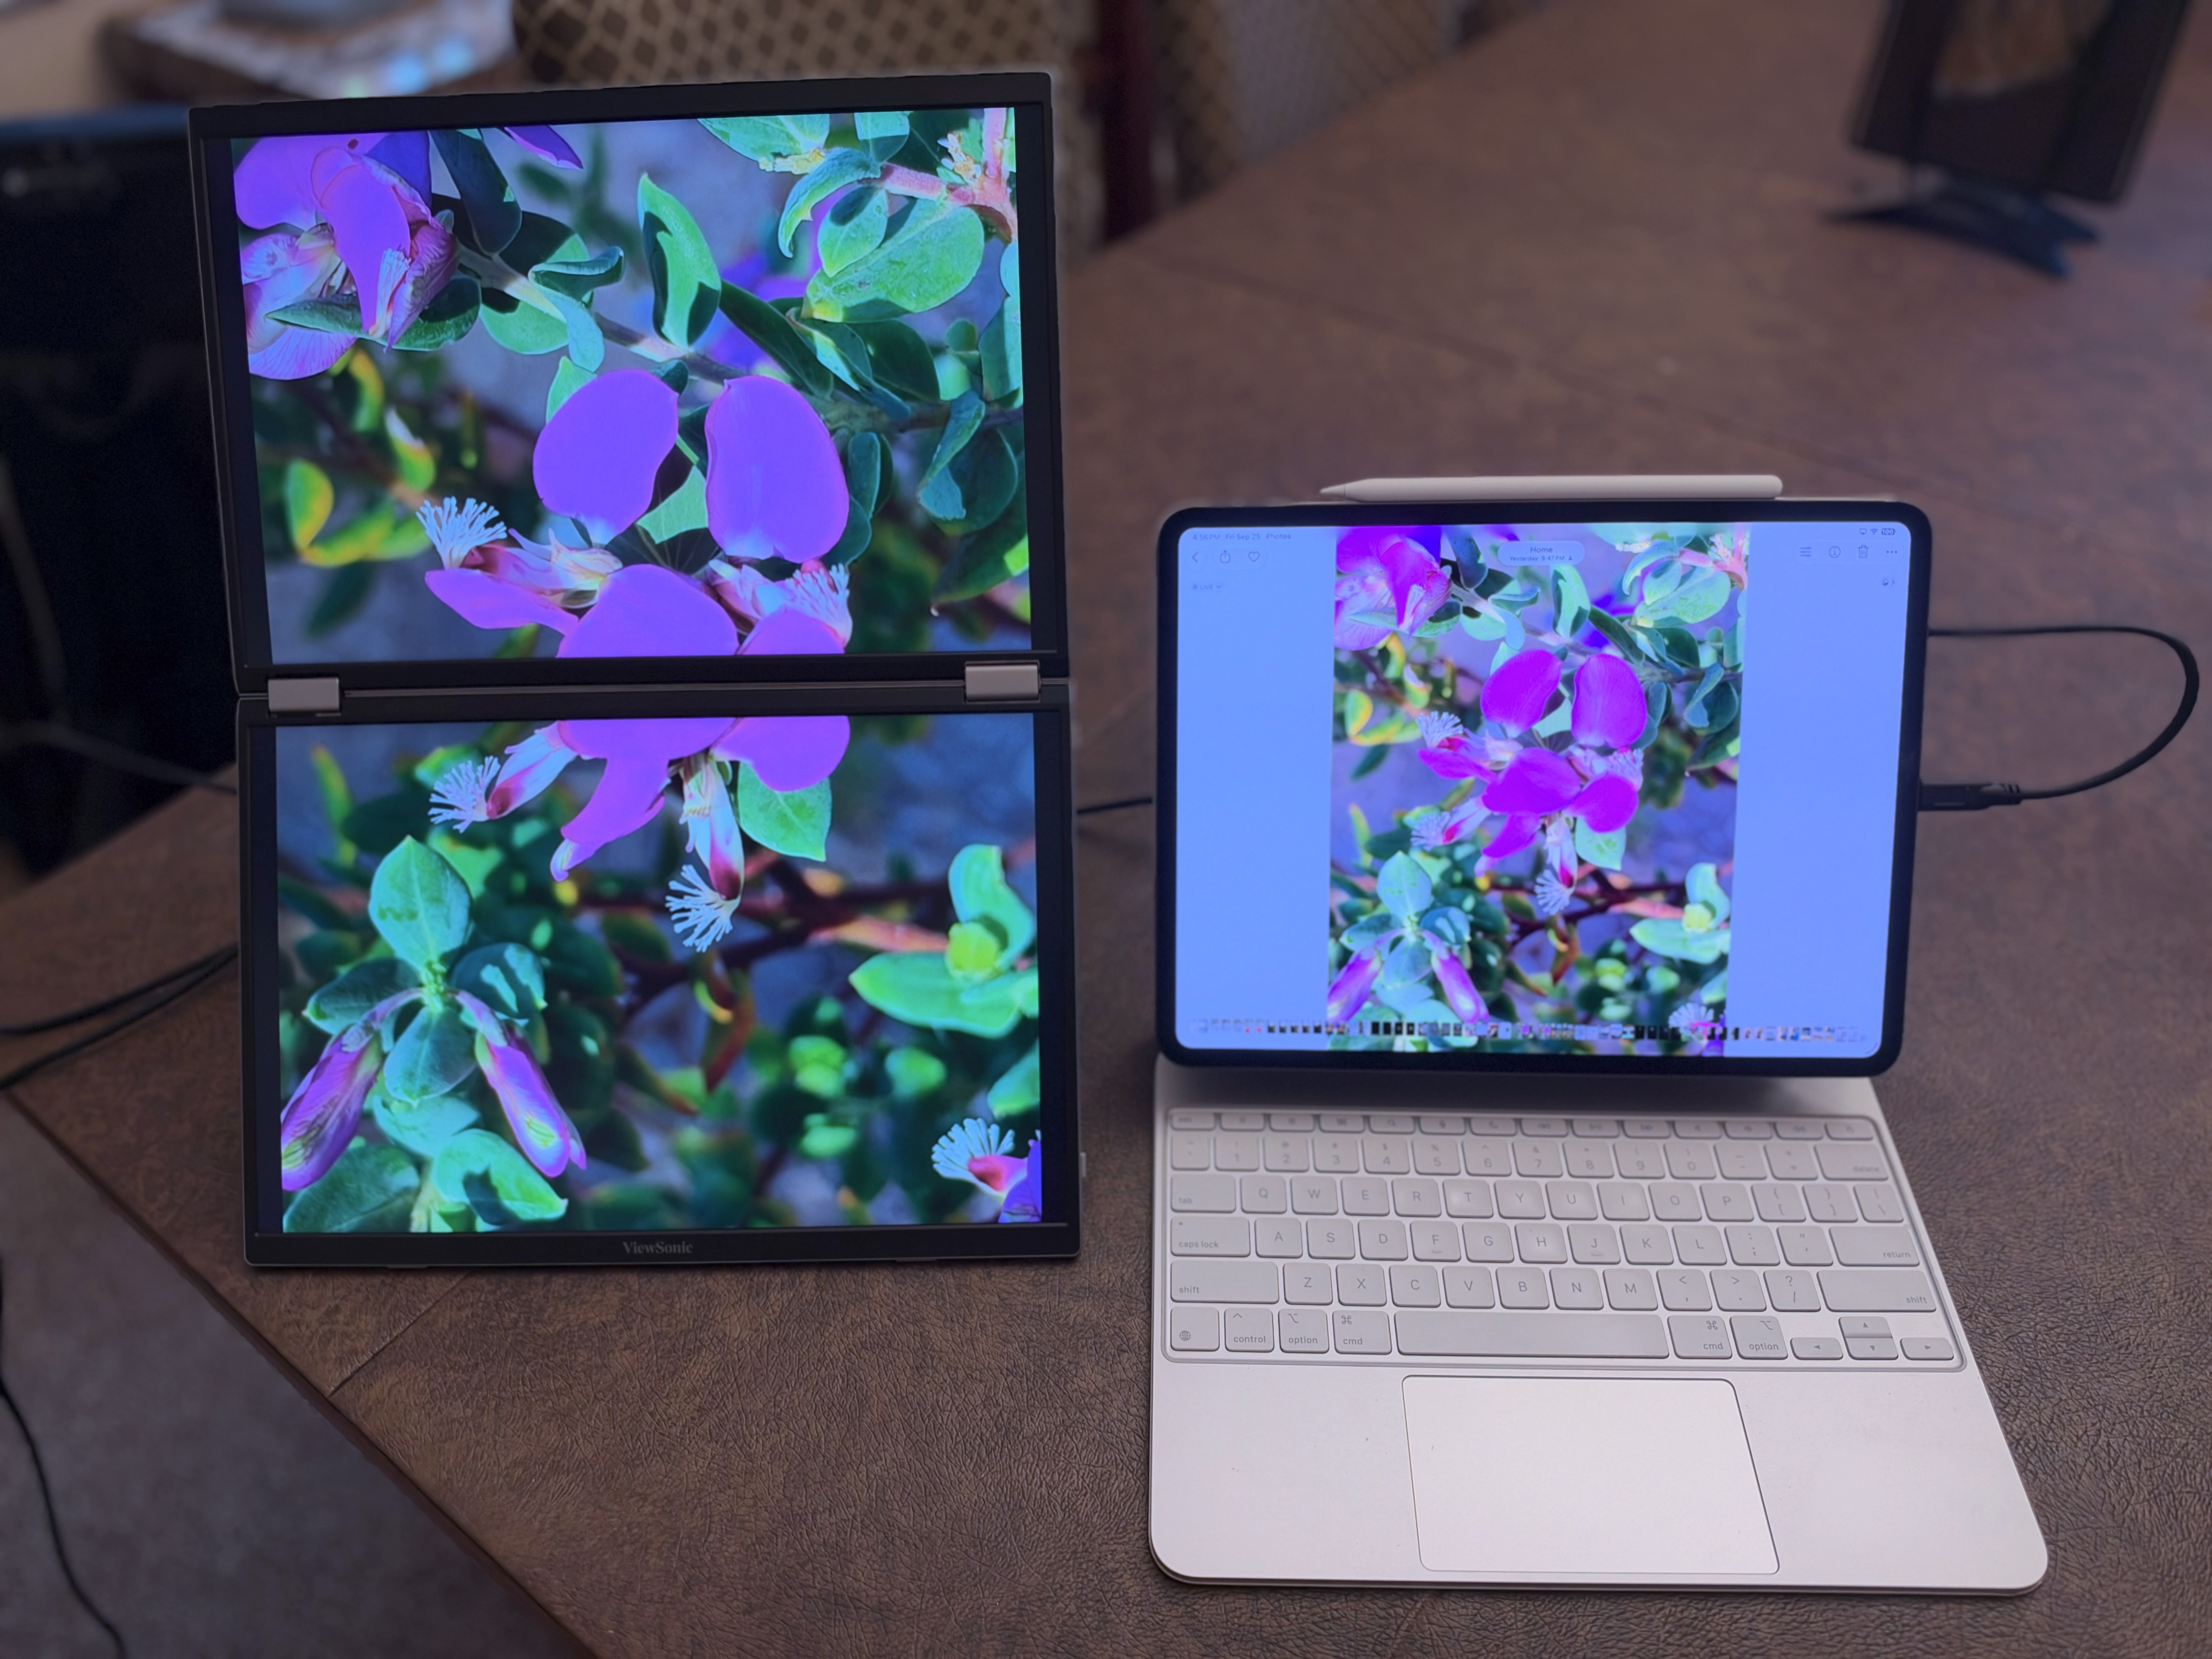
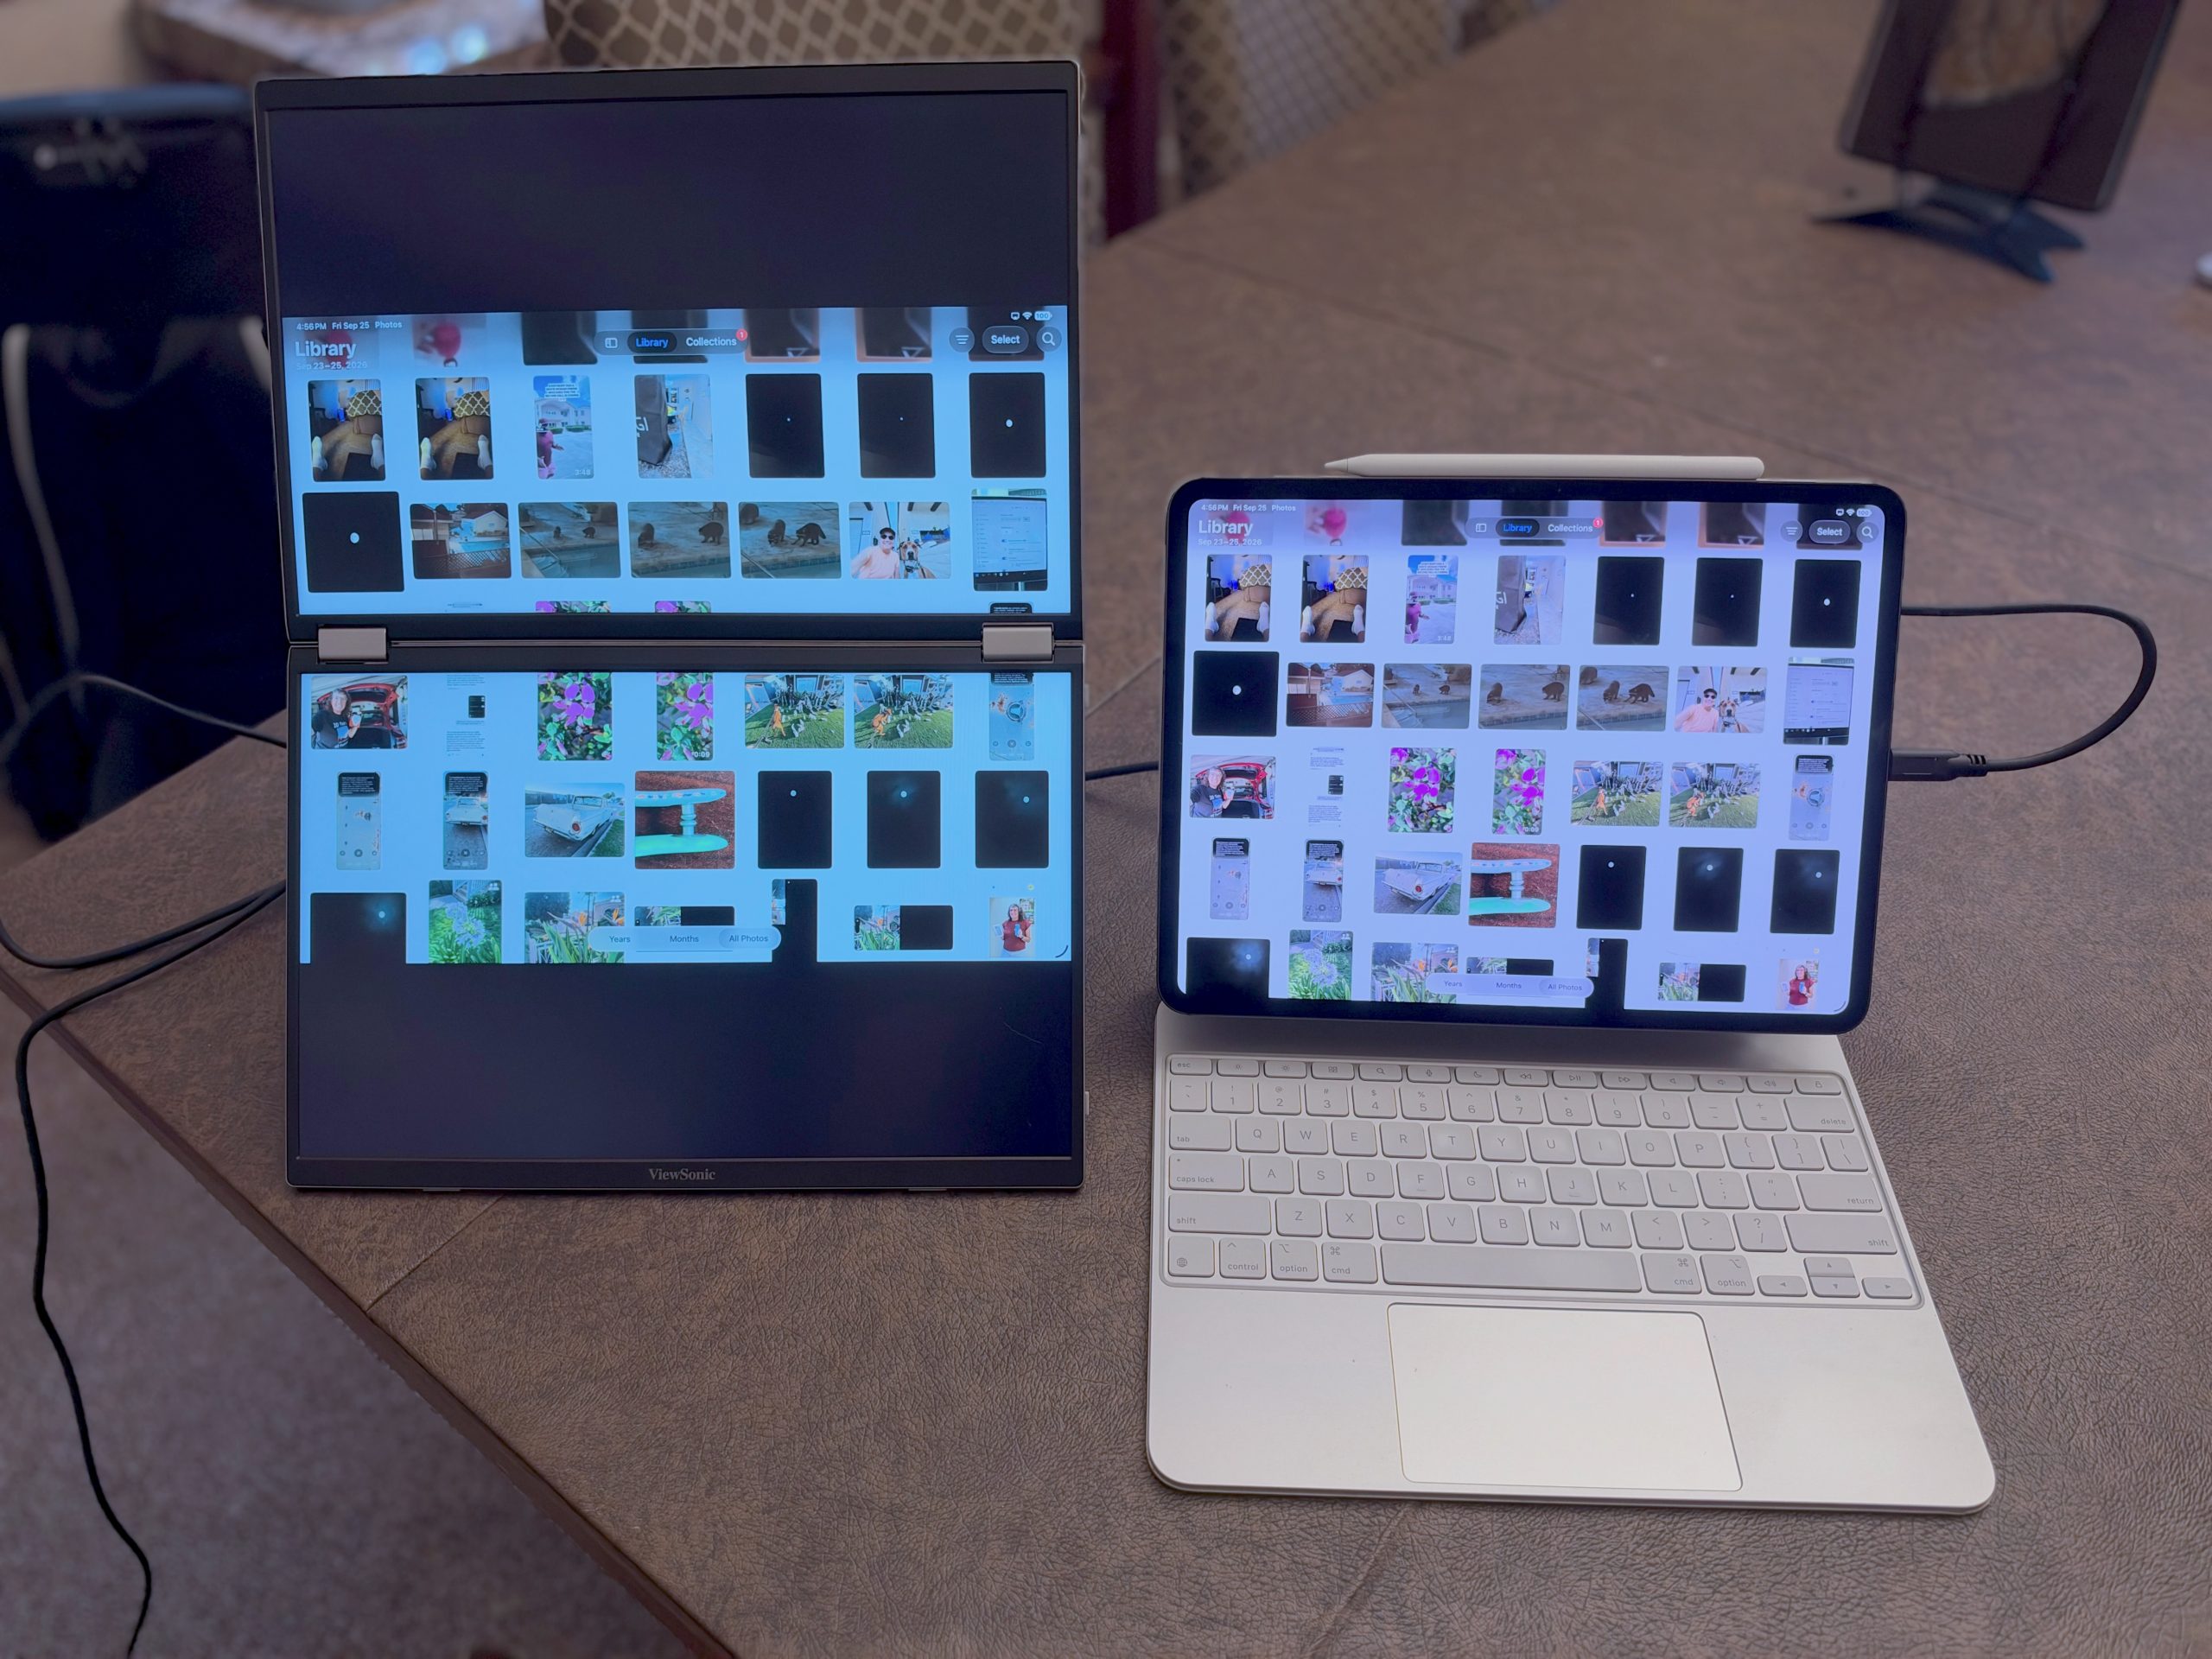
In full-screen mode with Photos looking at thumbnails, the screen of the iPad was centered above and below the hinge, with black bars above and below. But if I switched to an individual photo in full screen on the iPad, the image stretched from top to bottom on the dual displays. I’m not sure why there was different behavior depending on the app views.
With a full-screen app like Bear where I’m writing these notes, and the VG 1457 in tent mode, both displays were nearly full screen in mirror mode.
Bottom Line
I buried part of the lede on this display. The VG1457 is only $350. With the flexibility of mirrored in tent mode to the utility of full-screen mode in landscape or portrait, all in a 2.6-pound dual display, that’s an amazing price. I had trouble finding fault with this product, other than not being able to get Power Delivery to work, but I thought of one. The button on the felt envelope they give you is too hard to fit through the buttonhole!
If you’re a road warrior who conducts demos for close-up audiences, or you just want lots of screen real estate in a very portable form factor, I think the ViewSonic VG1457 14” Foldable Dual-screen Portable Monitor is a great product at a very reasonable price.
I put the link in the shownotes to it on ViewSonic’s site, but it’s also available for the same price at www.bhphotovideo.com/….