Every year when we go on vacation, especially if it’s to an exotic place, I write a travelogue of our adventures. I write a page a day while on the trip, and include photos from the day. I do this the old-fashioned way, in an email to my friends and family. Oddly, rather than people being annoyed by this, people actually ask to be on distribution.
At the risk of sounding particularly full of myself, people have told me that my writing style is engaging and even sparkling! All I can say is that I make myself laugh as I write these letters, so at least one person is entertained. It is definitely not your typical, “My Summer Vacation” report.
A few years ago after our huge Dubai, India, and Nepal trip, Wally Cherwinsky suggested that I try to make my travelogue into an iBook. He felt it would be a great way to have them all together as a keepsake of the trip. Well, I tried back then, but it was too hard.
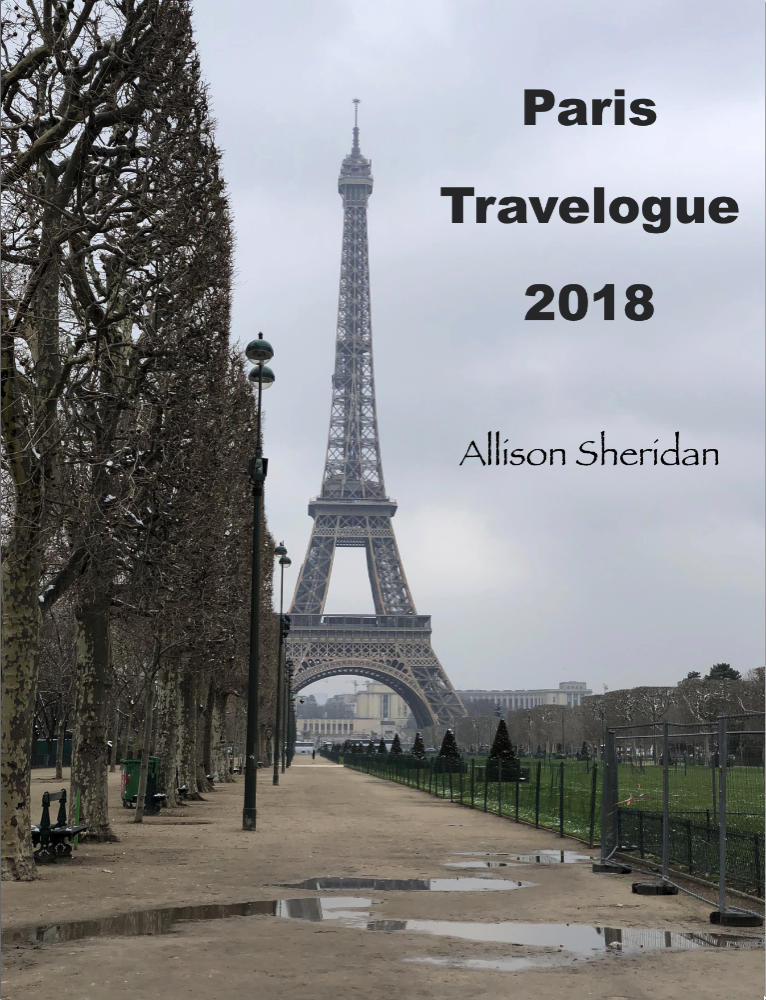
This year after writing my travelogue from our Paris trip, I decided to try to climb this mountain yet again. This time, I conquered the beast. But it’s not because Apple has made significant advances in the tool, it’s that I was well rested and determined to get this done. I would like to note that I finished the book on Monday using iBooks, the day before Apple announced that they had added book creation to Pages.
I decided it might make an entertaining post to tell you about my experience first with iBooks and then with the advanced book creation options in Pages. So here’s my story of the disaster that is book creation using Apple’s tools.
My Starting Point
As I said up front, the original source material was a set of 13 independent emails, with photos added inline. When I insert the photos into the emails, I choose Medium as the attachment format, which means they’re already a pretty reasonable size to work with. I do this as a courtesy to my readers, trying to keep each letter around a couple of megabytes. On some trips, I’ve had to go smaller because of my own bandwidth restrictions though, like while on the little boats in the Galapagos in Ecuador and the Brahmaputra River in India.
As the trip progressed this year, each time I wrote a letter, I selected all, copied, and then pasted the new letter’s contents into one giant Pages document. The images all stayed nicely in-line in Pages. I didn’t do any formatting because I knew I’d be moving the information to a new format.
Since I started in Apple Mail and then pasted into Apple Pages, I naïvely assumed that I’d be able to select all in Pages and paste into Apple’s iBooks Author application and at least all of the content would be there. I was, of course, incorrect in my assumption. When I pasted the content from Pages to iBooks Author, NONE of the images came over. And there are 188 photos (and one video) in this document.
Working with iBooks Author
I do understand that the normal way of writing a book isn’t to start an email, copy to Pages, then copy to iBooks Author, but I would bet it’s not uncommon for someone to write and think in one application and make it into a book in another application. Let’s walk through the (somewhat successful) process to create a new book using iBooks Author.
 We start by selecting New from the File menu and choosing a template. You get no clues as to the structure of these templates until you try them. You simply see 10 options under landscape and 7 under portrait, with a Blank option under each format. I decided to go with Blank landscape. The blank format came with two columns on each page which looked swell for my needs.
Note – once you choose a template, you are forever in that template. iBooks Author does not allow you to switch templates like you can with applications like Keynote. You can modify the template of your document but you can never use the Template Chooser again unless you want to copy/paste every page by hand to a new template.
You’re given a blank Chapter and one blank indented Section. I wasn’t sure what chapters or sections would mean to me so I figured I’d just pick one and hope that I could change it later if I needed to. Insert minor chord music to show impending doom here.
Because iBooks Author wouldn’t let me copy and paste the whole darn thing at once, I had to copy a section of text from Pages, flip to iBooks Author, paste in the text, flip back over to Pages, click on an image, copy, and then flip back to iBooks Author and hit paste. 188 times.
But one line feed between two paragraphs in Pages turns into two line feeds in iBooks Author. So for every single new paragraph, I had to go in and delete a line feed. I didn’t count the line feeds for you though.
Image Formatting
After I’d done the copy/paste dance about 20 times, I noticed that they had some nice formatting options for images. You know how I love me a nice drop shadow, right? I formatted one image with a drop shadow and it looked swell. I started hunting around for a way to create a preset for how all images would look, and under Format, Advanced, I found “Define as Media Placeholder”. While that sounded good, it didn’t change all of my images to that format.
More hunting around and under Format, I found Copy Graphic Style and Paste Graphic Style. Luckily the paste option had a keystroke (command-option-v) so as I pasted in all 188 images, I could easily hit that keystroke to add my drop shadow. At least I didn’t have to use a pulldown to do that paste style operation.
After a few more hours of copying and pasting, I realized that my portrait-oriented images would look better if they were more centered with the text instead of being slammed against the side wall of the page. Landscape images looked good that way because they filled the width of the column.
In the Inspector I found under Object Placement an option to let the image be moved around but be anchored to the text. That was the best of both worlds for me. Ok, I set the Inspector to that option on one image, did the copy graphic style and then paste graphic style on the next one…and the Object Placement didn’t copy and paste. So…yeah. Every time I want an image to be movable and not statically positioned, I have to go over to the inspector and change the little radio button to Anchored (stays with anchor). Sigh.
Formatting Titles
I’m sure there’s a way to fix this next problem but I had a heck of a time changing the way the titles of my chapters were formatted. My titles were pretty long so the standard Title format in the Styles pane was way too big. I changed the style to Section (I know, I’m a thrill seeker) and they became more manageable.
But then I noticed some of my titles still spilled onto a second line. They hyphenated the word at the end of the line so it looked really dumb. I didn’t want hyphenated words in my titles, so I looked for a way to insert a manual line feed in my titles. I’m a master at finding the secret code to add a line feed on the Mac in the weirdest places.
Like did you know option-command-enter in Excel lets you add a line feed in text in a cell? Here’s another example. You know how in Facebook in a browser if you hit Enter in a comment hoping for a line feed it actually posts your comment right away? Use option-enter to put in a line feed and keep typing!
But in iBooks Author, I tried every single keystroke I could think of and for the life of me I never found a way to add a line feed to the title. I had to put in SPACES like an animal to get the word to jump to the next line. I felt dirty and cheap after doing that.
Moving Between Chapters
Remember me creating chapters and ignoring Sections? After about 4 hours of working in iBooks Author I looked at the automatically-created table of contents and it looked really dumb. I thought maybe I could use sections instead. Well don’t think you can change Chapters into Sections, sonny boy, that’s not an option. Ok, how about I create a Chapter with some Sections inside it and then just drag and drop the pages from the old Chapters into it?
Nope. You can’t drag and drop between Chapters. You can’t even copy and paste pages from one Chapter to another. I tried every which way to move them around and you can’t even drag pages up and down within a Chapter or Section! Unbelievably restrictive.
Exposure Controls
I have to say one nice thing about iBooks Author. When I’m on vacation, it’s really hard to carve out the time to write these letters. I not only have to be clever and articulate, I have to first cull my photos down from the day’s experience. Then decide how many will make the cut. By this time my traveling companions are usually chomping at the bit to go on the next adventure.
Luckily on this trip, our friends Dean and Suzanne who were traveling with us have been the recipients of the travelogue in the past and made sure I was never rushed. That didn’t keep me from inserting some images that maybe weren’t perfectly exposed. As I looked at them in iBooks Author, quite a few needed to have their exposure increased. Well, iBooks Author actually has an Adjust Images pane with a few sliders that did the trick to make my images pop. So there, I said something nice about iBooks Author. Now back to the whining.
I spent probably 6 hours total to beat my iBook into submission but in the end I was pretty happy with it. It could certainly be prettier and more elegant but I didn’t have the energy to spend any more time on it.
Pages Book Creation
The day after I finished my masterpiece, Apple announced that they were adding book creation capabilities to Pages. It was widely reported that iBooks Author was dead, but rumors of its demise were premature.
I figured that since this capability was brand new, maybe it would be way better than iBooks Author. I decided that since I had such recent experience with the hard way in iBooks Author, I’d try this new and improved tool! Spoiler: As low as the bar was set with iBooks Author, Pages is actually significantly worse. Let’s walk through everything that made me cranky, shall we?
Copy and Paste
 Remember that I already have a Pages document with all of the content in order the way I want it. I assumed I couldn’t convert my existing document to a book, and I was right. I figured we’d give the old select all, copy/paste dance a try. Just like with iBooks Author, when you select New from the Pages menu, under templates you can now see Portrait Books and Landscape Books. I wanted a landscape book so I chose the blank landscape template.
I went to my source Pages document, selected all, copied and then went to my landscape book and hit paste. The failure level of this technique was epic. It splatted all 188 images on top of each other, and all 8795 words…all on one page. Unbelievable.
I read a little more about the new stuff in Pages and found that landscape layout in Pages doesn’t allow words to flow from one page to the next. This might explain why when I pasted in my Pages text and images they all splatted on top of each other. I created a new Book using a portrait-mode template. I was finally able to copy/paste from Pages to Pages and it didn’t make a dog’s lunch of it.
 I started to get optimistic that this would be a lot easier than in iBooks Author. Please insert minor chord music again here. I did a test export from Pages and opened the document in iBooks and it looked great…except for chopping off the right half off many of my photos.
I’m sure Suzanne won’t mind at all that the picture of her and Dean on the plane on their way to Paris only has Dean in it, right? When I did the export from Pages it did warn me that some of my styles weren’t supported so the book wouldn’t look quite the same as I expected. I take it back, Pages did make a dog’s lunch of it.
Starting From Scratch
Time for a third new book in Pages. I started from scratch grabbing a few paragraphs to copy and paste into this new book. Then I copied an image and went back to the book and hit paste. Nothing happened. You cannot copy and paste an image into Pages book creator. Seriously.
I kept fiddling with it and found the dumbest workaround. In the menubar on Pages there’s a button to insert shapes. I figured out that if I inserted a shape, such as a square, and with it still selected I then hit command-v, the image would paste into Pages. But wait, it gets better. When I move the image around, the shape is underneath it still so I have to go back and delete it. Isn’t that awesome?
While I was retesting this so I could tell the story properly, I found that I could paste images into a book in Pages. I thought I’d lost my mind, but guess what? You can paste images into a Pages book if the template you chose is a portrait template, but not if it’s a landscape template. Can I say unbelievable yet again?
But still, I didn’t give up. I really needed to add a lot of column breaks to control the flow of my book. in iBooks Author, there’s a keystroke to do this, but not in Pages. I am not going to go up to a menu and use a pulldown hundreds of times. If everything else worked in Pages, I would have created a keystroke using Keyboard Maestro or the System Preferences keyboard thing, but this was already such an abomination I didn’t even try.
In iBooks Author, remember I was able to create a style I liked for images (with my beloved drop shadow) and then paste it onto all subsequent images? In Pages I can create a style too, but I have to use a pulldown to allow the image to float after the fact. You know how I feel about pulldowns and using the mouse.
I tried to see if Section breaks would make my pages flow any better, but adding a Section break often inserted a blank page. I assumed I had just put the marker in the wrong place, so I’d try to delete the inserted page and I’d get a warning asking did I really want to delete these pages (plural)? If I said yes, a whole slew of pages would be deleted and oddly a bunch of images would all get splatted together on some subsequent pages. Undo undo undo!
I turned on invisibles so I could see what was happening with these section breaks. I figured out that you simply cannot place a section break after a floated image. The section breaks must be tied to the text. I put a bunch of line feeds in (like an animal) and tried to have my image float around them but they all flipped over to the next page. So Section breaks were not my friend.
Then I thought maybe I need to change how my images float. I must have figured out two different ways to paste in images somewhere along the line because in my experiments I found images for which the float options were available and others for which they were greyed out. I never did find a pattern on what caused this, and for once it wasn’t a portrait/landscape difference.
At this point, I threw in the towel on trying to use Pages to create a book.
Bottom Line
At this point, I’ve written a tome on this topic but I really needed to get it off my chest, so thank you to anyone who made it this far through the story with me.
I decided to make my iBook available to anyone who wants to see it so I’ve put a link in the shownotes to it. I have to caution you to click this link in Safari on an iOS or Mac device only. When you click the link it will ask you if you want to import the book into iBooks and you’ll be good to go.
Link to Download Allison’s Paris Travelogue 2018 (aka my summer vacation)
Hopefully, a significant number of you are cursing me right now, wondering why on earth I didn’t make this a standard ePub book. I’ll tell you why. After I did all this work, I discovered that the template you choose in iBooks Author changes whether you can create a standard book format available to all, or one that can only be used inside Apple’s walled garden. I cannot export my book to the standard ePub format because I didn’t start with one of the ePub templates. Seriously. No Kindles, no Android devices, no Windows friends can enjoy the story of my summer vacation.
1 word for doing this: Scrivener
Elaborate?
Well, the resulting book looks great. Also, business idea: after all the French restaurants opened in the US, you could open a popcorn restaurant in Paris 🙂
here is an ePub: http://www.mediafire.com/file/27l71pceegz5z65/Paris%20Travelogue.epub
.ibooks is just an ePub file, like .app is a .zip
Apple on posting lots of photos (such as 2 or more) does over lap them. Apple needs a special post command to paste the pictures and making this more involved, designate how many images per page (as in 1, 2, 4, etc) per page with a number of which will generate a number of pages. This will limit the over lap of images but will lead to a shrinkage of size.
so you are blaming the software for your troubles because you didn’t read the instructions correctly and start with a standard epub template… Pages allows you to immediately create an ebook epub if you bother to read the selection from the templates. Also you can export out as an epub that will be compatible. Also, you can export your iBook out as a pdf file from iBook author then simply copy and paste into any word processing document. Seems like you need to start learning software because complaining.
Hahahahaha I enjoyed very much this article, I found it having troubles myself in my first iBooks Author experience, oh dear. I still cant find a way to use Object Placement in my chapters!!! It appears unavailable!!! Im guessing I may have to create the book again, after having my 101 chapters ready, so Im trying to find inspiration in your 188 copy and paste (several times). Anyway, thanks for sharing this, I can relate into why your friends enjoy your writting, Im planning to start traveloguing my trips to!!! BIG hug from the Caribbean!!!
This was all very helpful, except for the comment from the Judgy McJudgerpants above who felt the need to scold anonymously in the absence of grace and courage.
Thanks for sharing your journey, because like many, I operate via trial and error (more errors than most, likely!). Usually, I just take the nuggets of information I need and depart without a word. Today I was compelled to help neutralize the scolding person’s negative energy with my own show of gratitude. So, thank you.
I thoroughly enjoyed reading this, laughed a lot, it beats crying in frustration.
I have been trying to do something similar. I have ‘wasted’ hours and hours of time and have almost reached the giving up and smashing my MacBook Pro point. I will keep trying, but it looks like the hundreds of photos will need to be sourced again. I would like to take my original pages doc and move all the photos to a folder for use in a different format (if I ever decide which one to use) Nope, can’t move them, they can only be copy and pasted one by one. Yay. All this just so I can share my book with family overseas.
Thank you for writing the article, it was so good to know I’m not the only one and thank you for sharing the link.
Rhiannon – I guess misery loves company as they say. Sorry that you’re going through this nonsense. I’m thinking maybe a photo book through Mimeo Photos would be the answer but I haven’t done much to investigate adding all the text I like to include. Good luck and know I feel your pain.
I thoroughly enjoyed reading this, laughed a lot, it beats crying in frustration.
I have been trying to do something similar. I have ‘wasted’ hours and hours of time and have almost reached the giving up and smashing my MacBook Pro point. I will keep trying, but it looks like the hundreds of photos will need to be sourced again. I would like to take my original pages doc and move all the photos to a folder for use in a different format (if I ever decide which one to use) Nope, can’t move them, they can only be copy and pasted one by one. Yay. All this just so I can share my book with family overseas.
Thank you for writing the article, it was so good to know I’m not the only one and thank you for sharing the link.