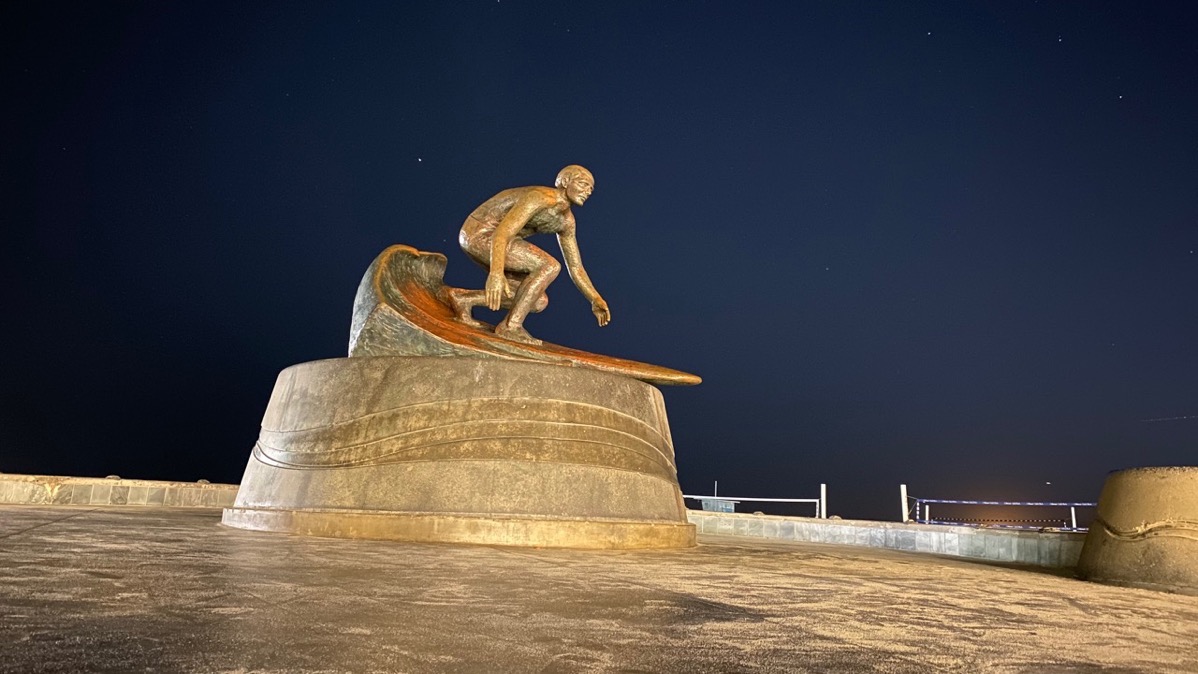
I know there are a lot of articles online right now about the new Night Mode from Apple on the iPhone 11 Pro, but I simply can’t resist the temptation to throw in my two cents. My good friend Pat Dengler pinged me and asked if I’d like to do some night shooting with her with our new phones.
We went down to the beach and played around near, on top of, and under the Hermosa Beach pier. We got there around 8 pm, and the sun had gone down around 6:50 pm. We brought a couple of Joby Gorillapods and iPhone mounts so we could get the full effect of Night Mode.
I purposely didn’t read anything about Night Mode ahead of time because I wanted the fun of figuring it out on my own. It took Pat and me a while to figure out exactly how it works.
First of all, you don’t choose it, it chooses to go on when there’s not enough light, much like an auto-flash mode. Technically you can enable it in high light situations but we’ll skip over that for now.
When the camera is in Night Mode, you’ll see an indicator of a number of seconds. Night Mode automatically sets that number based on how still the camera is. If you’re hand-holding the phone, Night Mode will show 3 seconds as the longest exposure. If you’ve got the phone in a tripod you’ll see much larger numbers, depending on the stability of the base for the tripod. I didn’t note the maximum but it’s more than 20 seconds.
The dial allows you to change that exposure time to something shorter so if it says you can do 20 seconds, you could change it to 10, but you can’t turn it up to 25. You can even dial it down to zero which disables the feature.
What the Camera is Doing
I’ve been calling this number of seconds “exposure time” but that’s not technically correct. The exposure isn’t 3 seconds or 10 seconds long; it’s three 1-second exposures and ten 1-second exposures. The processor in the phone then stacks these images on top of each other and combines them into one photo. This used to require high-end photo software like Affinity Photo or Photoshop, but now it can be done right in your phone.
I have to admit that I didn’t figure this out until I got home. I wanted to see in the EXIF data, how long each exposure was to judge which ones look best, but all of the photos showed a 1-second exposure. This stacking concept has some huge advantages and explains why the photos with longer times looked so much better than the shorter ones.
With stacked images, the processing will reinforce any parts of the images that are unchanging and the changing features will not be amplified. In low light, image sensors create noise in your images. I’m sure you’ve seen this yourself. Since this generated noise is random, it changes from image to image. If you stack enough noisy images, this noise that changes from shot to shot will actually disappear.
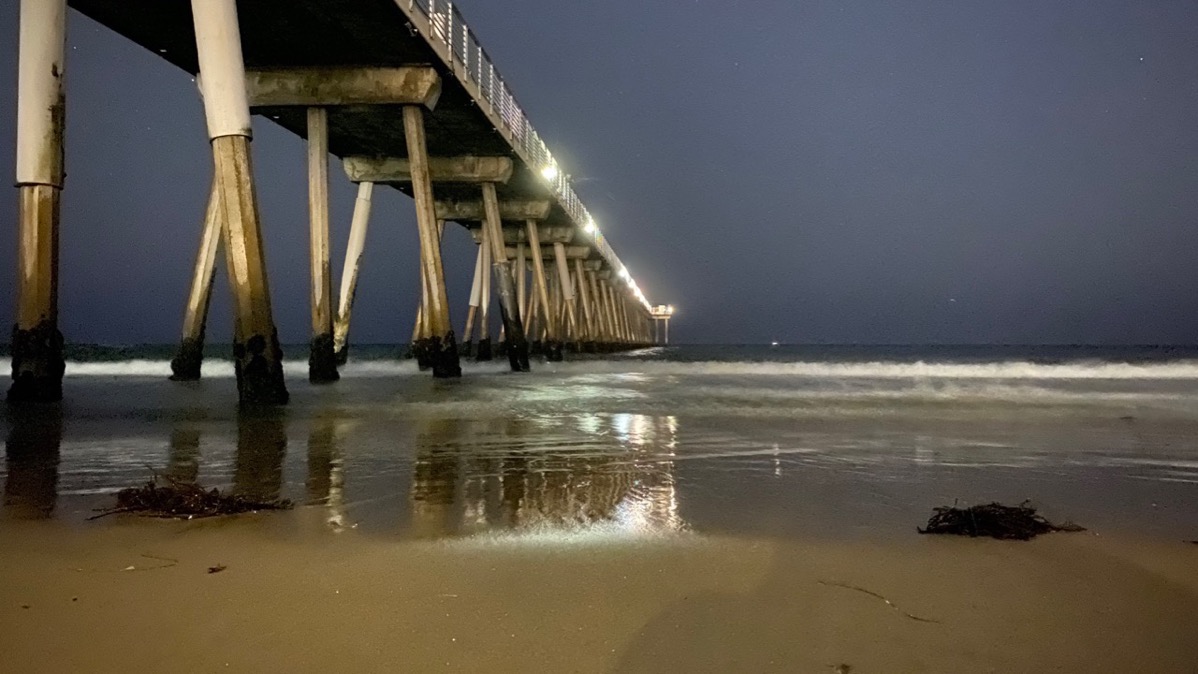
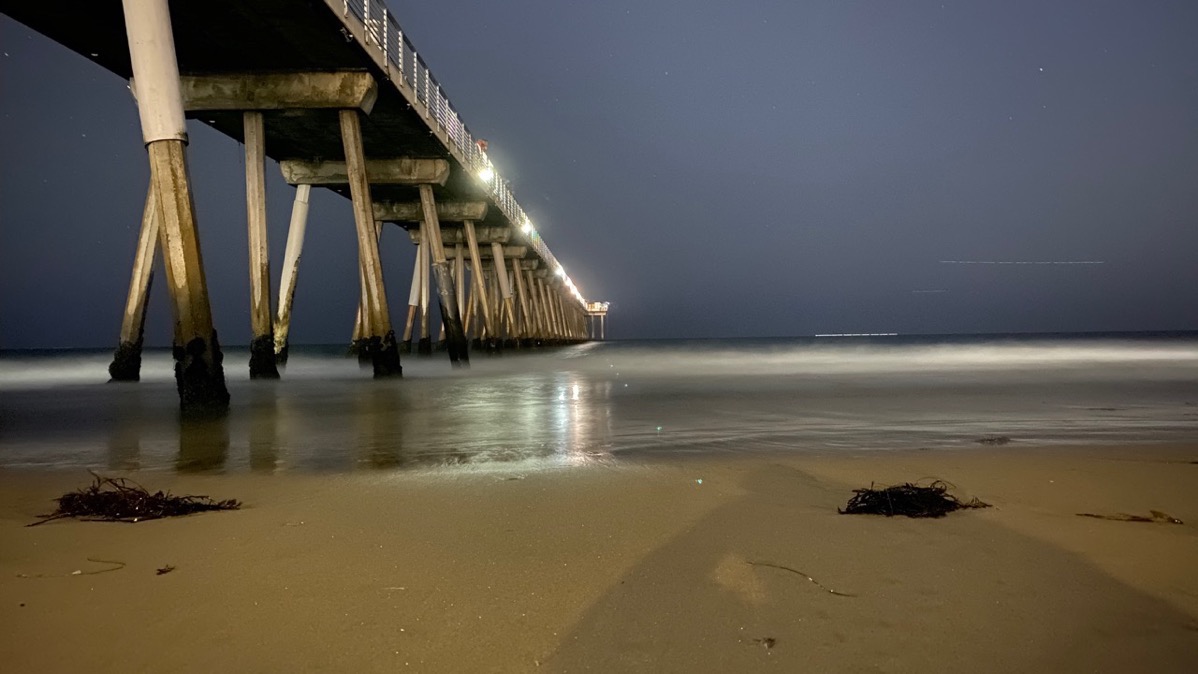
I took two shots from under the pier looking out at the ocean. One shot exposed at 3 seconds, and one at 20 and the difference in the two photos is remarkable. The 3-second shot isn’t terrible, but if you zoom in at all, the ocean waves look crunchy and the sky is displeasing.
In the 20-second version, the sky is much smoother and the ocean waves have turned into that cool creaminess that you get with long exposures. Another thing to note is that the 20-second shot isn’t actually brighter or overexposed, but the quality is so very much better.
I put both photos into the show notes and linked them to high-resolution versions so you can pixel peep these for yourself. Keep in mind as you look at these, that it’s an hour and a half after sunset. Truly remarkable!


Changes to the Camera Interface
Now that we understand why we care, let’s walk through how the camera interface is substantially different on iPhones 11 vs. earlier phones. At the top of the screen, you’ll see the familiar toggles for auto-flash and Live, but the timer and filter buttons are no longer there. Instead, on the left side, there’s a little crescent moon button to represent Night Mode, as well as an up/down chevron.

If your phone has enough light to take a normal photo, the crescent moon icon will be white, but if it thinks Night Mode would be helpful, the icon area turns yellow and it will tell you how many seconds it thinks would be appropriate.
With the chevron I mentioned flipped up, you’ll see the normal options above the shutter button to flip between photo, video, portrait, etc. But if you tap the chevron it will flip down and above the camera shutter button, you’ll see a different set of options. You’ll find the icons for flash, Live Photos, timer, and filters. But you’ll also get an icon for Night mode and one to change the aspect ratio from 4:3 to 16:9 or square. That made me realize that square was no longer an option in the normal mode which makes me unbelievably happy. I used to hit square all the time by accident and I never wanted it on purpose!

This week, Steve and I had dinner with our good friends David Roth (the NosillaCastaway I’m always talking to who is afraid of math) and his lovely wife Jennifer. We wanted a selfie to commemorate the event as we only get to see each other every couple of years. It was nearly 9 at night, so we tried using Night Mode. I flipped the aspect ratio to 16×9 using the back camera, and we are perfectly exposed because of the three 1-second stacked images of Night Mode.
Bottom Line
When I got the iPhone XS, I could barely tell the difference in the camera from the iPhone X. But just Night Mode alone on the iPhones 11 makes them a massive improvement over the iPhone XS.
