During Apple’s WWDC keynote, they showed off some amazing new text recognition features coming to the Mac and iOS. You’ll be able to select text right out of an image. They even demonstrated pointing an iPhone’s camera at a whiteboard and using a finger to drag across the hand-written text and have it actually select it and copy it as text. It was, as I said on Shelly Brisbin’s Parallel podcast, the Simone Biles of text recognition.
I’ve got a Mac app tip for you that isn’t quite as cool as what’s coming in the next OS updates for Apple fans, but you can have it now, and you don’t need a brand new Mac to use it.
The app is called TextSniper, and it’s $9.99 in the Mac App Store or available through Setapp. You can also buy it directly from the developer’s website for $6.99 at textsniper.app. The main problem that TextSniper sets out to solve is to allow you to copy text that isn’t really text, but actually a graphical representation of text. One of the main places I’m aggravated by non-text text is in the App Store. I’m often reviewing an app and want to use the description the developer so carefully crafted, and yet it’s not real text so I can’t copy it.
Think about this use case, you get a PDF from someone but it hasn’t been OCRd (had optical character recognition applied to it), with TextSniper you can convert it to text.
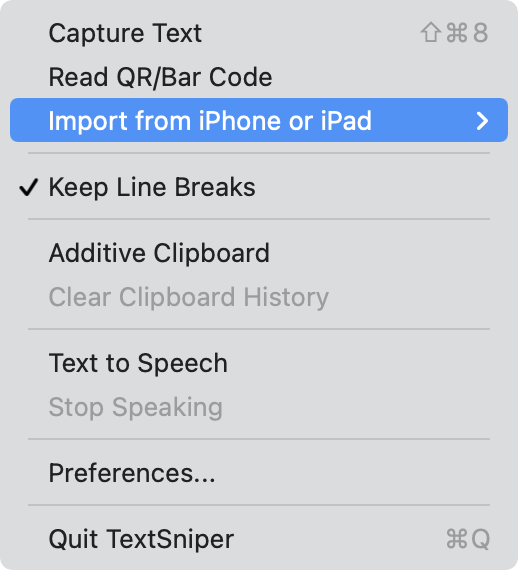
TextSniper is a menu bar app with a very simplistic interface. Before digging into all of the options, let me explain how easily it works. In the menu bar app, select capture text, and your cursor changes to cross hairs just as though you’re starting a screenshot.
Click and drag across the area with the text you want to capture, and you’ll hear a playful beepboop sound, and you’ll very briefly see a happy thumbs up on screen that says “Copied to Clipboard”. If you’re a cranky pants with no joy in your heart, both the playful beepboop and happy thumbs up can be disabled from TextSniper’s Preferences.
As soon as you capture the text with TextSniper, you can paste it into the app of your choice.
Before we go much further into what TextSniper can do, I’m sure most of you are thinking, “Sure Allison, that sounds great, but how well does it work?” In my testing, if the text on screen is typed, it’s been 100% accurate. However, in testing TextSniper on handwritten text, it’s not very accurate at all. Maybe it would save you a bit of typing, but the variations in handwriting are so vast that it really struggles at that task.
You might have dismissed TextSniper immediately because of its inability to accurately interpret handwritten text and you might be thinking, “I’ll just wait till macOS 12 come out.” While it absolutely does look awesome, the optical character recognition that’s coming from Apple requires a Mac with an Apple Silicon chip to work. Right now only the M1 Macs will be able to use this feature.
Now that I have your interest back, let’s dig deeper into what TextSniper can do. If you’re grabbing text that is in a narrow column, the text you snipe will have line breaks to keep it consistent with what you saw. But if you really just want the text so it won’t look dumb in another application, in the menu bar dropdown you can disable “Keep Line Breaks”.
If you’re going to be grabbing many snippets of text that you’ll need to assemble later, it would be inefficient to grab the text, switch apps, paste, go back to the graphic, grab another section, and switch back. TextSniper solves this problem with an option in the menu dropdown called “Additive Clipboard”. Simply capture repeatedly and you’ll get all of the text in one paste to your text application.
When you’re done capturing multiple snippets of text, there’s a menu option to Clear Clipboard History, and uncheck Additive Clipboard. I bet that 100% of the time I use Additive Clipboard I’ll forget to turn it off. It happened already once in my testing!
I’ve demonstrated the built-in ways on macOS and iOS to have your device read to you with text to speech, but TextSniper can do this with graphics containing text. In the menu, enable Text to Speech, and not only will the text be read out loud to you, but it will also still be captured to the clipboard.
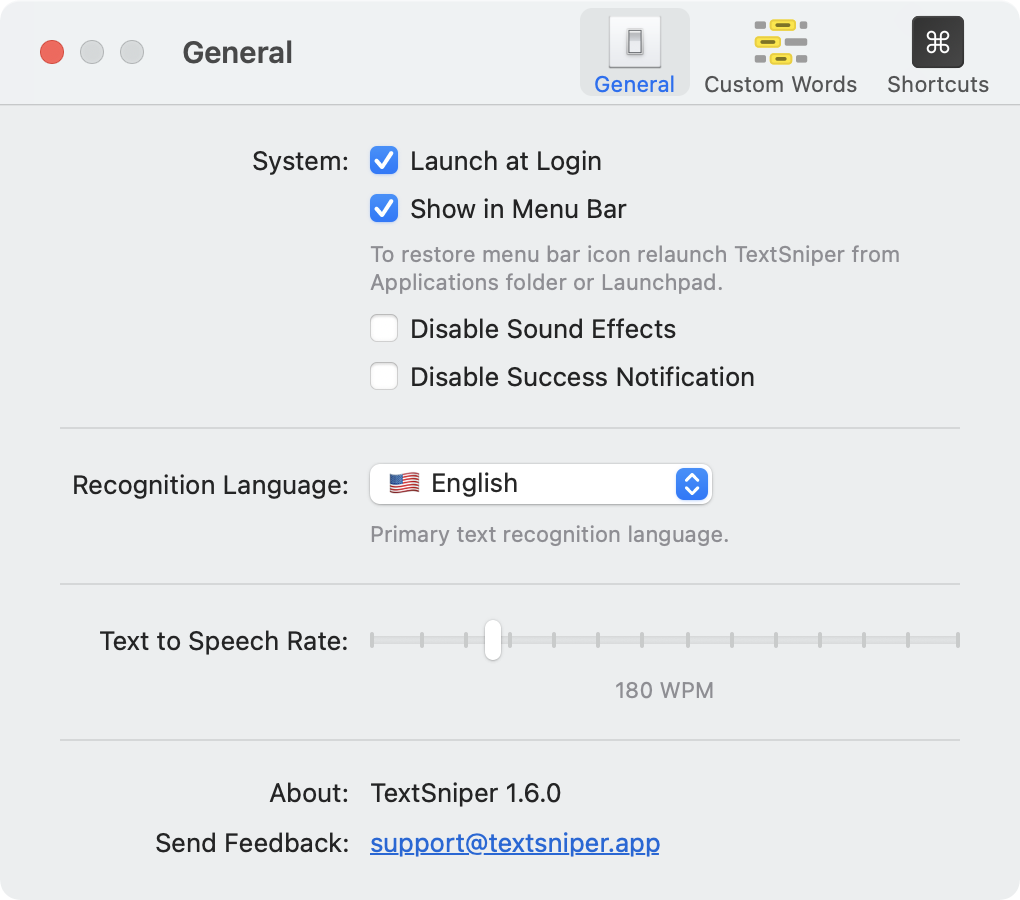
If you’re a text to speech fanatic, then you probably like to listen at insane speeds. In General preferences for TextSniper, you can change the text to speech rate from 50 to 700 words per minute. I can listen up to about 400 words per minute, but you do you!
One of the annoying things about text to speech, in general, is that sometimes you get it started and realize you didn’t really want to hear that much, so having a way to stop it is pretty important. There’s an easy menu pick to stop text to speech in TextSniper. The entire text you grabbed will still be in the clipboard though.
Seeing that TextSniper can do text to speech made me wonder how accessible it might be. I’m happy to report that every bit of TextSniper is accessible to VoiceOver on the Mac. I did find a weirdness that it seemed to say the names of the Preference options twice the first time through but other than that it was grand. I’m not entirely sure how as a VoiceOver user you would use the screen selection tool, but I’ll leave that to the more highly trained users.

Another slick feature of TextSniper is that it can read barcodes and QR codes. Using the menu dropdown, select Read QR/Bar Code, and then drag across the code and you’ll have copied whatever secret message was buried in the code. I don’t run into barcodes I need to read very often, but QR codes come up time to time for me. I created a QR code that should take you to podfeet.com and tested it with TextSniper and it immediately captured the URL. Pretty cool party trick.
As a side tip, did you know that if you point your iPhone’s camera at a QR code for a URL, you’ll see a popup offering to open the URL for you?
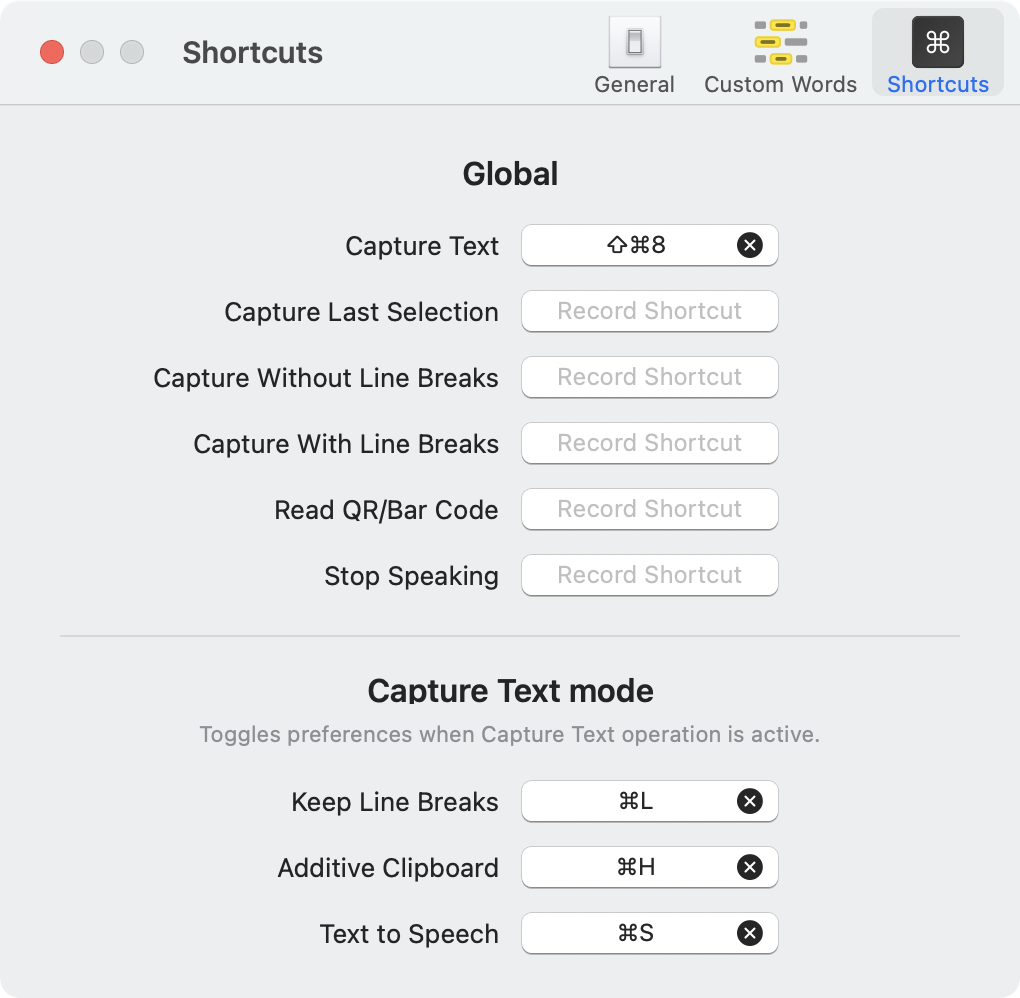
If you start using TextSniper pretty often, you may want to add a keyboard shortcut to trigger the app. In TextSniper Preferences, there are many options to add keyboard shortcuts. Not only can you record shortcuts to Capture Text, but you can also add them to Capture Last Selection, Capture Without Line Breaks, Capture With Line Breaks, Read QR/Bar Code, and the ever-important feature, Stop Speaking.
You can imagine if you get used to using TextSniper on a regular basis, there will be times you want line breaks and times you don’t. There’ll be times you want additive clipboard and times you won’t. There’ll be times you want TextSniper to talk to you and times you want it to be silent.
Luckily for the power users, there are toggles to enable and disable each of these features after you enable TextSniper but before you click and drag across the text. For example, if Text to Speech is enabled by default, but you’re in a library and want to be very very quiet, you can hold down command-S after you trigger TextSniper and you’ll see “OFF Text to Speech” in a very brief popup window. Note that this is different from stopping speaking, it means don’t start in the first place.
You can enable/disable/enable line breaks, additive clipboard, and text to speech right before you start the text capture.
While I was testing the toggle shortcuts I just described, I accidentally hit the space bar after I triggered TextSniper, and the window over which my cursor was hovering turned blue, just like it does when you’re doing a screen capture. It turns out you can capture an entire window’s text with TextSniper in this way. I had no idea it could do this so it was a delightful surprise.
The privacy-conscious amongst you might be concerned about what the developer might be doing with all this text you’re capturing. Put those worries aside, TextSniper uses on-device optical character recognition to do its magic. I didn’t just take developer Valerijs Boguckis’s word for it, I unplugged Ethernet from my dock and turned off WiFi on my MacBook Pro, and tested it myself and it continued to work perfectly.
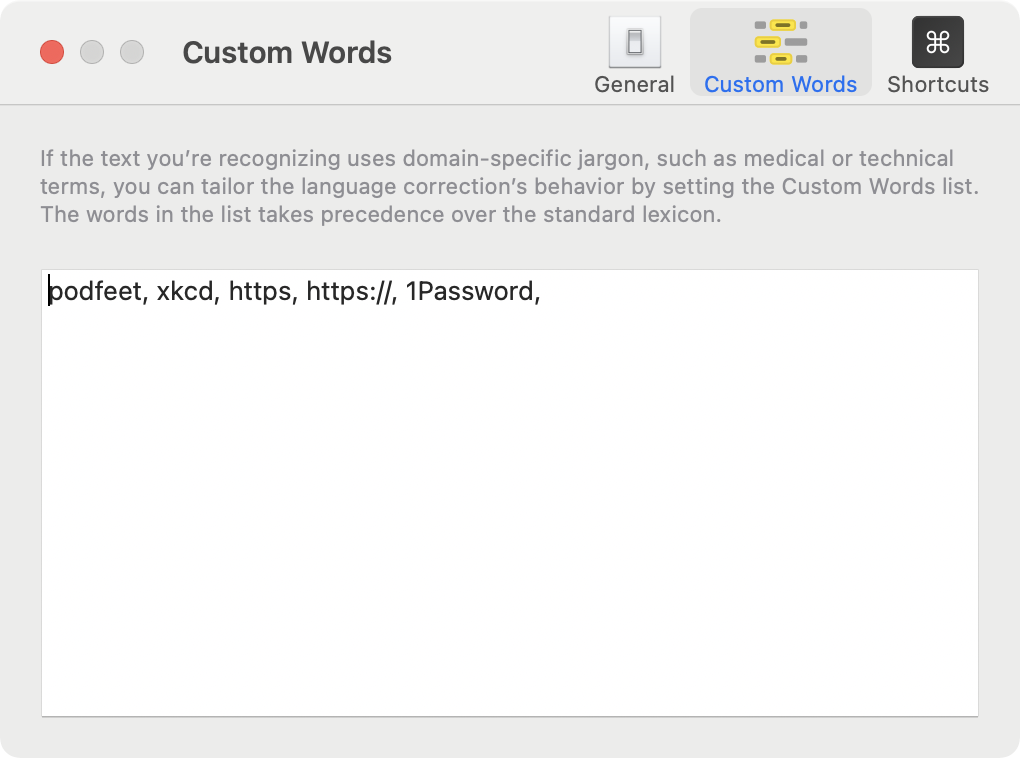
If the text you often need to capture has domain-specific jargon, such as medical or technical terms, in preferences, you can add the words you think TextSniper will need to recognize to a Custom Words dictionary.
TextSniper text recognition is available in English, French, Italian, German, Spanish, Portuguese, and Chinese, both simplified and traditional. By the way, I’ve gotten so used to using TextSniper to capture text for me that I tried to use it to capture that list of languages from TextSniper’s preferences, but the ONE place it doesn’t work is within its own preferences. It felt so archaic to have to type that out by hand!
The final thing to know about TextSniper is that you can remove it from the menu bar altogether. This doesn’t make it run as a traditional app or show in your dock for easy access, it simply makes it invisible in the background. If you’re a keyboard shortcut wizard, this might work quite well for you, but I think I’ll be keeping it in my menu bar for the duration!
When I first considered telling you about TextSniper, I figured it would take about 30 seconds to describe it, because I had no idea how in-depth this app actually was. I know $10 sounds like a lot for a small utility app, and perhaps the price is too steep for your wallet, but I’ve used it about 20 times in the last week since I installed it. I may buy it outright, but for now, I’ve added it to the reasons I like Setapp. I was able to test it without additional cost because I have a subscription and now I know I love TextSniper.
