Hello fellow NosillaCastaways this is Ed Tobias, also known as Mr. Ed in the chats. I’m here to bring you another review of an app called Home Assistant, but in typical NosillaCast fashion, first the problem to be solved. I love IoT devices. The only thing I don’t love about them is they’re very fiddly and don’t play well together, especially if they are from different manufacturers. And they have to work well together in order to do something really cool. Also, a problem I have is that the firmware they use is under the control of the manufacturer whom I don’t know if I can trust to keep them secure since they are all connected to the cloud in order to work.
So what I’m looking for really is one hub to rule them all, and provide me with extensive programming capability without exposing me to the wilds of the Internet. Home Assistant seems to have provided something that comes closest to accomplishing that.
Before I explain how it accomplished that, I want to describe the difference between home automation and a smart home. Home automation takes physical interaction to make something happen. For example, you can turn on the light with your phone or set the security alarm with your phone or ask A-lady to turn on the light. In contrast, a smart home uses information from sensors to trigger actions without any human interaction. For example, it detects I left the house and automatically locks the door and sets my alarm that way I don’t even have to think about it.
Home Assistant from home-assistant.io provides the necessary environment to connect the sensors to the devices in your home with easy to use automation to turn your home into a true smart home. It runs on a raspberry pi and it has interfaces to over 1000 IoT devices as well as secure connections to all the gals like A-lady, S-lady, and G-lady (does Google use a female voice? I don’t use google assistant so I don’t know). It even connects directly with HomeKit.
Home Assistant is open source, which is good, and it is extensible with large community support for add-ons. These add-ons allow you to add interfaces that other people have created to control all kinds of devices. Any connections that require communication to the cloud are done so via an encrypted interface through the Home Assistant hub, so there is no direct connection from the device to the internet – it runs completely locally. The IoT devices can still use their native apps to function, but that is not required.
I’ve actually used some cheap smart switches that I have replaced the firmware with open source firmware and removed the need for all communication with the manufacturer.
You can operate home assistant from a browser or you can use the mobile app that they have for both android and iOS. If you want to use the mobile app outside of your home Wi-Fi network they also have a service that communicates back to your Home Assistant app using a very secure encrypted connection. It doesn’t require you to make any changes to your router, so it is much more secure. That service costs $5/month but is well worth it.
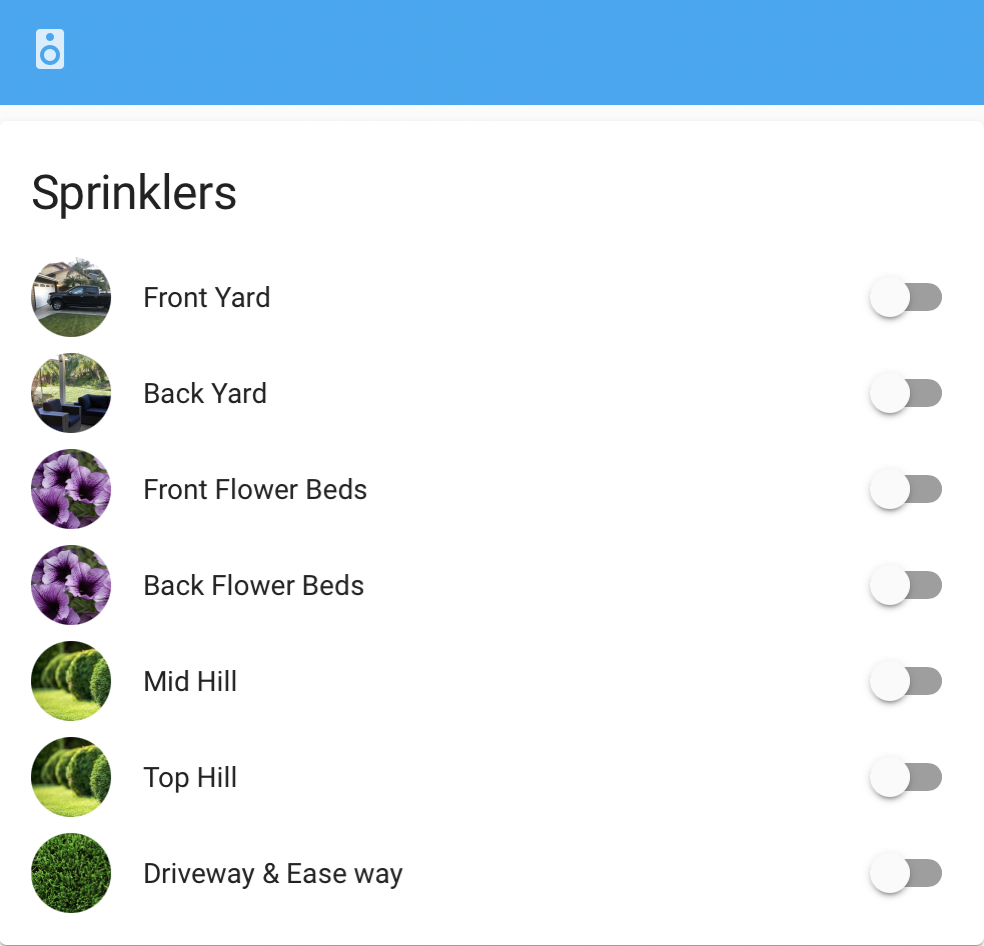
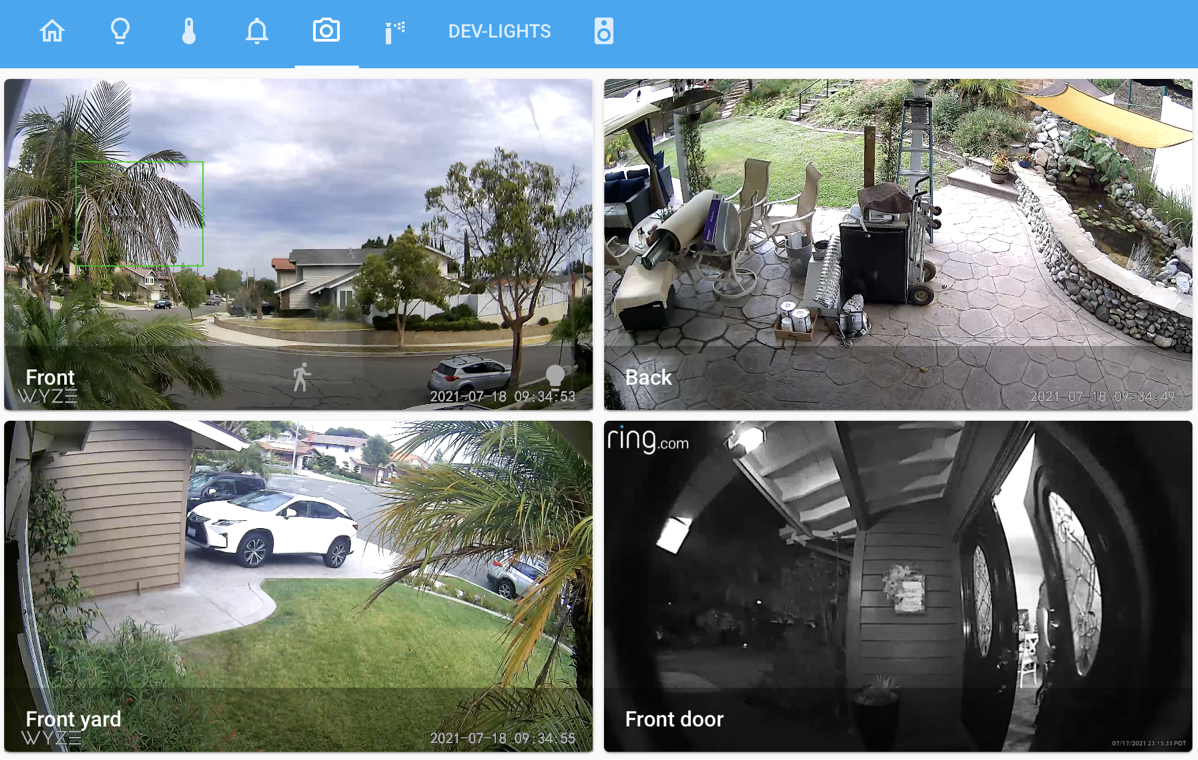
Once you connect your IOT devices to Home Assistant, it automatically will create a dashboard where you can monitor and control your devices. You can edit that dashboard using the built-in GUI editor to make it look any way you like, and you can add additional dashboards that are accessible from tabs at the top of the page.
You can create not only buttons and switches, but also sliders for brightness and color control, and many more interfaces. There are graphs and dials to display sensor data as well, and with add-ons, you can make anything you want. I have a graph card on one of my dashboards that plots the wind speed for the last 48 hrs. So that you can get an idea of what the UI looks like, I will have Allison post a screenshot of my user interface in the write-up for this review.


The real power in Home Assistant is the scenes, scripts, and automations that you create to autonomously control your devices. Scenes are used to define a set state for a group of devices. For example, when I watch TV a “TV time” scene is activated which sets the two family room lights to “off” and the TV backlight to “on”. That scene defines that lighting configuration. To activate the scene you need either a script or an automation.
A script will execute a set of actions and also may be controlled by certain conditions. An automation is the same as a script, but it also has a trigger that is used to set the actions in motion. For example, I have a script to control my driveway lights. Normally I have them dimmed to 30%. The script will change the brightness to 100% for 5 minutes and then set them back to 30% unless it is after 10PM in which case it sets them to off. The script also has a condition that these actions only happen if the sun is below the horizon.
The automation I use calls this script when either the driveway camera detects motion, or when I open the front door. That way when I take the dog out for a walk at night the driveway is at full brightness.
Scenes, scripts, and automations are created using a simple GUI editor. It makes creating the magic a breeze. If you are like me, however, there is another way to create the dashboards, as well as the scenes, scripts, and automations using a code-based programming layer. It uses a code called YAML.
Many think that YAML stands for Yet Another Markup Language, but it doesn’t. It is a scripting language, not a markup language. The acronym is actually recursive. In other words, the acronym is part of the definition of the acronym. YAML stands for “YAML Ain’t a Markup Language”. The idea of a recursive acronym makes the geek in me smile.
By programming the automations in YAML it is easier to use for and while loops in your automations as well as digging deep into the IOT devices data. For example, some of my smart switches actually report their power consumption. I can write some YAML code to extract that data and assign it to a variable that I can plot on a graph on my dashboard. Or I can get that info for all my devices and sum them together to get a big picture of power consumption. There is really no limit to what you can do.
Home Assistant can also speak to you through A-lady and Sonos. I can send text to A-lady or my Sonos and the Text-To-Speech (TTS) function will have them speak the text I sent. I can have A-lady welcome me home when I have been gone and open the front door, or warn me that the alarm is set when I go downstairs for a midnight snack.
I feel like I’ve barely scratched the surface of what Home Assistant can do, and it would take a lot longer to review it in detail than I can do here. If you are interested in giving it a try, you can find Home Assistant at home-assistant.io where they have all the instructions and downloads for the raspberry pi. Like I said, it’s open source and it does have a slight learning curve but its interface is so user-friendly that it doesn’t take very long at all to pick it up. Also there are tons of YouTube videos online to teach you how to use it. I hope you give it a try and you enjoy automating your home and turning it into a true smart home.

