The Problem to be Solved
You may have noticed that I take a lot of screenshots. I use them in my blog posts, I send them to my friends and family in messaging apps to teach them how to do things, I post them to services like Mastodon and Slack, and I send screenshots to developers when I need to ask a question. I create screen recordings too from the iPhone for all of the same reasons.
Frankly, though, Screenshots on iPhone look silly. Now that the phones are tall and skinny, screenshots look out of proportion and like they’re missing something. The one thing that can make them look better is to put a bezel frame around them that mimics the physical frame of an iPhone.
I’ve experimented with so many different methods to do this and they all had their drawbacks. I’ve tried Shortcuts made by people who are very good at it, but they always go stale when a new version of iPhone comes out.
My beloved Affinity Photo comes with templates for iPhone (and other device) frames, but It’s really stale – the latest it has is the iPhone XS! Apple lets you download their official bezels, and I’ve dropped them into Affinity Photo and then tried to resize my screenshots on a layer under the bezel frame. At best it’s tedious, time-consuming, and error-prone. At worst, I can never quite get them aligned properly.
For ScreenCastsOnline work, we do use the official bezel frames and align them under the video in ScreenFlow, but the more recent ones don’t work properly. If the video and frame are aligned and sized correctly, there are wee tiny corners of the video sticking out from under the frame. We have to do some real shenanigans to fix it every single time.

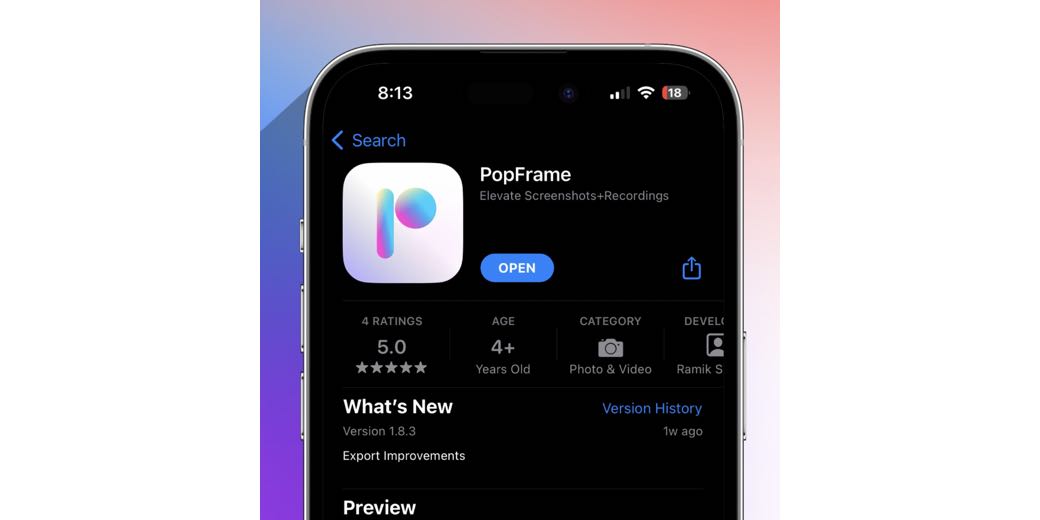
PopFrame
Every year or so I hunt for a new solution to this annoying problem, and this time my hunt was rewarded by a fantastic tool called PopFrame for iPhone in the App Store. In literally seconds I can add a frame to a screenshot of my iPhone.

The process to put a frame on a screenshot with PopFrame could not possibly be easier. Take a screenshot by holding down the volume up and side buttons, and save it to your Photos Library. Launch PopFrame and tap the big plus button on the screen.
After giving PopFrame access to your Photos Library, select your screenshot. Almost immediately you’ll see your screenshot with a perfect iPhone frame around the image. It will be beautifully displayed on a lovely blurred background created from the screenshot.
That’s it. That’s all you have to do. PopFrame doesn’t even ask you which iPhone you used for the screenshot … it just works.

If you’re happy with the effect, tap the share icon and go on your merry way. But PopFrame has a lot more options to tailor the image to be even more interesting.
Backgrounds
After PopFrame adds the frame and background to your image, you’ll see four buttons right below it.

The first button allows control of the background. I mentioned that by default, the background is a blurry version of the screenshot itself. You can also choose from a bunch of different gradient backgrounds that look very Apple-y. If you have no joy in your life, you can choose a dark grey, black, or white background. You can also choose to have a transparent background if you need to drop the image onto an existing background.
If you want to get back to the blurry image background, look for an icon representing an image – the classic mountains with the sun. Most screenshots I take are of app interfaces, and the blurry image background isn’t very interesting, but I tried it with a screenshot of a photo in my Photos Library of some purple and orange flowers with green leaves. The background became a soft blur of purple, orange, and green hues. It’s quite a lovely effect.

Size
You can control the size and shape of your image using the button that has double arrows going outwards.
By default, PopFrame creates a square image that’s 3000 x 3000 pixels. Within the double arrow control, you can choose a tall portrait orientation version that’s 1620 x 2880, or a nice wide image at 4320 x 2430. That’s perfect for a slide deck because it’s a 16:9 aspect ratio.
There’s also an option to show a square closeup of the screenshot in its frame – like say just the top of the phone. If you choose this option, you can slide the image up and down until you’re showing just the part of the screen you desire. As you slide the image, you’ll get some haptic feedback as it jumps between the 5 different crops you can choose from. My explanation sounds clumsy but it’s really slick.

If you take a screenshot with your iPhone in landscape mode, PopFrame adapts beautifully by offering you a square or landscape version of your screenshot with a background.
Drop Shadow
If you choose one of the beautiful gradient options or one of the joyless solid-color backgrounds, you can add a drop shadow to the iPhone. The third button has a circle cut in half with a shadow, and it invokes a little slider. As you drag the slider to the right or left, it moves the shadow to that side. The first detent in the slider is a nice soft shadow, while the end detents are a crisp shadow. If you have no joy in your life, put the slider in the middle to remove the shadow entirely.
Frame Color
The final button under the image shows a little phone frame. This button allows you to change the color of the iPhone frame itself to match your actual iPhone or the iPhone you wish you had. If you do have joy in your life and just got that brand-new yellow iPhone, you can have the frame on your screenshot match your favorite color.
Pricing
Now I’m going to tell you the crazy part. Everything I’ve described for screenshots is completely free with PopFrame. I would definitely have paid $5 for this app. Ramik Sadana, the developer of PopFrame, does have one way to make money and it’s by charging a tiny amount to add frames to screen recordings.

If you want to add all this frame beauty to your screen recordings on your iPhone, it will cost you 3 credits for each video. Ramik gives you 10 credits for free just so you can try it out. If you need more credits, you can buy 15 for a dollar, 30 for two bucks, or 45 for three bucks. I’m not 100% sure I’ll need to make 15 videos, but I wanted to pay Ramik so I bought the fancy 45 credit option for $3.
Video
But the story gets even better. Let’s say you can’t afford to pay even this small sum for your screen recordings to look snazzy. Ramik has an option he calls, “Promote the app”, which watermarks your video with a little tag on the side of the iPhone that says “PopFrame App”. I thought that was really cool.
In addition to the options I described for making your screenshots look impressive, when you import a video to PopFrame you also get the option to add touch points to the screen in the video. This is one of the most annoying things about screencasting for iOS – showing people exactly what you tapped on within a video.
With PopFrame you get a little slider to scroll through the video, and then you can tap in different spots to show where you tapped. If you didn’t tap quite right, there’s a little trash can to delete the touch point. Couldn’t be easier.
Bottom Line
Expect to see iPhone screenshots looking a lot prettier than they ever did before, thanks to PopFrame. Check it out in the App Store for the grand price of zero.
This is perfect
I’ve wanted a solution for this for a while myself.
Such a great recommendation. Thank you
This trick is amazing, I didn’t expect it could yield better photos.