
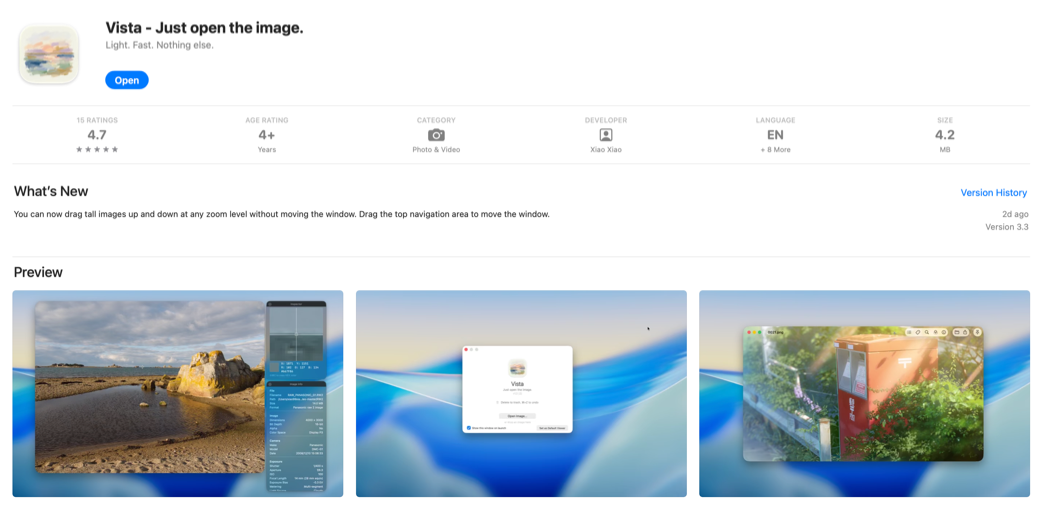
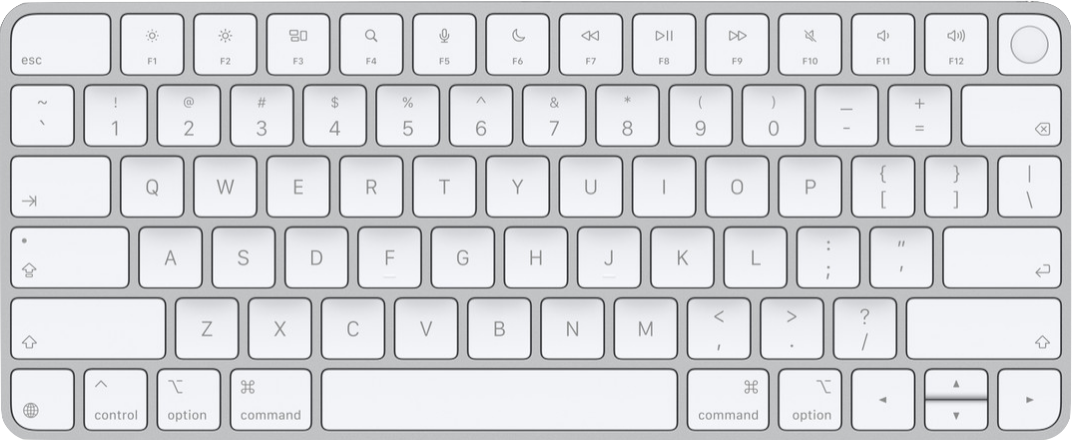
I found an app recently that solves a problem of mine, but it isn’t the one-trick pony I thought it was. Every once in a while, when doing a screencast, I need to show a still-shot graphic. This week I wanted to show a PNG of a typical Mac keyboard and point to the function keys during the video to show the two for brightness and the three for volume control.
It’s easy enough to open the graphic in the default Preview app, but the graphic is surrounded by the window’s chrome. This includes elements such as the title bar, window borders, scrollbars, and the minimize, maximize, and close buttons. It also shows the toolbar. All of these distractions destroy the illusion that you’re just bringing a keyboard onto the screen.
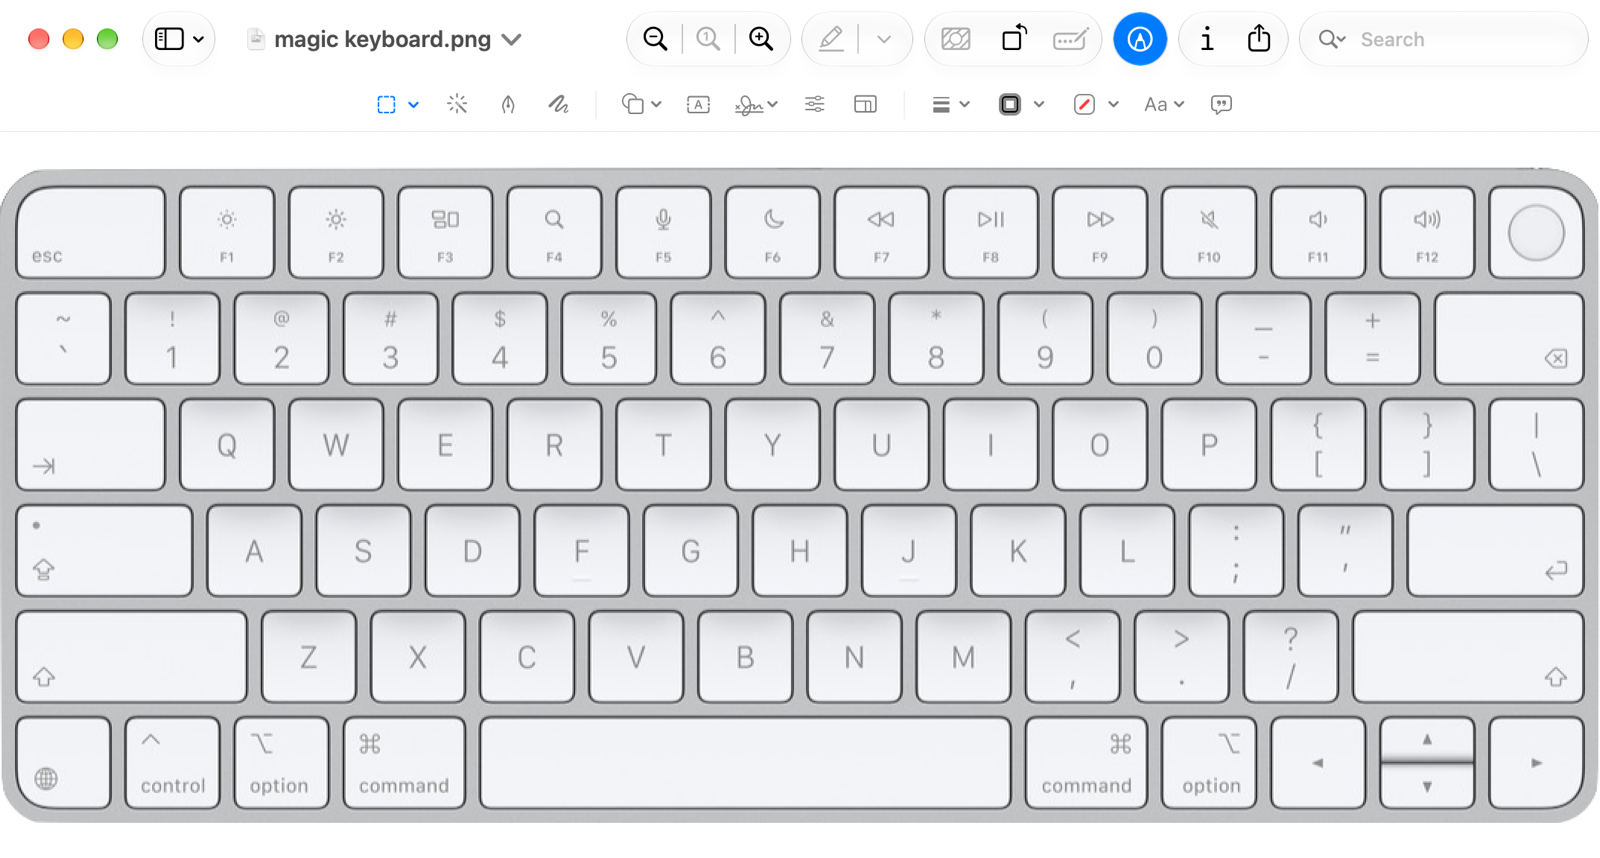
After more than a decade of fighting this problem, I went on a hunt to solve it and almost instantly found the perfect tool for the job. It’s called Vista from and it’s available in the Mac App Store for the grand sum of free!
When I open images in Vista, all I get is the image floating in space with nothing around it, just like I wanted. The only problem I saw with it is that the new, finally standardized, rounded corner radius of macOS Golden Gate is smaller than the radius of the Magic Keyboard, so I see a tiny bit of leftover window in the corners.
Navigation Through Images
While this solved the problem I had, I’ve since discovered that Vista does a lot more. If you hover your cursor over the top area of the Vista window, it reveals a few more features. It doesn’t add a toolbar, but rather overlays the tools on top of the image. Kind of messy-looking that way, but it stays true to the no-toolbar promise.
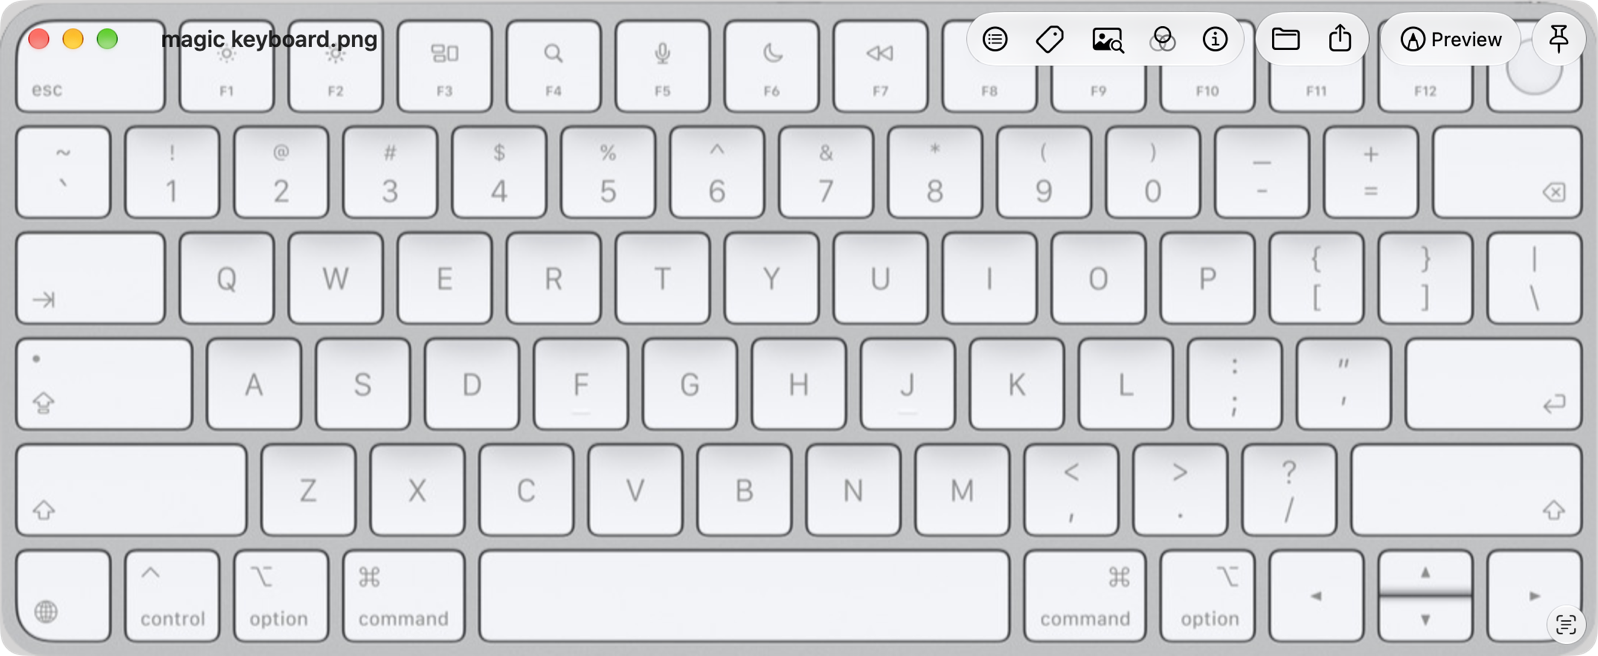
On the image, you’ll see the stoplight buttons and the image name on the left, with a set of tools on the right. Before I describe the tools, I have to tell you about a super cool feature. Have you ever been in a folder of images and wanted to flip through them? You can use Quick Look to do this by hitting the spacebar on one, and then using the up/down arrows to view each one, but you can’t do anything while you’re in there. With Preview, you can do things with the image, but you can’t flip through them unless you open all of the images at once.
Open one image in Vista, and using the arrow keys, you can flip through them with ease. Ok, now that we understand this one feature, the tools will make a little more sense.
Toolbar

Starting from right to left, we have a pin button that keeps the selected image on screen, hovering above all others as you might expect. Interestingly, if you flip to another image using the arrow keys, the image does change, and the new image is now pinned to the screen.
The next button allows you to open the selected image in Preview, which is handy. Then we have a standard share sheet button. The next button is a little envelope icon, which reveals your selected image in Finder. Also handy dandy.
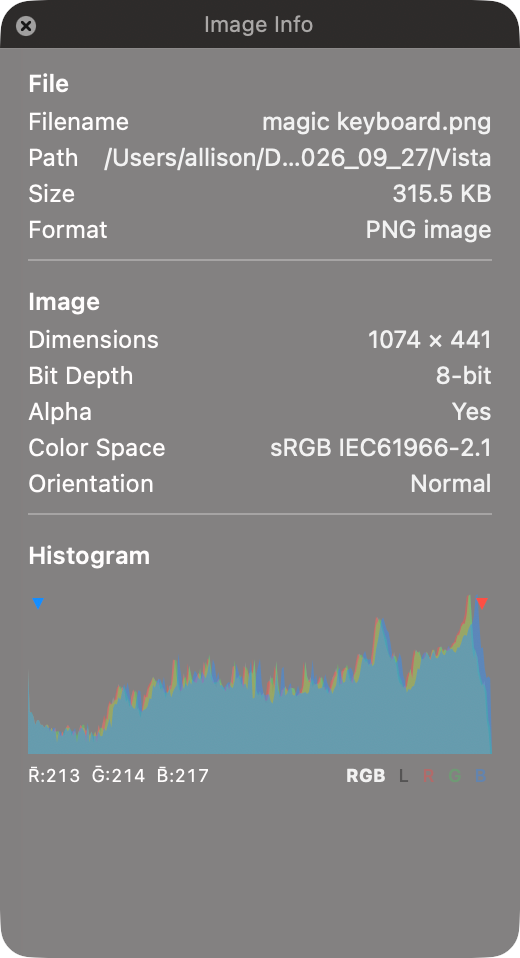
The “i” icon opens an Image Info window. With a screenshot open in Vista, there’s not a ton of information, but with a photograph it’s an enormous list. With a screenshot, you get the filename, path, size, format, and dimensions you’d expect to see in a regular Get Info window. But in Vista, you get bit depth, alpha channel, color space, orientation, and an RGB histogram. We’ll come back to that histogram in a bit.
With a true photograph, the Image Info window also includes camera info, including the lens used, date captured, and even the OS version. It has exposure information with everything from shutter and aperture settings to focal length, any digital zoom applied, and more. It also includes GPS information and a little map at the bottom showing where the image was taken. It even tells you what direction you were pointing and the attitude above or below sea level! In Preview, if you go to Tools → Show Inspector, you can see this same information, but it’s cool you can see it in Vista too.
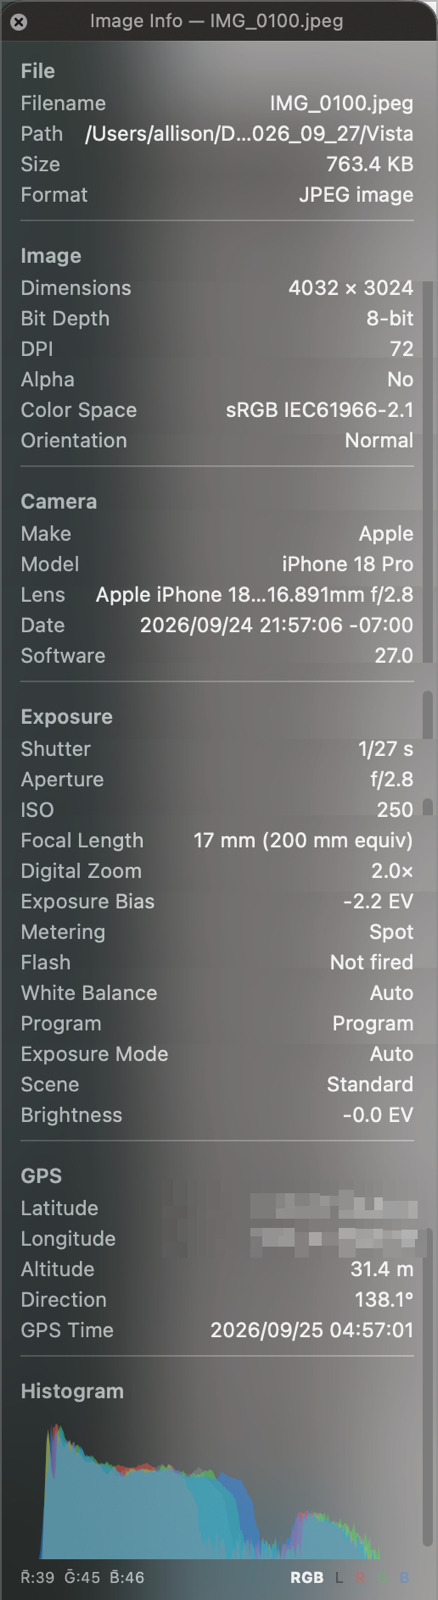
I said I’d get back to the Histogram. By default, it shows you the RGB values on a scale of 0 to 255, but by clicking on the L, R, G, and B, you can see the RGB and luminance channels separately. Dragging the vertical bar along the graph reveals the peak values and percentages at each brightness level. You even get a little blue triangle on the left and a red one on the right to show where in your image it’s clipping, either in dark or bright areas. Pretty slick feature of this one-trick pony.
If you add a new image to the folder, Vista doesn’t see it till you quit and reopen. If you hit a long image that has to be scrolled, the up/down arrows just scroll, so you have to use the right/left arrows to advance.
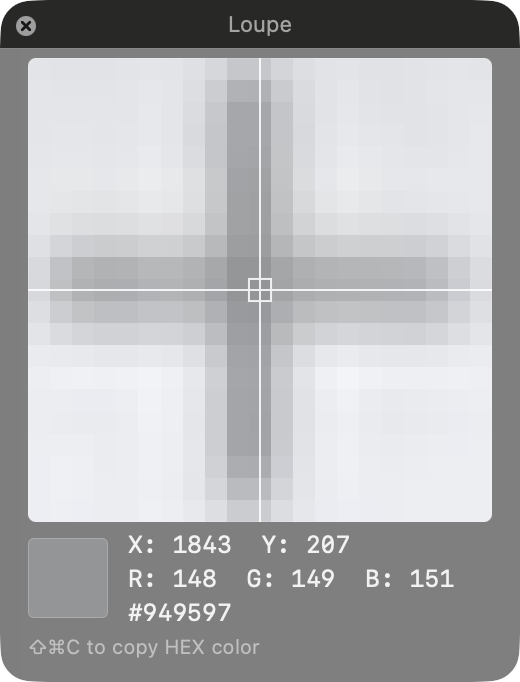
We’ve got a three-circle icon which opens filters you can apply, such as sepia, black & white, etc. Next up is a loupe that allows you to pixel-peep on your image. It shows the x/y-coordinates on the image, then the RGB values and hex code for the color over which you’re hovering. In tiny print below these values, it invites you to use ⌘-⇧-C to copy the HEX color, but that’s actually incorrect. ⌘-⇧-C copies the file path. If you go to the File menu in Vista, you can see an option to copy the HEX color, but there’s no keystroke for it. I’ll be sending a note to the dev about it.
There’s a tag tool in the toolbar showing the 7 standard colors, as well as inviting you to add tags by typing them in. I found this interface to be limited and a bit unreliable. For example, if I select the orange tag, I can see the orange tag get added both in Finder and in Get Info for that image. But if I deselect that tag with the little “x” in the Vista tag window, the orange tag disappears in Vista, but in both Finder and Get Info, it gets replaced with a grey tag. I confirmed that adding and removing color tags in Finder and Get Info doesn’t cause a grey tag to be applied. I also found that when adding tags by name (pre-existing or new ones), they sometimes showed in the list in the Vista tag window, but didn’t appear in Finder or Get Info. I’m not a big user of tags, but if you are, I’d suggest using Finder or Get Info.
The final tool in the toolbar is a file list, which pops open a list of all the images it can see in the same folder as your currently selected image. While it’s swell to be able to use the arrow keys to go up and down the list, it’s also useful to be able to jump right to the image in the list. You can view the files either in icon view or list view with small thumbnails. Just like when using the arrow keys, any newly added images to the selected folder don’t show up in the file list.
View Menu
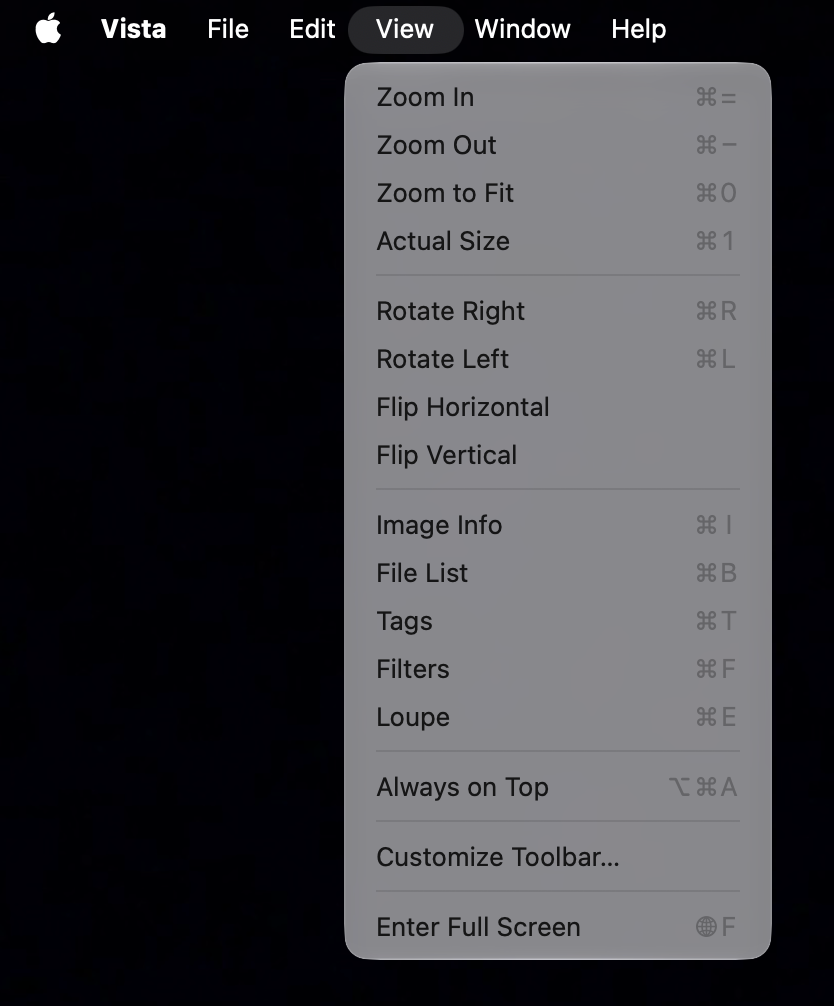
If you’re a keyboard junkie, you’ll appreciate the options in the zoom window to use keyboard shortcuts to zoom in/out, to fit, and to actual size, along with rotating left and right. Every one of the tools I described is available with keyboard shortcuts as well. There are no keyboard shortcuts for two features, but you can flip horizontal and vertical from the View menu.
In my experimentation, I discovered you can zoom in and out by pinching your fingers on a trackpad, and get back to Zoom to Fit with a double tap.
Settings
You would think for a free app that I’d be done describing it, but there are a few more tricks hidden in Settings. The first thing on the General tab is a dropdown called Drag Behavior, with two options: “Drag to Pan, ⌘+Drag to Select” and the opposite: “Drag to Select and ⌘+Drag to Pan”.
Vista can select Live Text, meaning if you drag across some text in a screenshot, Vista will select it, ready to copy. But if dragging on the window pans it, then you need a way to select, so the default is to hold down ⌘ to drag to select.
But I think there’s something else behind Drag Behavior. If there’s no text on screen and you ⌘-Drag, you’ll see the marching ants of your selection, with a text button above the selection that says “keep on screen”. If you select “keep on screen” you’ll see a popup offering to take you to the Mac App Store to get the free companion app called Tack.
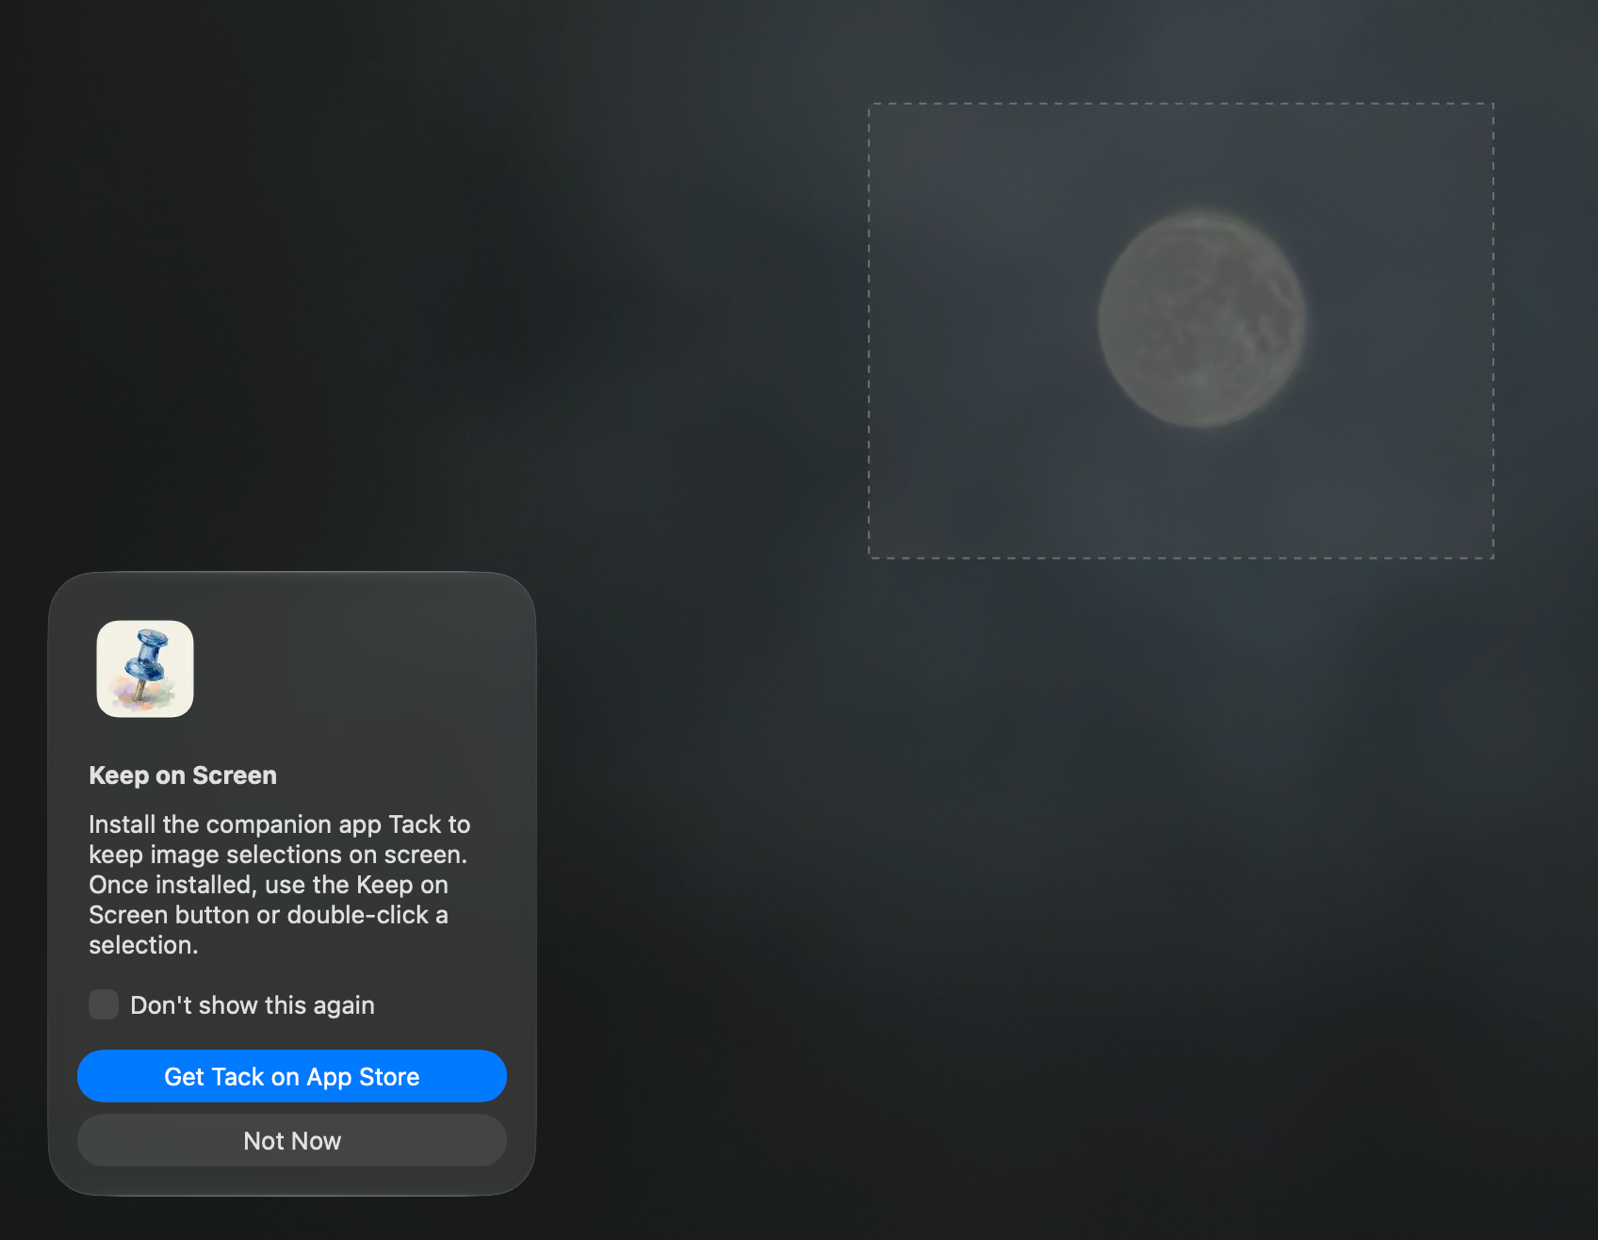
At the risk of this becoming a rabbit hole of embedded apps, I took one for the team and downloaded Tack. While it did what it said on the tin, I found it difficult to move the tacked window around on screen. It would get stuck on the border of Vista itself, for example, and at one point shrank dramatically while I was dragging it around, and I couldn’t embiggen it. I also couldn’t close it with the normal red button, so I used Activity Monitor to force quit it and deleted the app.
There is a lot more in Settings, but I’ll just call out a few notable items. By default, Vista uses smooth image scaling, which means it blends pixels when the image is scaled up or down so edges look
soft and natural — best for photos, and suggests you might want to toggle it off for pixel art and screenshots of user interfaces. You can change swipe sensitivity to adjust how much you need to swipe right/left to switch images. If you’re using Vista with RAW images, you have two options on how to have them rendered.
I mentioned in the walkthrough of the toolbars that there’s a button to open the image in Preview. To my delight, under General there’s a dropdown to choose what app you want to appear on that button. Shottr is the most likely app for me, so I can add cute annotations, so I changed my Open with Editor to Shottr.
Vista seems to be very privacy-focused. In the Mac App Store, under privacy, it shows that no data is collected. I found another example under the Browsing tab in Settings. It never asked me for full disk access because I opened an image manually from a folder with the Finder Open With option. I can see that the folder I’d opened is listed as Authorized, and above that is a button to allow access to more folders. Isn’t that a polite way to do it?
The third tab in Settings is for File Types. You know from Mac Tiny Tips Seven that you can change what app opens a file type using Open With in Get Info. Under File Types, you’ll find a list of all graphic file extensions from PNG to ICO, showing their current app association. With a single click, you can change the default to Vista. Heck, if you’re really in love with Vista, you can set all image file types to Vista!
Finally, there’s a Shortcuts tab, which shows you all of the available keystrokes and, in some cases, offers to let you customize the keyboard shortcuts for specific actions.
Bottom Line
The bottom line is that I wanted a tiny app that just opens an image file with no chrome window. I got that with Vista, but I got many more useful features I didn’t know I wanted. The only thing I don’t understand about Vista is that it’s free. It doesn’t send your data anywhere, can’t track you, and yet the developer Xiao Xiao doesn’t charge a dime. It’s baffling.