
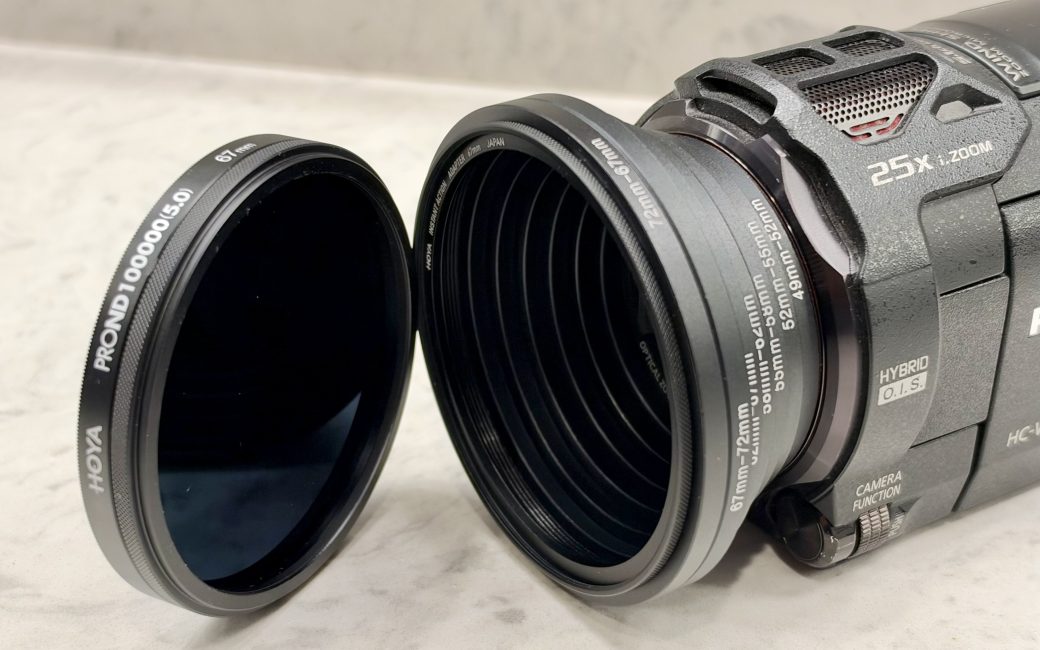
Hi NosillaCastaways, husband Steve here. You probably recall stories of Allison and my recent trip to Spain to view a total solar eclipse. You may have seen the video I created of our view of the eclipse (Video of Spain Total Solar Eclipse) and you may have heard Allison and me on a Chit Chat Across the Pond episode where I described how I shot the video (CCATP #841 Filming and Editing Video of a Solar Eclipse).
Problem to Be Solved
In the Chit Chat episode, I mention how important it is to use a solar filter when taking video of direct views of the sun to protect your camera’s sensor, just like you need to protect your eyes. So, of course, I used a solar filter to capture the Spain solar eclipse: the Hoya Pro ND-100,000 Solar Filter.
The challenge is that once the eclipse goes into totality, you need to remove the filter, otherwise you’ll get nothing on the video since the sun’s spectacular corona itself is just not bright enough to be viewed through the filter. So there’s delicate timing to remove the filter from the camera just before the eclipse goes into totality and reattach it just as the eclipse comes out of totality.
You may recall that one of the issues I had in filming the event was being able to remove and reattach the solar filter rapidly. This is important because things happen quickly just as the eclipse goes into and comes out of totality. Some of the most interesting views occur during this time, such as the Diamond Ring effect and Bailey’s Beads.
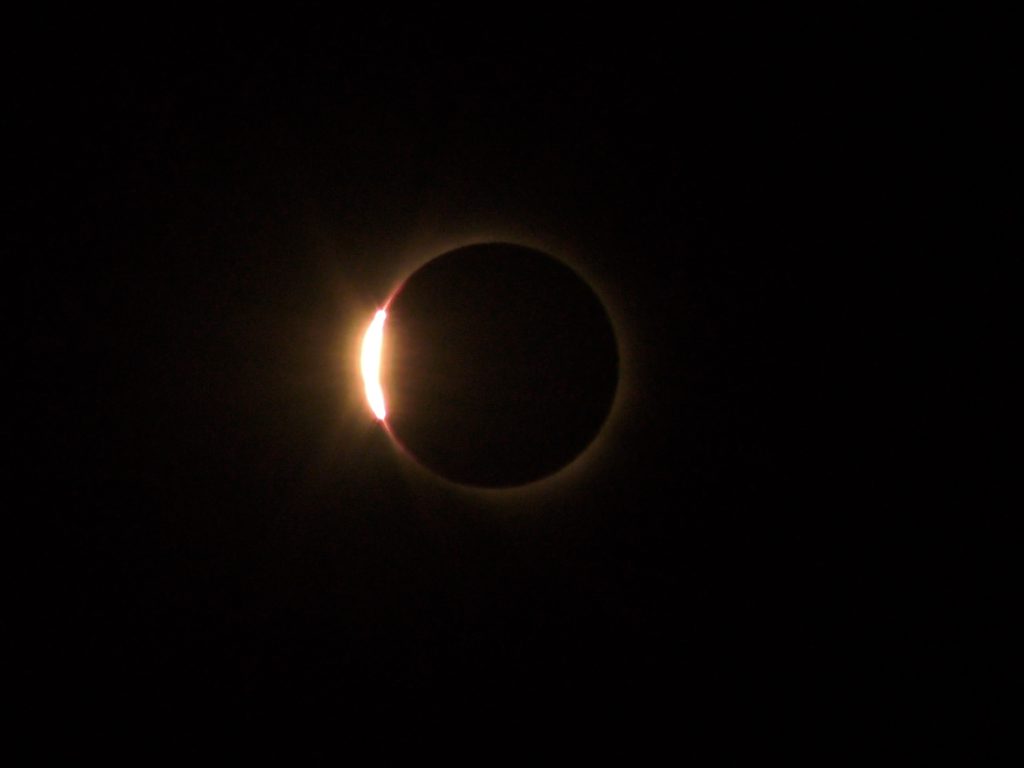
Unfortunately, my solar filter is attached to my video camera with a screw mount, which does not offer a quick method for removal. As a result, I lost several seconds during these critical moments as I removed and reattached the filter.
Help from NosillaCast Community
After posting the Chit Chat episode with Allison, I got feedback from a couple of NosillaCastaways who heard my issue and offered great recommendations:
Allister Jenks recommended using a magnetic filter mount, specifically one made by Kase. They offer the Kase Revolution Plus Magnetic Master Kit that comes with an extensive set of filters, each of which can be magnetically attached to the camera. John Denning recommended a filter holder you attach to your camera lens. The holder allows you to slide square filters into and out of the holder.
Both appeared to be great solutions, but I had a preference for the magnetic attachment method since I had already invested in an expensive solar filter that was circular and would be incompatible with a square filter holder.
As I looked into Kase’s Filter Kit, I found that my existing solar filter would also not be compatible with their system. While the magnetic mount appeared to be a good concept for filter attachment, what I needed was an adapter that would convert my non-magnetic filter to one that could be attached magnetically.
Finding the Solution
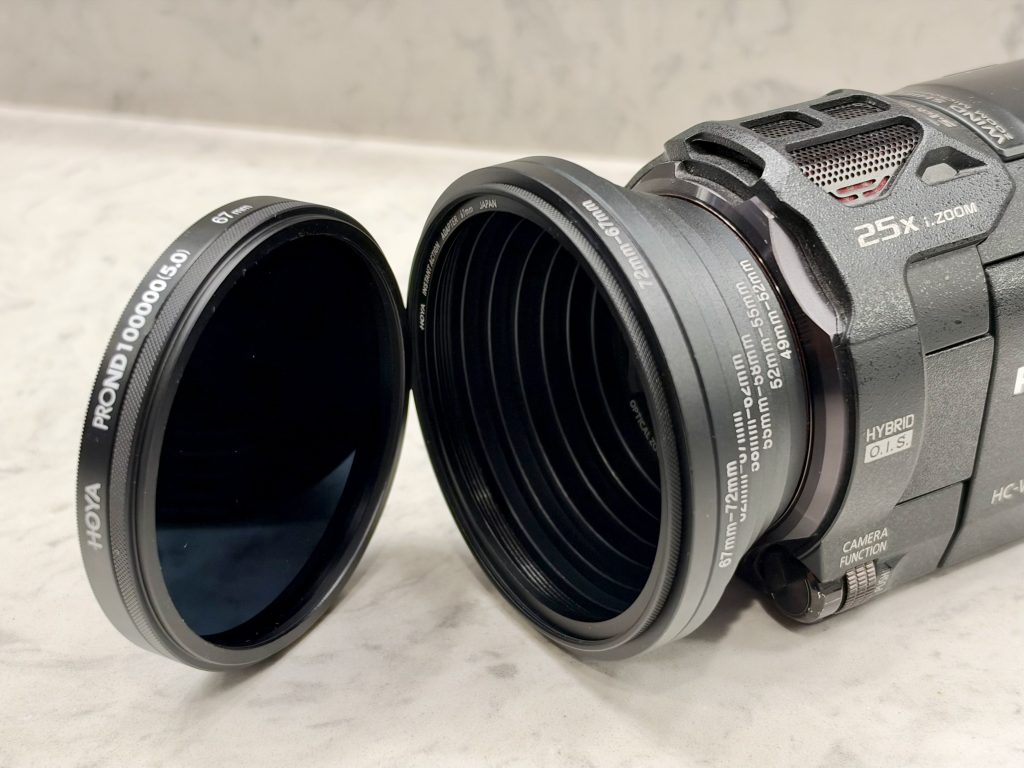
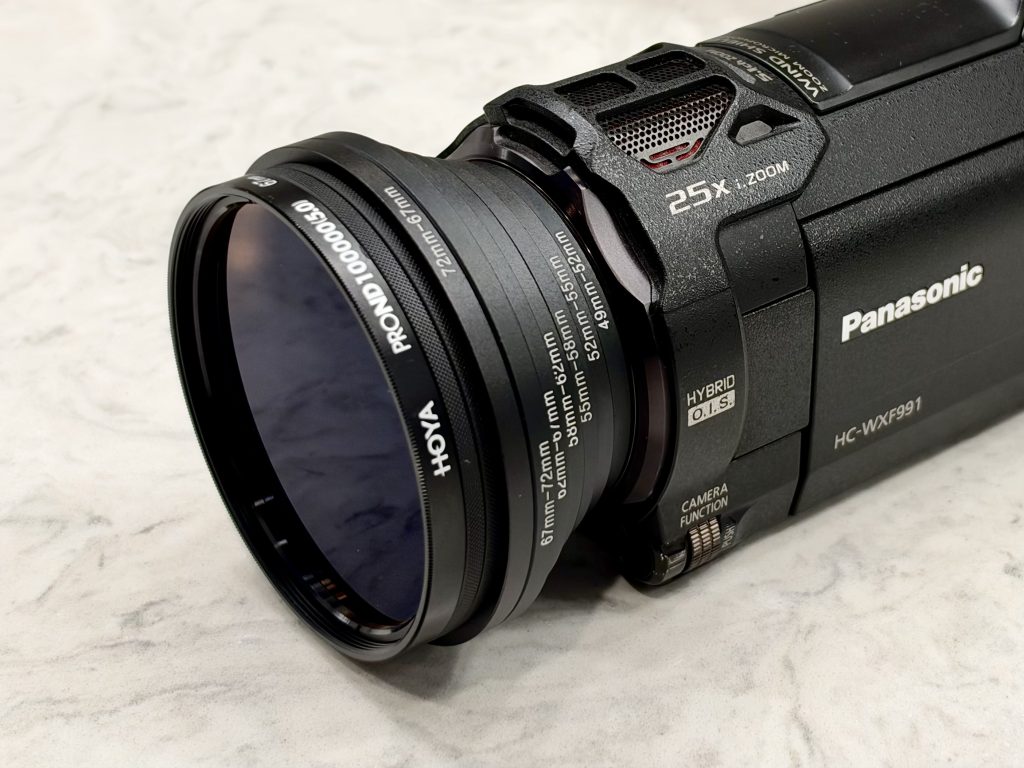
I checked online and found that Hoya, the company that makes my solar filter, also makes a magnetic mount conversion kit for their filters, so I decided to go with that approach. Hoya has a two-part solution: Part 1 is the Hoya Instant Action Adapter Ring which screws onto the camera and part 2 the Hoya Magnetic Instant Action Conversion Ring which screws onto the solar filter.
I like to support B&H since they offer so many great camera-related products, so I purchased a set of Magnetic Instant Action Rings from them. They’re relatively inexpensive at $19.90 US each, which is the same price as on the Hoya website.
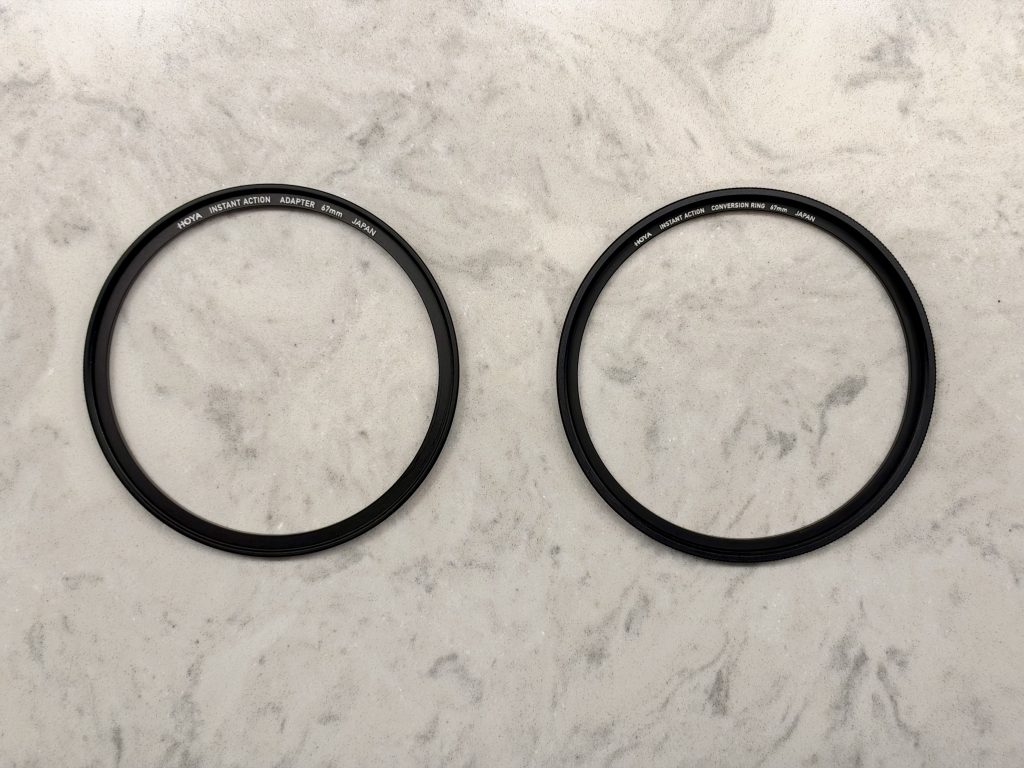
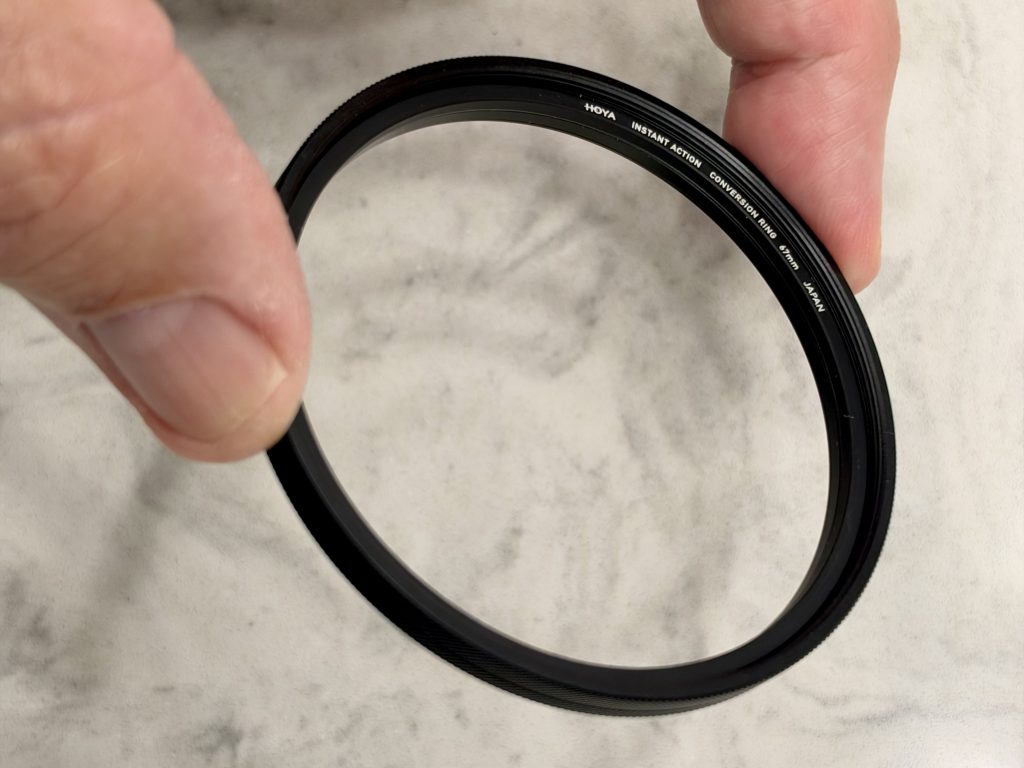
Both Action rings are magnetic. Once the two pieces are screwed into place, the Conversion-Ring-equipped filter quickly pops onto the Adapter-Ring-equipped camera with a snug fit and is just as easily removed. It’s a perfect solution to my problem.
Testing the Solution
Now that I have a solution to quickly remove and reattach my solar filter from my camera, the engineer in me insisted that I test it under real-world conditions. So I attached the magnetic rings and solar filter to my video camera, mounted the camera to a tripod, took the assembly outside, pointed my camera directly at the sun, started recording video, and was about to see how quickly I could remove the solar filter, when a little warning bell rang in my head.
This would be a horrible test since my camera was not viewing a total solar eclipse. Removing the filter while viewing a fully exposed sun would have destroyed my camera’s sensor. But I realized it’s not all that important to be pointing at the sun to run this test. So I just pointed the camera away from the sun and, while recording, did the filter removal/reattachment test. Sure enough, it was so quick and easy to pop the filter off and on. Later, I checked the recording and found I had lost just a few frames in the video during the filter transfer.
Bottom Line
Magnetic filter attachment is a great solution for quickly attaching and removing camera filters. This should work with not just solar filters, but any filter you need to use on a video or still camera. I can’t wait to try this out on my next solar eclipse recording. And big thanks to Allister and John for offering their recommendations — I love our NosillaCast community and how they always come up with solutions to our problems.
Problem is well solved! 🙂
Now let’s solve all your future problems and inspire Steve the Engineer.
With the oncoming sales for Black Friday, get a Bambu Labs printer for $500+