In part one of my Screencasting Tips article, I explained to you how to get set up for a successful screen recording session. The goal was to help create an environment that would set you up to be able to work as quickly as possible and create the best possible video that people would want to watch.
In part two, I’m going to give you some concrete recording and editing tips to help you make screencasts people will want to watch. None of the advice in this section will be specific to any tools, and as with the last part, I think it will be of interest to those who only consume, and don’t create tutorials.
The final part of this mini-series will be more specific to how I do things in ScreenFlow, with as much generic explanation as I can provide.
Before getting stuck in, I want to do another hat tip to Don McAllister and J.F. Brissette for the tricks they’ve taught me over the years, many of which are included in this article.
Take Your Hands off the Mouse/Trackpad

One of the most annoying things I see in video tutorials is the cursor jumping around on screen while the instructor is explaining something. I know it’s tempting to move the cursor around because you get used to doing it when it has value, but you have to learn to let go. After you select a menu or point at something you want to explain, LET GO OF THE MOUSE. Seriously. Let go of it. Sit on your hand if you have to, just let go.
You gain a lot of freedom when you let go of the mouse or trackpad. You can make as many mistakes as you want in talking and edits are super easy because the cursor stays still. Not only is it distracting to have the mouse circling a menu item or just jerking around for no apparent reason, if you say something incorrectly and have to re-record, you’ll have no idea where the cursor was when you made the mistake. You’ll have to deal with the user seeing the cursor leap across the screen at an audio cut point.
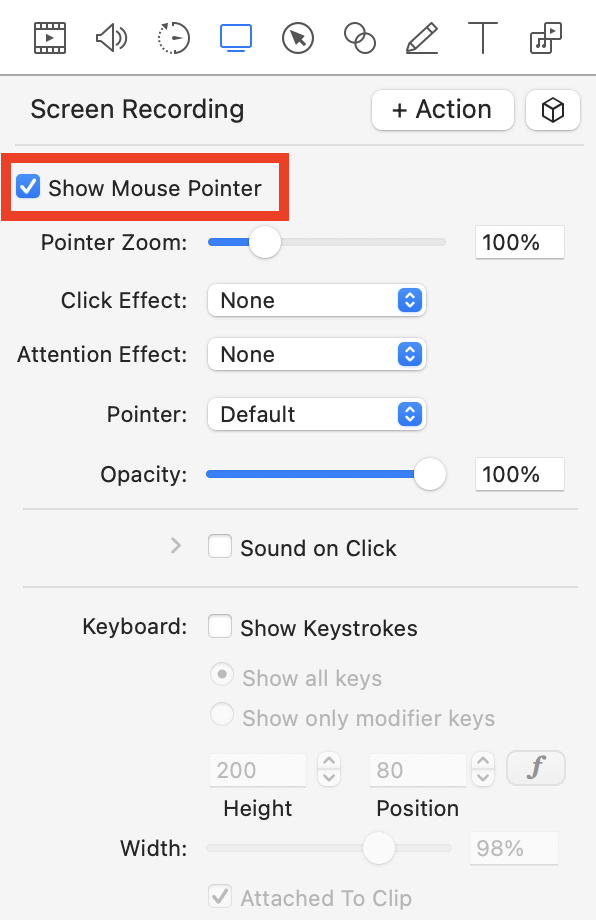
If you do end up with a cut where the cursor is going to jump, in ScreenFlow there’s a cool trick that I learned from J.F. Brissette. Recordings of the screen hold certain visual items on separate layers, and the cursor is alone on one of those layers. ScreenFlow has an action to actually hide the cursor layer.
You can add this action as a gradual effect, which lets you have the cursor gently disappear from the end of one cut and appear gradually at the beginning of the next clip. The viewer will never notice this act of trickery. If there’s an unavoidable jump, see if your screencasting tool supports fading the cursor out and back in.
Record in short snippets
I go back and forth on whether this next tip is good advice or not, so think about whether it would work well for you or not. I like to record screencasts in very short segments, usually no longer than 2-3 minutes. There are pros and cons to this.
The main benefit is that if you bork something up, you can re-record before the tool changes in some way. Let’s say you’re teaching an audio editing tool, and you do a bunch of edits to your sample audio while capturing the screen. It may be very difficult to get back to where you started without re-recording the entire clip.
As soon as I’ve recorded a clip, I review and edit the clip. I do it right then for the same reason that it’s short. If I missed something while recording, I can fix it right away before the tool changes.
The downside is that more cuts mean more opportunities for that darn cursor to jump around. I’ve gotten pretty good at looking at the recorded video to triangulate the location of the cursor relative to something in the video and then placing my cursor pretty close to the same spot, so it’s not too obvious. Ideally, I’d get smarter and purposely end recording with my cursor in an easy-to-replicate place, but that smartness hasn’t materialized just yet. Ever hopeful though, right?
Change Countdown Timer

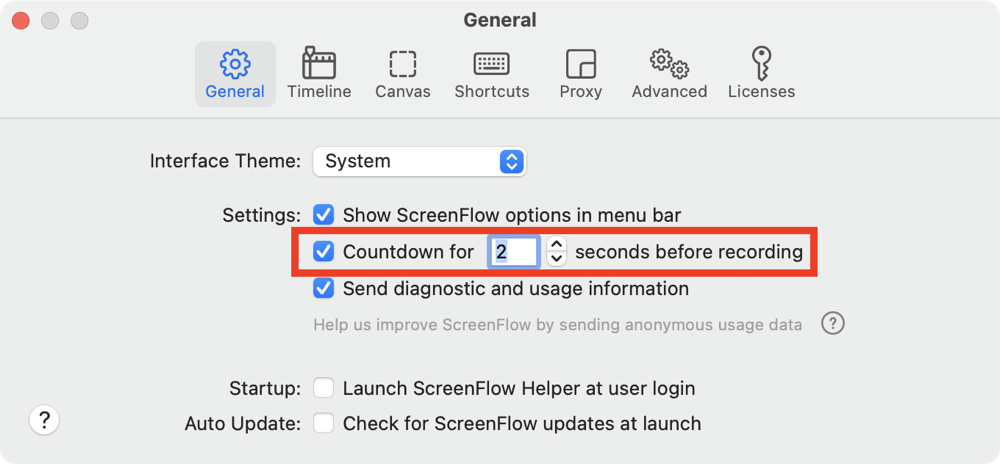
No matter what software you’re using to record your screencasting masterpiece, it will have a countdown timer before it starts to record. If you’re really looking to be more efficient, find the preference where you can shorten that time by a lot. I think it starts at 5 seconds on ScreenFlow and I turned it down to 2 seconds.
I know it sounds like I need to loosen up my schedule if that extra 3 second wait is a big deal, but it adds up over time. If you record 50 clips for a half-hour tutorial, that would be 7.5 minutes you’d save! I’ve done 75 videos for ScreenCastsOnline, and that adds up to over 9 hours I’ve saved. I also just hate sitting there waiting for it to count down.
What you might want to do after the countdown finishes is to wait a heartbeat or two before recording. If you do have a second or more of dead air at the beginning of a recording clip, it gives you the option to use the video for a transition from the previous clip. Maybe you didn’t notice something had moved, or the thing you had highlighted changed, now you’ve got cover to make it less obvious.
For the same reason, it’s not a bad idea to leave dead air at the end for a future transition need. I don’t think I have ever remembered to do that though, let me know if you think of a trick to remember!
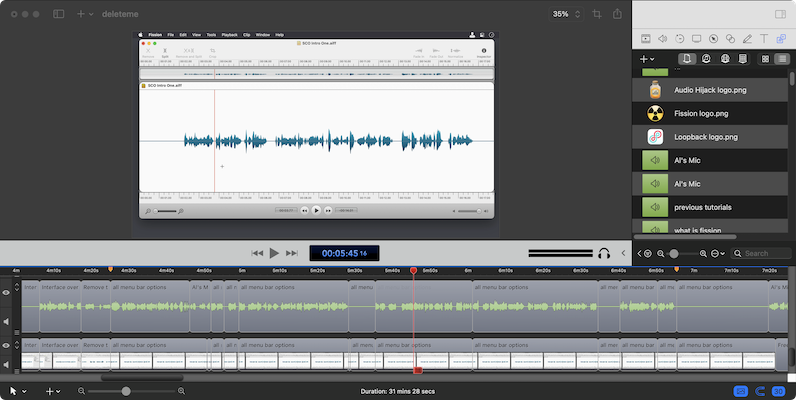
If you’re using a non-destructive editor like ScreenFlow or Screenium, you can chop off these dead air pieces and bring them back by simply dragging either end of the video. There’s pretty much no penalty to giving yourself this safety net.
Learn What Words/Phrases You Overuse
I can’t believe I’m going to admit this, but I have to thank my husband Steve for this next tip. I suggest that you have someone you trust watch some of your tutorials and tell you what words or phrases you overuse. Steve watches my tutorials before I deliver them to ScreenCastsOnline to do a recheck to look for the bigger mistakes. Early on in my screencasting career, he pointed out that in a single 40-minute video, I said, “I’ll go ahead and…” about 18 times! He asked why I didn’t just say “I’ll” and asked what those extra words were for.
It was very hard to stop saying “I’ll go ahead and…” but once he mentioned it, I could not unhear it. After a while, I beat it out of myself and I feel like my tutorials are better for it. Then I started noticing how often I would start a sentence with “Soooo…” Dang it, another one to beat out. I haven’t succeeded at that one yet, but luckily it’s always followed by a pause so I can usually edit it out when I catch one. I’m a work in progress like everyone else.
Holding Windows Still
I talked in part one about setting the screen resolution low and making your background as non-distracting as possible. There’s

one more very tough part of recording on a computer, and that’s how to hold the windows still. If you can record your entire screencast in one go, more power to you, but it takes me close to a week to record a 30-40 minute video tutorial, and things are bound to move around.
During that week, I’ll remove the connection to my dock and tote my laptop around the house, I’ll flip back to my main user account, and at the very least the app I was recording will have changed displays. One of the most distracting things you can do in a screencast is to have the windows jumping location on screen, so you’ll need a solution to this.
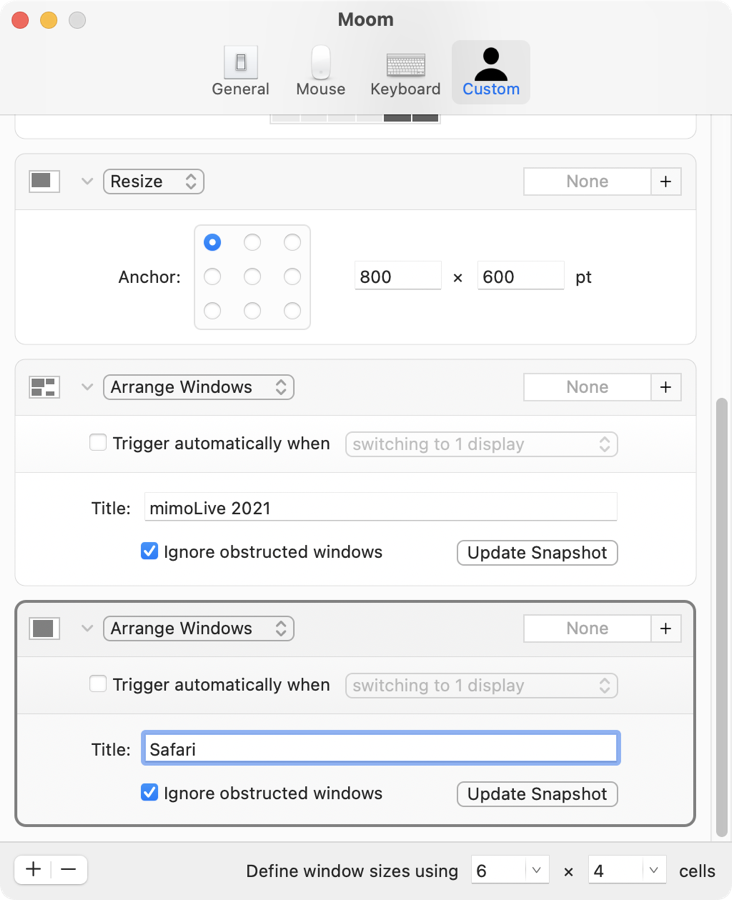
On the Mac, there’s an app called Moom from Many Tricks which might be able to help. Moom has, well, many tricks, but one is you can tell it to memorize the position of windows on the screen. It’s beyond the scope of this discussion to give you a full tutorial on how to set up Moom, but it’s pretty easy.
When you’re choosing the window size for Moom to memorize, consider sizing the window to leave space at the bottom for closed captioning. Even if you won’t be adding your own closed captions yourself, if you’ll be uploading to YouTube, it can add them for you so it’s a good idea to make sure no useful screen information will end up under the text.
Even with using Moom to memorize the main location of your apps’ windows, invariably there will be some pop-up window that insists on coming up in an unpredictable way. If movement between clips is unavoidable, then you’ll need to apply a transition to make the cut. I know, jump cuts are all the rage on the youtubes with the kids these days, but that only works when it’s a video of real life. With a tutorial of a computer screen, it’s just annoying.
I’m sure you have seen PowerPoint presentations where people put in transitions where the whole screen turns to sparkles or spirals like in a bad acid trip. Please don’t use those. Please pick something more professional. The next worst thing to a swirling acid trip transition is if every single transition is different.
Pick something relatively simple, and stick with it. You may want to use two different transitions, one to help when things move on screen as we’ve discussed and a different transition to signify a big change to what you’re talking about. For example, if I’m switching from an iPad view to a Mac view in the same screencast, I’ll use a different transition to let people know this is a big difference.
Talking Head
The final thing I want to bring up is whether or not to show a picture-in-picture talking head in your tutorials. I’m of the strong opinion that you should not. I’m about as narcissistic as they come and while I really think that everyone should know what I look like, even I know that seeing my face covering part of the video tutorial will add no value and will only detract from the tutorial.
If you simply cannot deny your desire to be in front of the camera, then do an introduction where it’s just you telling the viewers what you’re going to teach them. If you want to get fancy, some tools like ScreenFlow will let you have your video at an angle while showing virtual slides and that can look sort of slick.
But during the tutorial, I implore you to let the content be the star.
Bottom Line
I hope these tips give you something to think about, and next time we’ll get a lot more specific with some editing tricks.

