In August I gave you my review of the Insta360 X3 Action Cam. My ending line of the review was, “The camera has so many features I haven’t discovered let alone used them all yet, so I have a lot of fun ahead of me finding out what this action camera can really do.”
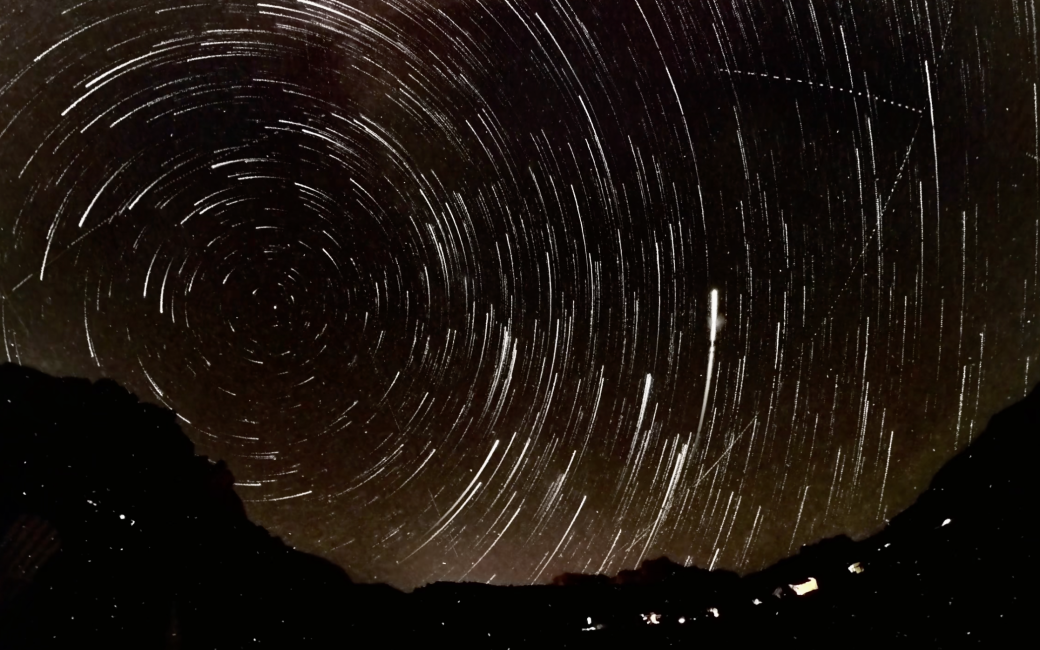
I’ve continued discovery of features, and one of my favorites is the X3’s ability to capture star trails in the night sky as they appear (from our view in the Northern Hemisphere) to rotate counter-clockwise around the North Star. In the Southern Hemisphere, the effect is opposite where they appear to rotate in the clockwise direction but there is no prominent southern pole star around which they rotate.
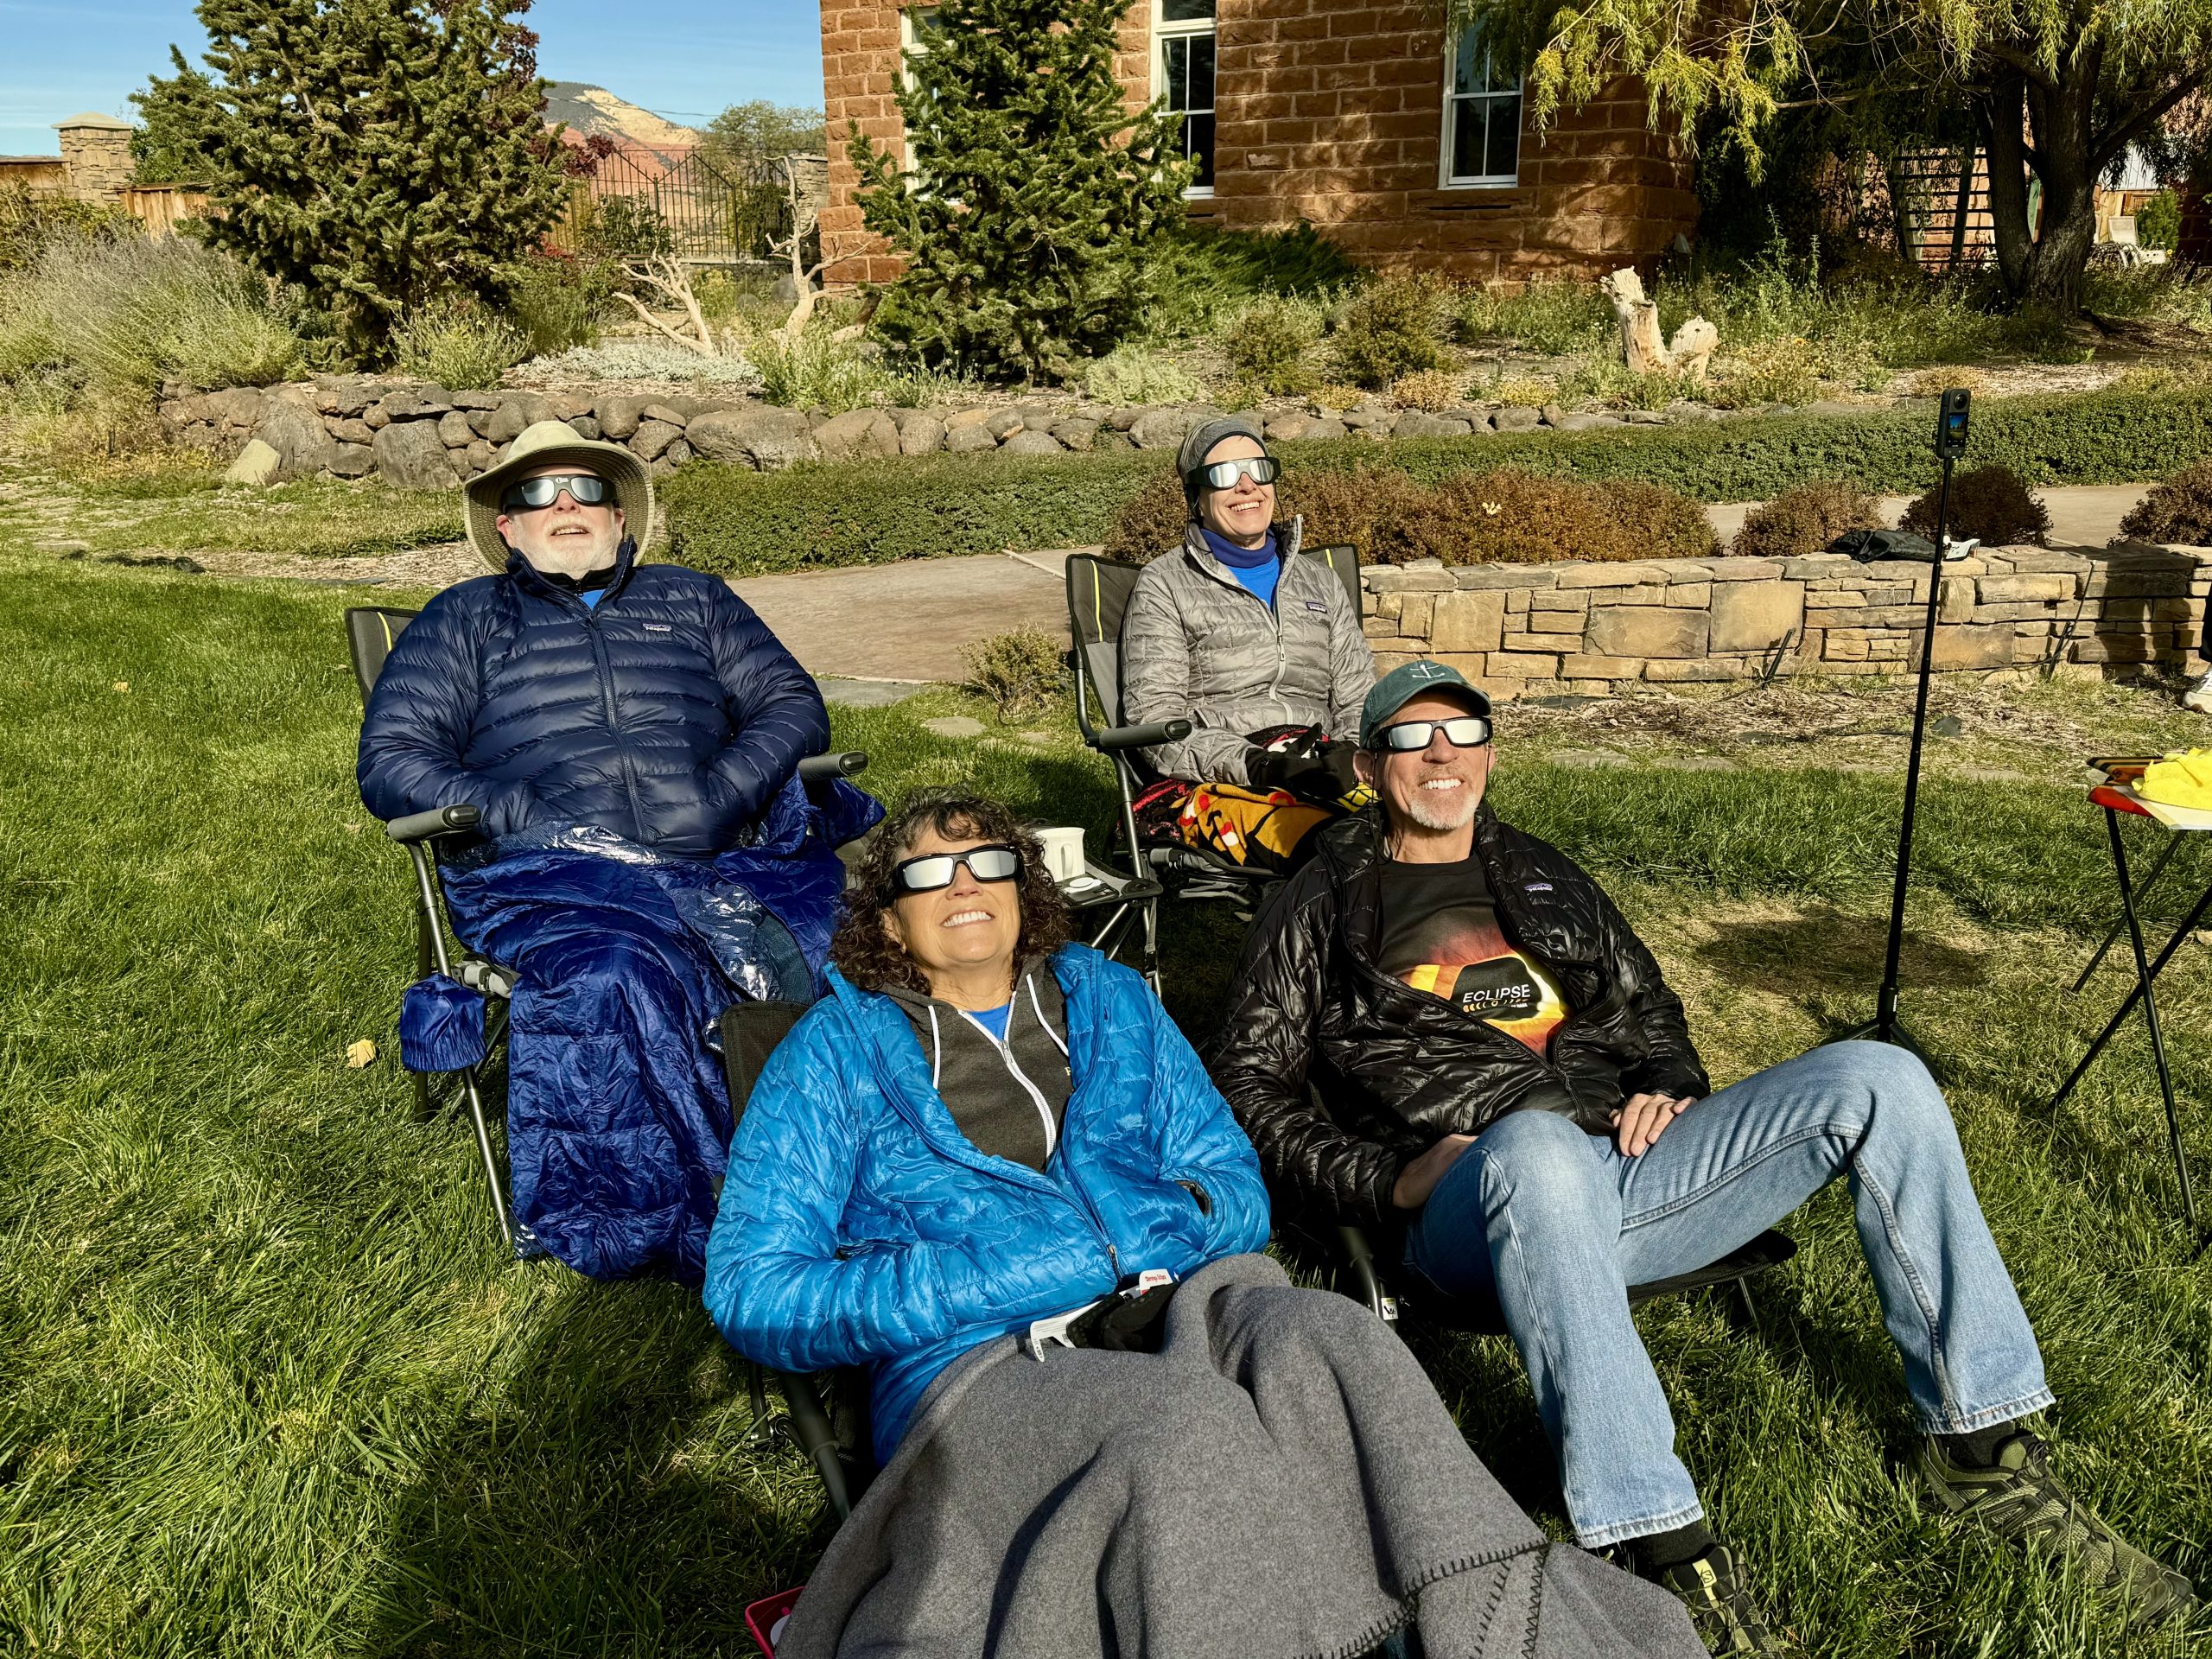
Living in the depths of Los Angeles County, we’re lucky if we see a few dozen stars due to light pollution, but we took some recent trips to more remote locations where I could give it a try. Our latest trip was to Utah with the goal of seeing the annular eclipse that occurred on October 14. Our first stop was to visit our friends Dean and Suzanne who live in Springdale, Utah, nestled next to Zion National Park. Yeah, it’s a difficult assignment but someone has to do it.
Coincidentally, Springdale recently earned an International Dark Sky Certification because of the town’s successful efforts to eliminate light pollution, so it was an ideal place to try to capture star trails.
I had to study up on how to capture star trails with my X3 camera, and then I did my first test while we were up in Mammoth a month or so ago. It worked pretty well but a nearby cabin light was going on and off during the night so it wasn’t ideal. Now that I had a successful test case, I made some notes for myself so I could reproduce the effect for the trip to Utah. These bullet points aren’t meant to be a tutorial but if you have an Insta360 X3, they’ll give you a good starting point for your own experiments
Steps and Settings to Capture Star Trails with Insta360 X3:
* Connect Insta360 iPhone app to X3 camera
* Select the Camera icon at the bottom of the screen
* Select the Starlapse option at the bottom of the screen
* Select Manual (M) mode
* Set Shutter Speed to 30 sec, ISO to 1000, WB (white balance) to 5500K
* Connect X3 to a power bank for overnight shooting
* Tightly wrap camera (except lenses) with foil to prevent bleed-through of display light into the lens
* Be sure the camera is in 360 mode and click the shutter button to begin taking an overnight series of Starlapse photos
* After you’re done shooting Starlapse, click on Stories, slide down to Starlapse, and select the video just captured to create Starlapse Video (the camera will take some time to create the video)
* Optional: Edit Further to add music, titles and other effects if desired
* Export using Custom: Color Plus, Remove Grain, Highest Resolution, & Highest Bit Rate settings
* Export video using Reframe to get the perspective you want – be sure to Update Keyframe to save the perspective
If you’re interested in seeing the result, here’s the Starlapse video from Springdale with a bit of background music added for effect:
For those who watched the entire video and are very observant, there’s an artifact near the end of the video where a passing car momentarily lights up an object in the foreground. Leave a comment in the blog post if you can identify what that object is. You also might notice a few streaks that appear in directions different from the star trails. The streaks that appear dotted or dashed are passing aircraft. But a few of the streaks are more continuous and are possibly overhead satellites, particularly if they appear near the beginning (just after sunset) or end (just before sunrise) of the video.
Annular Eclipse (from Camcorder)
From Dean and Suzanne’s we traveled to Torrey, a small town in southern Utah. We chose Torrey since it was in the path where the annular solar eclipse would be fully formed. From this location, we were able to view the sun for a little over 4 minutes while the moon was perfectly centered over it. Unlike a total solar eclipse where the moon fully covers the sun leaving just the glowing corona surrounding the moon, during an annular eclipse, the moon is farther from the earth and thus appears smaller than the sun. As a result, the moon doesn’t completely cover the sun but instead creates the classic “ring-of-fire” spectacle. You can read about our exploits in filming a total solar eclipse from our trip to Vecuña, Chile in 2019 here Capturing the 2019 Chile Solar Eclipse on Video.
Since the X3 doesn’t support magnification well (it’s designed for wide-angle shots), I took video of the annular eclipse using a 4K camcorder, the Panasonic HC-WXF991, with 20:1 magnification, and a solar filter over the lens. As a reminder, don’t point your camera directly at the sun for long periods without a solar filter since it can damage the camera’s sensor just like it can damage your eyes.
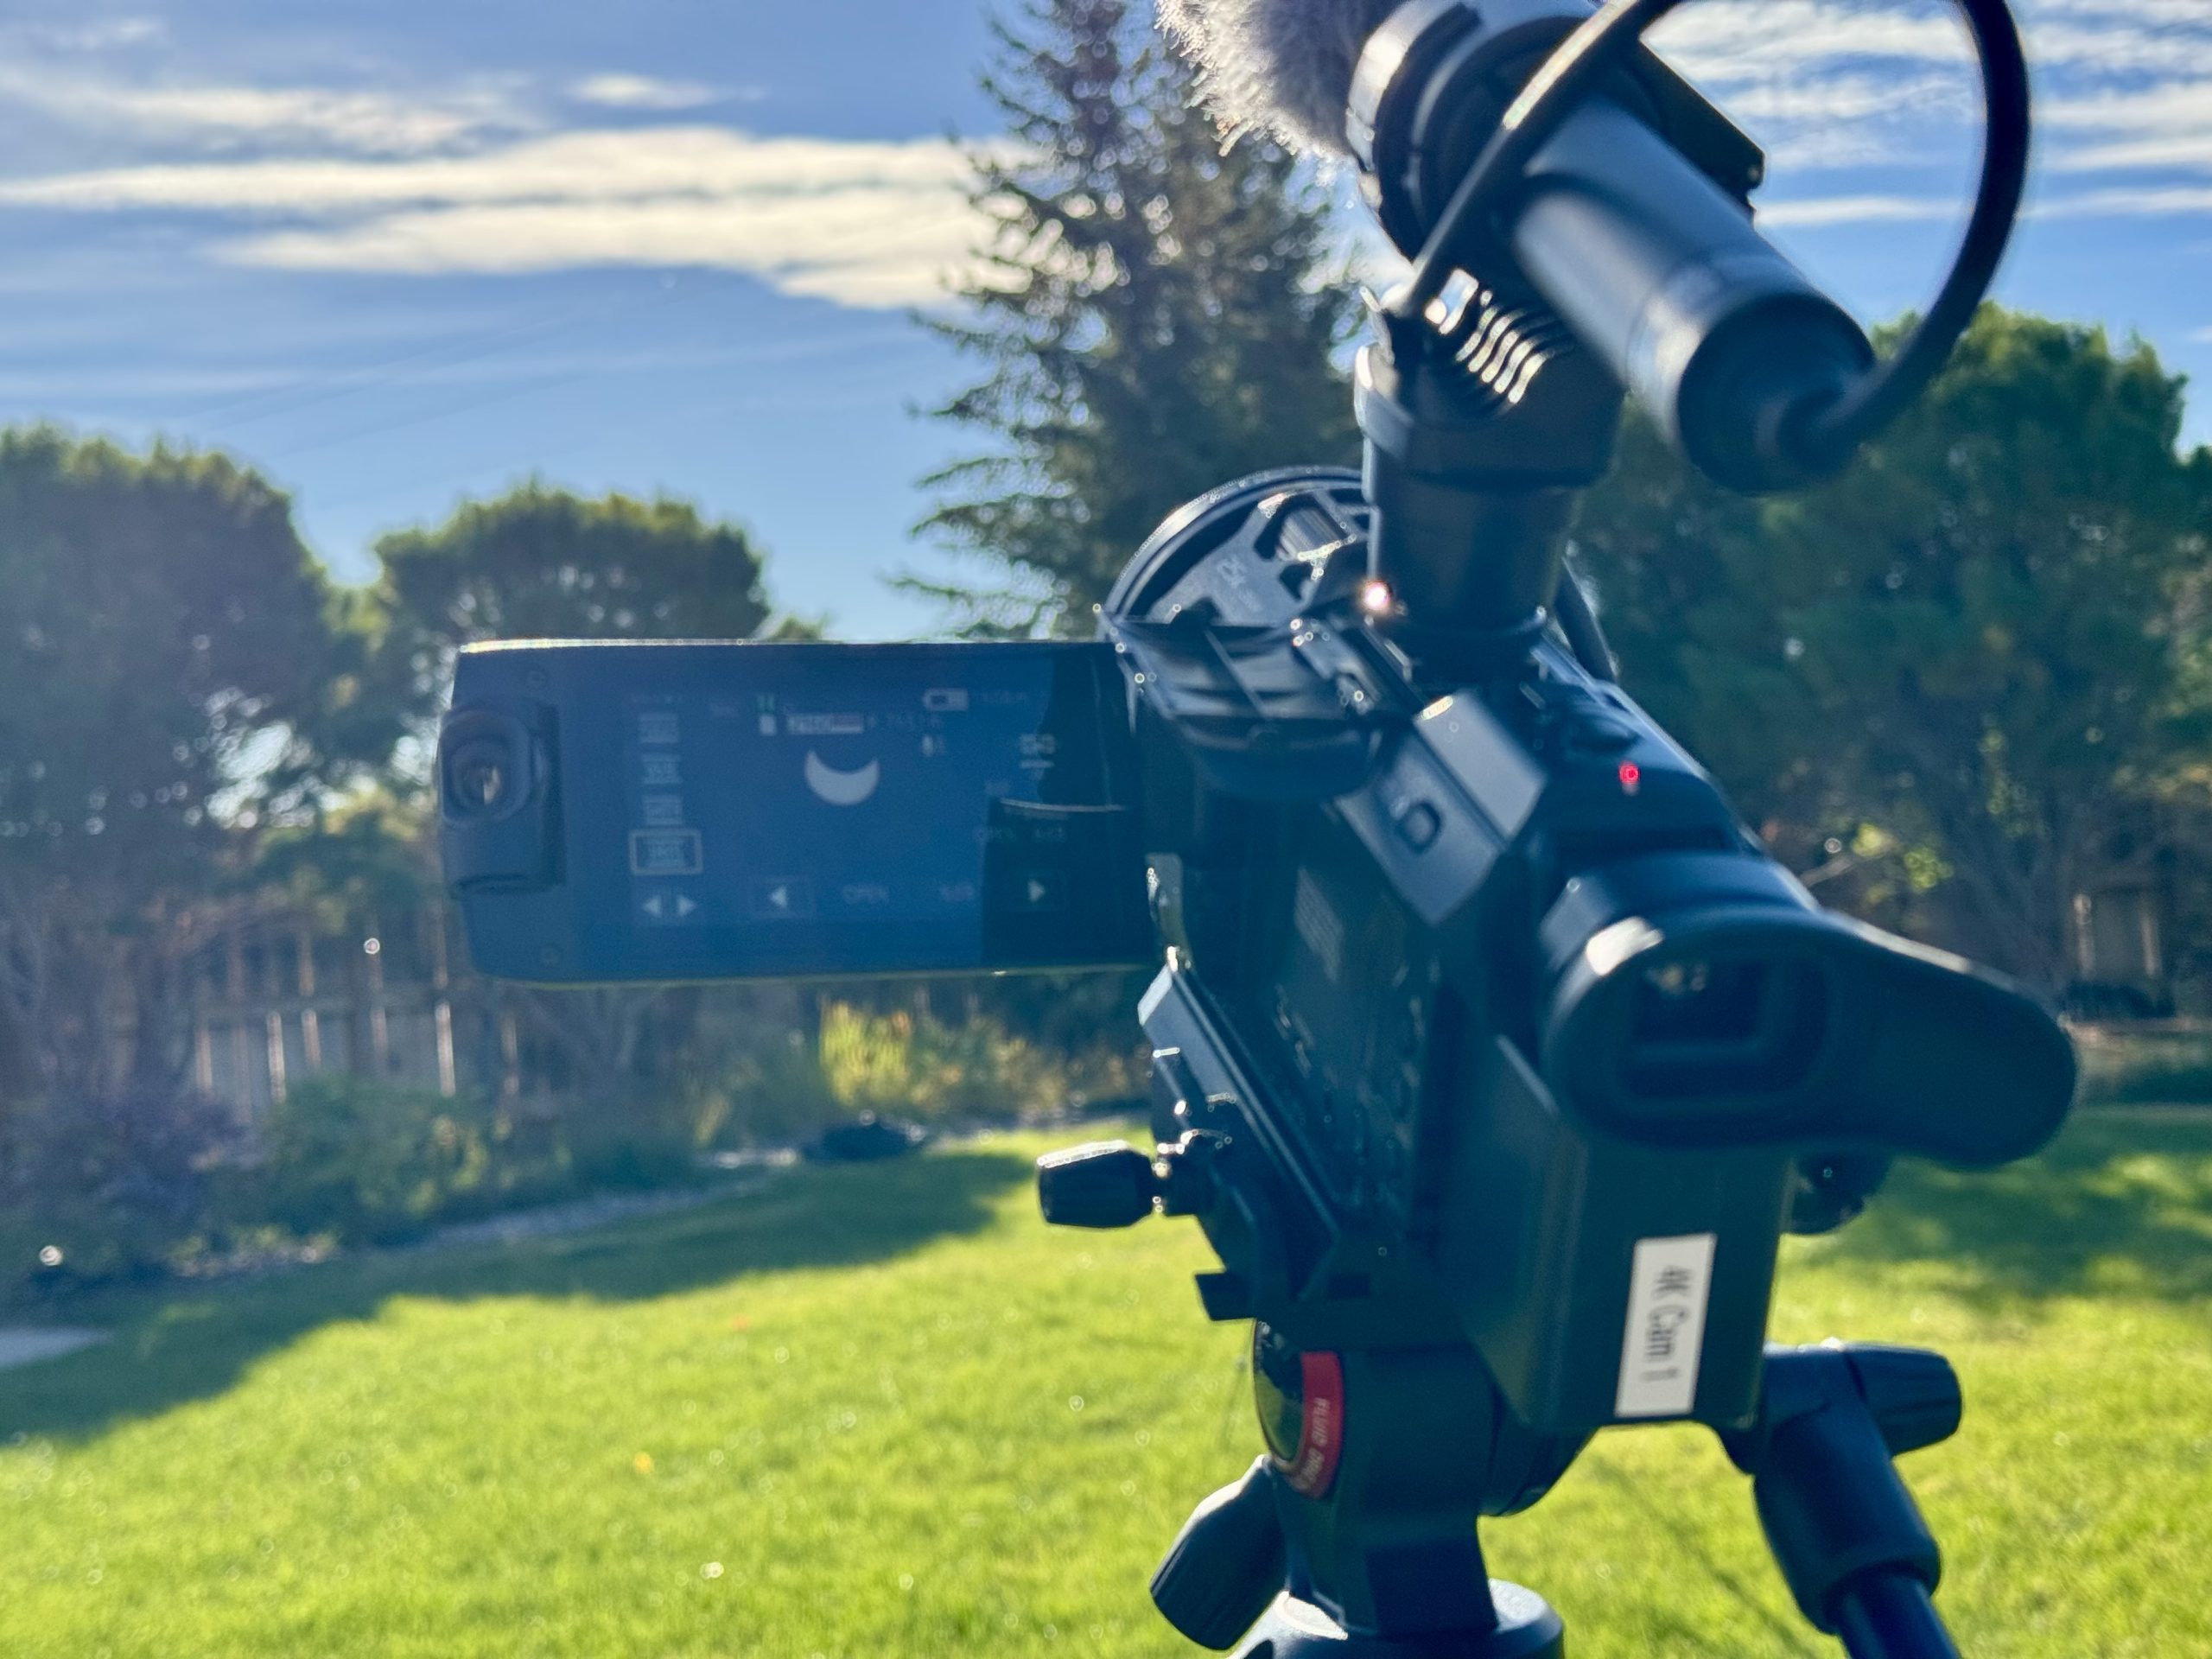
If you’ll indulge me, here’s a time-lapse video I created of the annular eclipse we viewed from Torrey, Utah:
In the video, you might notice a couple of small dark spots on the sun in the lower left quadrant. These are not dust particles on the camera lens but sunspots on the sun’s surface caused by active regions where the sun’s temperature (and light) is reduced. They often appear in pairs as we see here.
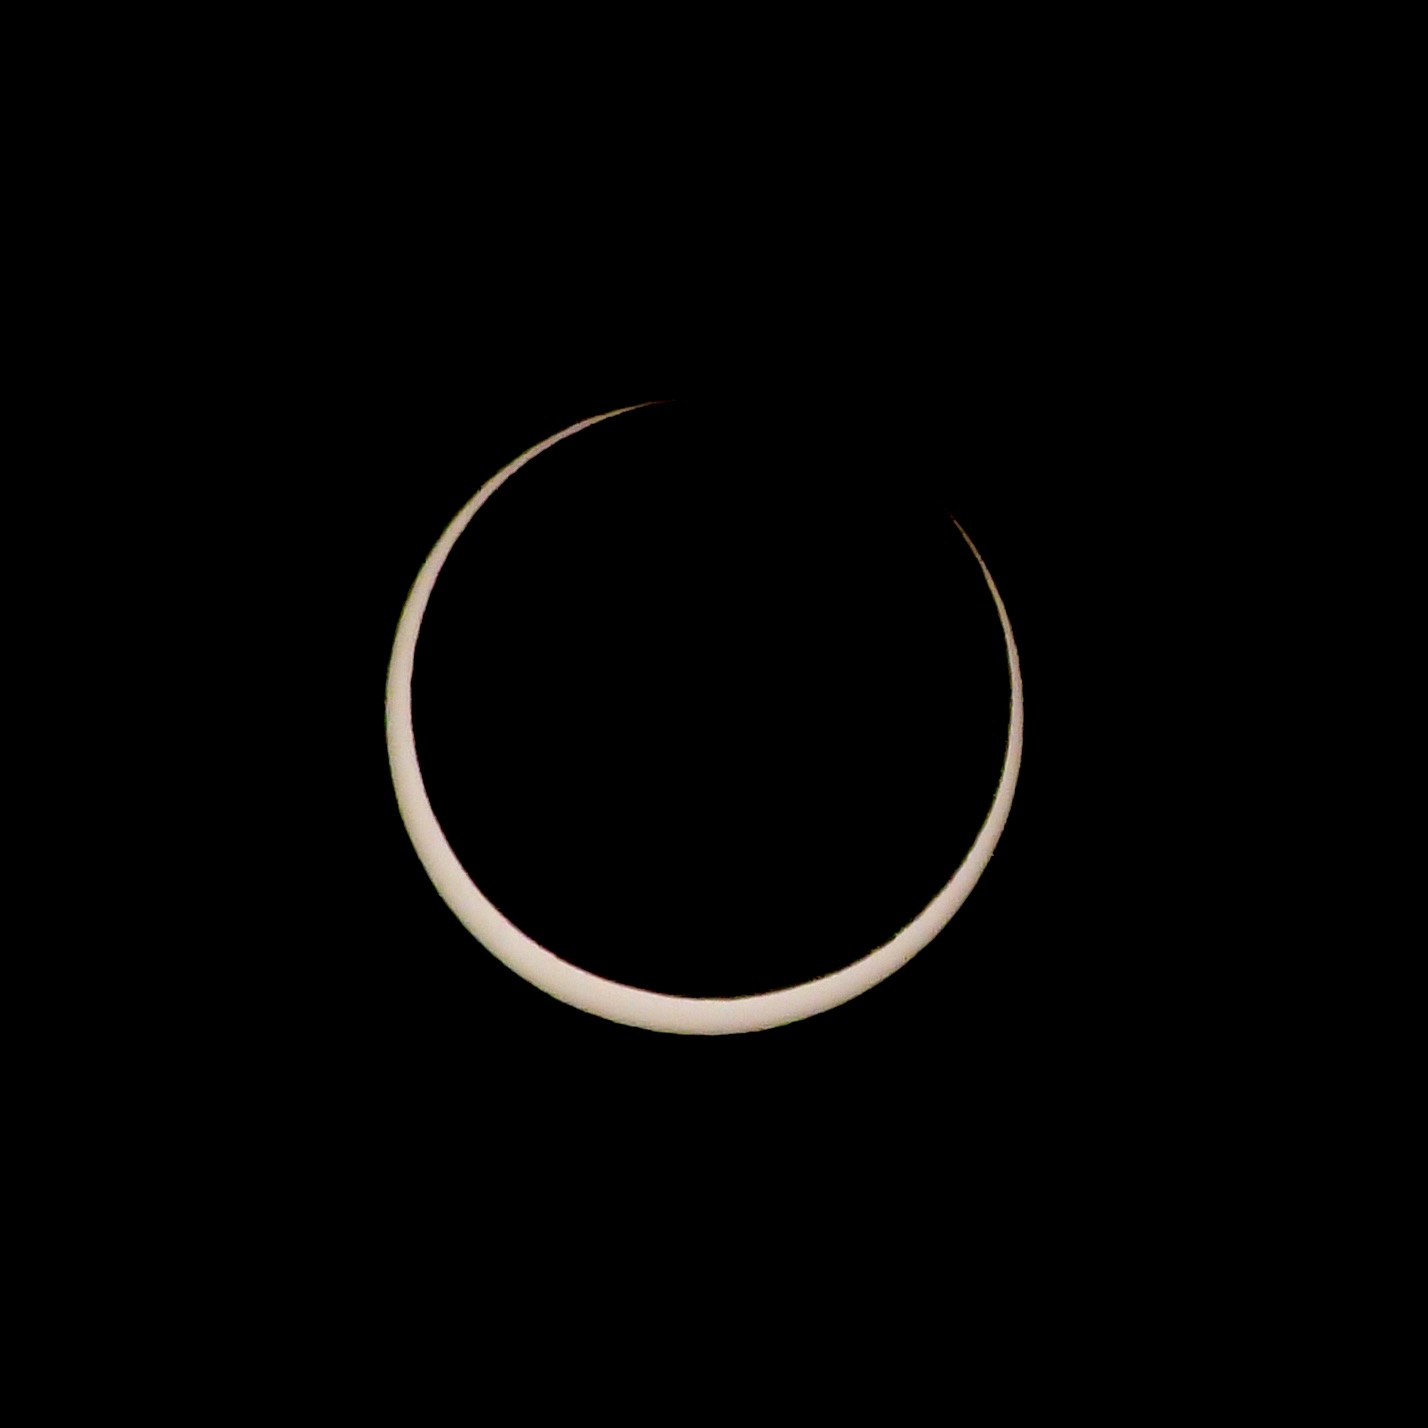
Now for the bad news about my filming of the eclipse. The main draw for viewing this eclipse was the 4+ minutes where the moon was perfectly centered over the sun. During this time, the sun’s outer ring appears as a brightly glowing annulus against a somewhat darkened sky. As I mentioned before, we travelled all this way to view that ring and the weather was clear so we got a gorgeous view of the ring of fire.
As you might imagine, I was really hoping to capture that ring of fire with my camcorder. Now, I was successful in collecting all of the phases of the eclipse from beginning to end on video. But if you look closely, you might have noticed that I did NOT capture the moon perfectly centered on the sun in the video.
When I got back home to download and start processing the video, I discovered, much to my dismay, that I had accidentally turned OFF the camcorder just before the eclipse entered this crucial phase and turned it ON as the ring phase ended. I think this happened because I was already recording but thought the camera was off, so I thought I was turning on the recording. Imagine my disappointment after all of my preparation and travel finding out I did not capture the main event.
Let this be a teaching moment to anyone else: confirm your video camera is in RECORD mode when you really want to record something. All was not lost though since I was able to make lemonade out of lemons by creating the time-lapse video of the eclipse phases. I will leave you with the closest I came to capturing the ring of fire just before I turned off the video camera. As Maxwell Smart used to say, “Missed it by that much!”