 I’ve been becoming more and more bold with hardware repair, becoming fearless at tearing open hardware to see what I can do. So when my friend David Roth asked me to do him a favor in which I could use my iFixit toolkit, I jumped at the chance.
David found out that there’s a way to replace the spinning hard drive in an iPod Classic with a flash drive. When he told me about this I just imagined that he had a raggedy old iPod lying around, maybe with a busted drive, but when he shipped me all the parts, that wasn’t the case. He sent a brand new 160GB iPod classic still in the shrink wrap. That put a lot of pressure on me not to wreck it.
This operation is a simple case of opening the metal back off the iPod, disconnecting two cables and pulling out the hard drive. Doesn’t even require a screwdriver. You replace the hard drive with a little carrier called the iFlash from OWC that runs around $50. The iFlash then takes an SD card and allows the iPod to use it as a disk. If you’re going to go through all of this to replace a 160GB hard drive, then 256GB in flash memory is the only size that makes sense. 256GB SD cards run anywhere from $90 to $125 depending on who makes them.
 The first thing to do when undertaking something like this is to head on over to iFixit.com. I’ve taken apart Macbooks, and Macbook Pros, I’ve replaced the screens on iPhones, even disassembled a MacBook Air down till I tore the display off (and put it back), I’ve even pulled the glass off an iMac, but I’ve never seen what I saw on the instructions at iFixit for how to open the iPod. It said, “Difficulty Level: Very Difficult” Uh oh.
I have the tools, the products and the motivation. I didn’t believe this Very Difficult thing, even disassembling the MacBook Air didn’t say that. How hard can it be? Well lemme tell you. REALLY hard.
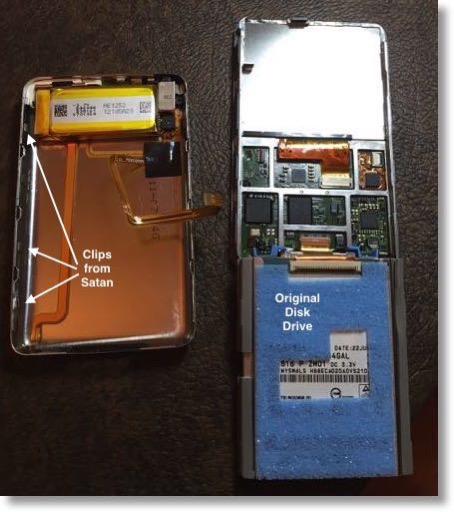
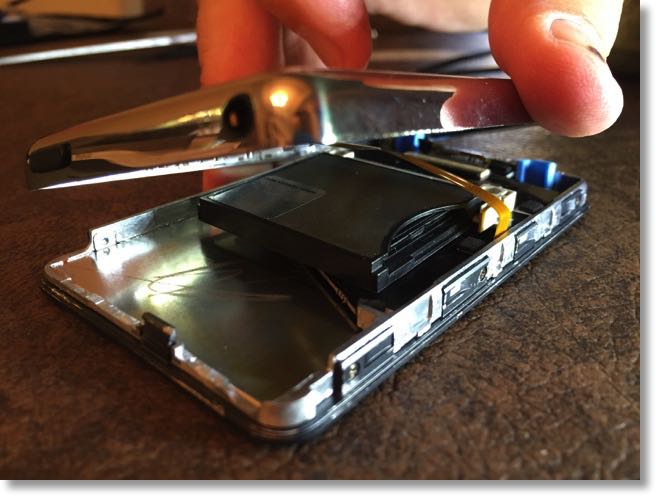
The hard part is getting that gosh darned cover off the back. Apple REALLY doesn’t want you in there for some reason. The metal back is essentially a cup, and all around the edges are these nasty little metal clips that are impossible to unclip. After reading the instructions I contacted David and suggested this was a bad idea because the chance of this looking like a doberman chewed her way into it was pretty high and I hated to break that beautiful new iPod. He basically said, “Damn the torpedos, full speed ahead!” and told me to go for it.
My iFixit Pro Toolkit comes with these little blue plastic spudgers that they tell you to run around the edge to pry it open around the 30 pin dock connector, and I broke three of them off trying to do that. The nice part was now I had little chunks of blue plastic stuck in between the back cover and the front.
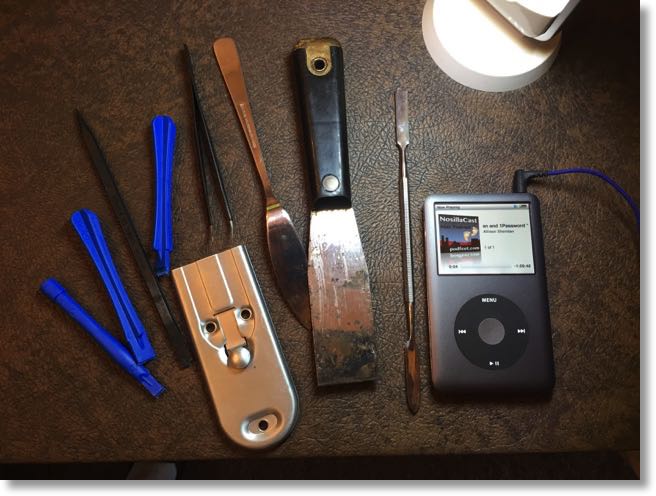 I then resorted to the larger, stronger black plastic prying spudgers…and broke one of those too. I’m out like $3 in spudgers so far and I’m no closer to getting this thing open than when I started. I had sweat pouring down my back from trying to pry my way around the first corner. I texted David and told him I was throwing in the towel, I simply could not get it open.
And then I did what I normally do when things get to hard, I just walked away with the project unfinished. I left it sitting on the dining room table for a month before I finally asked Steve if he’d take a crack at it.
I’ll tell you the punch line first, we succeeded, but it took both of us, a lot of arm strength, and a crazy assortment of tools to get it open. Steve found this razor blade tool we have that’s designed to use to say scrape a sticker off of a glass window. It’s a large rectangular razor blade with a stiff handle. Instead of going in on the end by the connector where they suggested, he managed to cram it into the side. If he held down the iPod with one hand and bent away with the blade, he could open a small crevice.
Then I took yet another tool from my iFixit Pro Toolkit, a kind of metal spatula that I was able to cram into the crevice Steve had open. Now picture this, he’s still got the razor blade in there, holding down the iPod with the other hand, and I’m holding the narrow spatula. I started rocking the spatula back and forth while pushing down as hard as I could, and I was able to walk the spatula down to the first clip, and while bending that metal back away from the iPod it suddenly came free.
That’s ONE clip.
Now we have to pull the razor blade out but not lose that gap, so we stuck a knife in there, and a couple of the non-broken plastic spudgers. We pried and we rocked and we sweated and we swore and pried some more, and eventually got every one of those clips from Satan unclipped. The way it felt I would swear there were about 162 of them but in the end I think it might have only been 13 total.
Once we got the back off, it was as easy as we thought it should be. Pop the connectors off the two cables (ok, technically they popped off when Steve pulled the two sides apart, and shockingly did not wreck the cables or the connectors.
Lifted the hard drive out, stuck the SD card in the iFlash (and Steve brilliantly made me check to make sure the SD card was NOT locked) and then went to close it back up. The metal back was bent pretty badly but Steve read in the instructions how you could just roll the back casing on the table until they flattened out and it actually worked!
 One of the connectors we had to reattach was so stinking small it took me ages to get it back together. Out loud I bemoaned the fact that Honda Bob was not here. Oddly even though he has giant sausage fingers, he’s much better at the teeny connectors than I am (see iPhone 5 glass screen repair). Without his help we managed to get the connectors back in place.
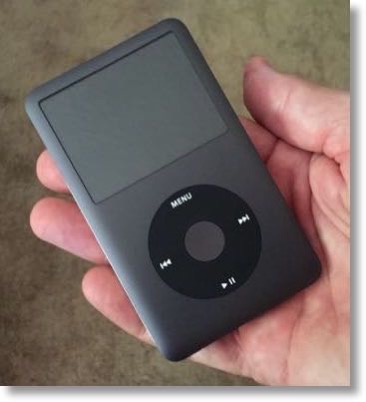
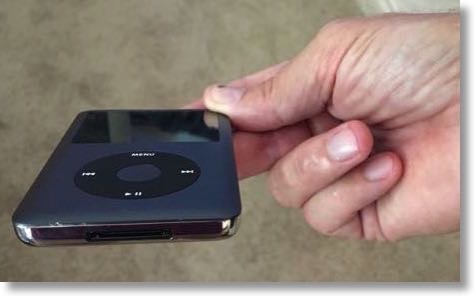
When we were done, the iPod was shockingly unscathed. There were just a few boogery marks down by the dock connector but if you don’t look closely you’d probably never even notice.
The truly amazing part was that it booted right up when we turned it on! I’m not sure where the OS is stored, but it’s not on the hard drive because our SD card was immediately recognized. We charged the battery and then I connected it to my iTunes library. I loaded it up for him with “Top of the World” by Karen Carpenter, and the latest episodes of the NosillaCast and Chit Chat Across the Pond. Everything David would need! As a bonus for all of his help, I sang my rendition of “Top of the World” to Steve … he was not impressed.

I have the same iPod, can I send it to you for an upgrade? With three NosillaCast shows each week I need the extra space.
Just kidding…..
Right… now I know what I need to do when my current classic’s drive fails.
Although… I do have an older (smaller capacity) one at home. mmmmm